Selection and installation of ventilation ducts
In this article, we will look at how the installation of ventilation ducting is carried out according to SNiP, let's look at how it works, and also look at some of the important nuances.
After studying this information, you will understand how to install exhaust ducts yourself. Or at least be able to monitor the actions of the hired brigade - on the subject of how well they work.
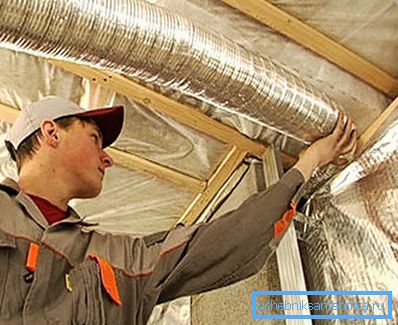
And the correct installation is very important here. After all, if something is done wrong, as it should be, then the ventilation of the premises will be carried out at a very bad level. That is fraught with the formation of dampness, the appearance of mold on the surface, rotting wood elements, etc.
In fact, the exhaust ventilation system is arranged very simply - at some point in the house (usually in the attic or roof) an electric fan is installed that pulls the air from the inside through the air ducts.
Which ducts to choose
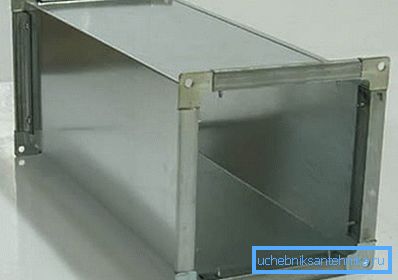
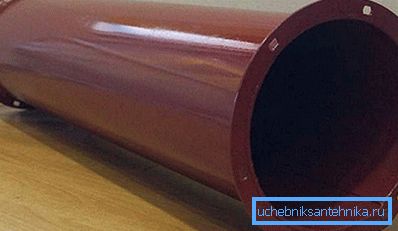
There are certain nuances in the sense that each type of duct has a specific purpose - consider all the features on the example of the table.
| Product Type: | Specifications: |
| The basis of the sleeves of this type is steel wire. In most cases, the coating is a special metallic tape. The form is always round, because otherwise the product will not bend. Such a material has a small diameter, maybe with heat-insulating or noise-absorbing properties. In addition, its price is quite acceptable for everyone, which allows the use of sleeves in apartments and private houses. |
| Such lines are made on special bending machines - “at the exit” of the product can have a round or rectangular shape. The section can be any. The products are good because they are very resistant to mechanical stress and are able to “drive” very large volumes of air. It is optimal to use the box for distributing ventilation (its central part) in apartment buildings, office buildings, shopping centers, etc. For a single apartment - construction of galvanized is usually inappropriate to use. |
| These pipes are made of rather thick steel. Such air ducts are usually used for very serious ventilation and smoke removal systems in industrial buildings. |
In general, it turns out that for self-assembly, when installing ventilation in a private house or apartment, it is best to use flexible hoses.
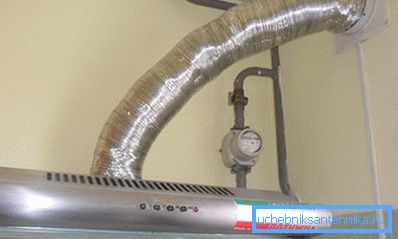
Let's consider the main nuances and recommendations in terms of the installation of this material, and then proceed to step by step instructions on how to build a standard system.
Rules that are important to know
There are a lot of recommendations here:
- It is very important to maximize the sleeves. With this approach, sagging is eliminated, which reduces pressure losses, air pressure.
- Bends must be made with as large a radius as possible. If you make very sharp turns, then we, again, lose pressure.
- It is necessary to organize the grounding of the highway. Because during transportation of air, which contains various organic components, statistical electricity can accumulate.
- At those points where the channel passes through the walls, you need to install protective metal adapters and already through them to pull the duct. If this is not done, then there is a high risk of damage to the sleeve due to contact with the sharp corners of the stone surfaces.

- The distance between the fasteners should be no more than 40 cm. If this space is made larger, then, firstly, the channel's vibration will be strong, and, secondly, sagging will occur. Therefore, comply with this standard even though with this approach the total cost of installing ventilation ducts slightly increases.
Such are the rules. We now turn to the more practical part of the review.
Ventilation Assembly Diagram
As an illustrative example, let's analyze the installation of a small system, which is usually assembled for the subsequent ventilation of an apartment or house with a small area.
Note! Such ducts are mounted mostly only when the ventilation is forced! For openings with a natural bout, such sleeves are usually not pulled, because it does not make sense - if there is a pull, it is of a very weak level.
Let's go back to work.
Road marking and mounting
Rules for the installation of ventilation ducts provide for the following procedure at this stage:
- On the ceiling we draw a line that will become a guideline for hanging channels.
- Using a perforator and dowels, fasten along the line, every 40 cm. Clamps - holders of sleeves.

As you can see, there is nothing difficult here.
Cutting and fastening sleeves
Here, first, the total length of the "pipe" is calculated, and then the required length is cut using a breadboard knife or a blade from it.
After that, one end of the sleeve is put on the vent of the vent (or, if the vent is not already installed, then the end of the line is simply left at the desired point).
And then the sleeve is pulled through the clamps along the previously marked line, to the point of the house, which is the central source of air pulling out.
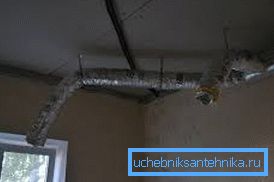
Note! There may be several ventilation grids in one room. In this case, it’s easy to do - the center line (flexible or made of galvanized steel) is pulled over the ceiling, to which hoses from each grid are connected with the help of special adapters. And already this “central” air duct is supplied to the main hood.
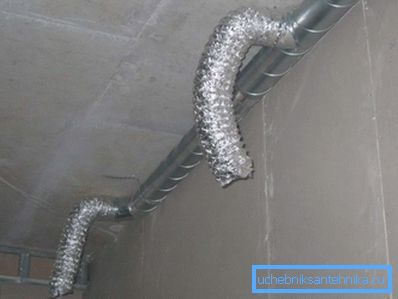
This work is repeated for each room that needs to be aired.
Such is the instruction, the principle of operation. This article is over and, perhaps, we can summarize.
Conclusion
We examined in detail what the air ducts are, and also touched on the basic rules for their assembly. In addition, we figured out a brief step-by-step scheme of work.
We hope that now you can organize high-quality ventilation in your home. Well, or at least make sure that everything is done qualitatively.
If you want to get even more information on such a specific topic, then be sure to check out the video in this article.