Basin faucet: the basics of selecting an effective and
When planning repairs in the kitchen or in the bathroom, you should understand in advance how to install a faucet on the sink. It is quite simple to do this yourself, but it is worth adhering to a number of rules that can greatly facilitate the work.
In addition, prior to installation, you need to choose a suitable mixer, and there are also nuances here. We will talk about them in our article.
Crane Types
To destination
Installing a faucet on the sink begins with the choice of a particular model.
The range of valves today is very extensive, and therefore when you purchase a device you need to focus primarily on its purpose:
- Kitchen faucets are usually chosen so that we can wash the dishes with minimal time and effort.. That is why in this situation, preference is given to models with a high spout position or with a built-in hose.
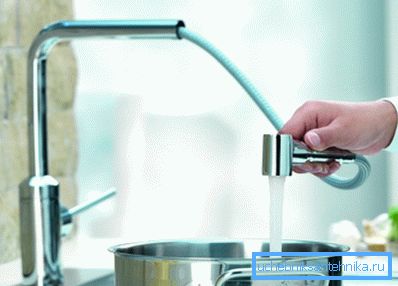
Note! When purchasing a crane with a flexible part, it is necessary to pay attention to the quality of the hose itself and the possibility of replacing it with your own hands. This is due to the fact that this part of the resource is relatively small, but the body of the mixer can last two to three times longer.
- In some cases, a water filter with a tap on the sink is placed under the kitchen countertop.. In this case, the upper part is usually a thin tube with the simplest locking mechanism, which functions independently of the main mixer.
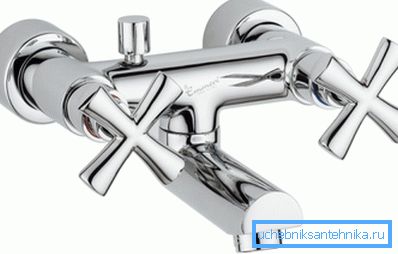
- For the bathroom, they usually choose either two separate mixers, or a wall construction with a shower, a long spout, which extends both to the bath and to the sink, and two valves.
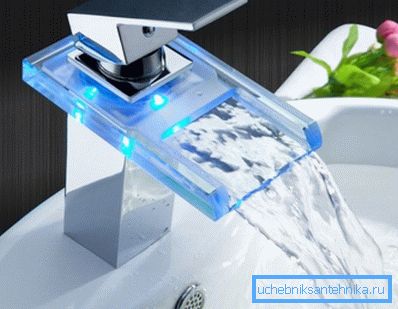
- For a separate washstand in the bathroom or bathroom choose the most compact model. The best choice here is a short single-valve tap.
By design
As for the construction, here the main attention should be paid to the device of the locking mechanism:
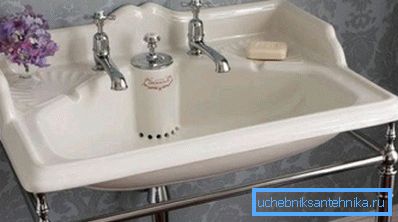
- Two-valve models, in which the flow of hot and cold water is regulated by different flywheels, are a more traditional solution. They are reliable and easy to operate, but setting the right temperature can take some time.
- Lever (single-valve) designs are somewhat less reliable, but they do facilitate handling of the temperature regime. However, if you have a certain skill, you can repair such a device simply by replacing the cartridge.
We should also mention the construction of the axle boxes, which are installed inside the cranes:
- Worm-type axle boxes with rubber gasket are used for a long time. Their advantages include low price and ease of repair. On the other hand, due to the intensive wear of gaskets, repairs will have to be carried out much more often, and serious efforts must be made to close the valve tightly.
- Crane boxes with ceramic inserts are less maintainable: if such a product fails, it is easier to replace. But on the other hand, the ceramic core has a long service life, and its leaktightness is much higher.
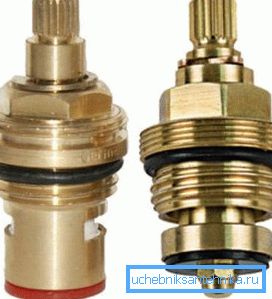
Note! In the overwhelming majority of cases, replacing the worm crown with ceramic or vice versa will fail: the systems are incompatible. That is why, before screwing the faucet to the sink, carefully study its design so that you know how to do better in the event of a breakdown.
Useful tips
In addition to general recommendations, you can also give a few tips to help you buy a more reliable and durable mixer:
- If we talk about the material, the priority will be models with brass or steel cases, which are coated with chrome sheeting. Silumin cost less, but they are much worse because of the fragility of the material.
- Also pay attention to the weight of the product. Too light a crane should not be installed: a small mass indicates thin walls that will collapse either as a result of corrosion or when worn.
- A useful addition would be an aerator - a mesh mounted on the spout spout. When passing through this part, the water jet becomes more saturated with air, which facilitates the washing process (water saving up to 10%). Naturally, the aerator should be removable and allow cleaning.
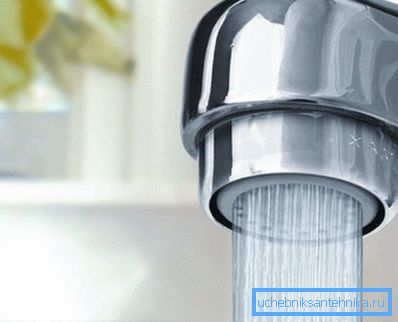
- Also, some models are equipped with an internal filter. This item is very useful because it captures sand, which is the “worst enemy” of crane boxes and cartridges. The presence of a filter usually indicates a high quality model.
Installation Method
Instructions for self-installation of a tap in the kitchen or in the bathroom is quite simple:
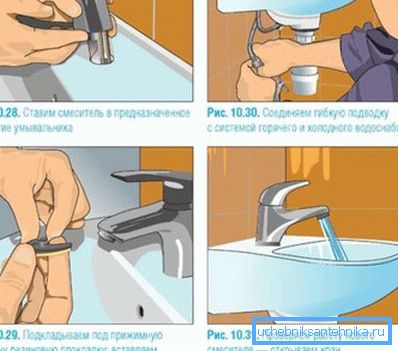
- If the installation is made on a new headset, then in the selected place we drill a hole in the worktop, wide enough to allow all the hoses for water supply to pass through. Most often, the borders of this hole coincide with the borders of the groove in a steel or stone sink.
- If you replace the mixer, then before you remove the faucet from the sink, you need to shut off the water supply on the riser. After that, carefully unscrew all hoses and pour their contents into a separate container.
- Next, take a new mixer and set it on the countertop. From below we fix the structure with the help of standard fasteners (one or several nuts with clamping gaskets are most often used).
- We connect flexible hoses for water supply to the lower nozzles.
- If wall mounting is used, then we connect the faucet to the pipe outlets using couplings, using a sanitary reel for better sealing of the pipes.
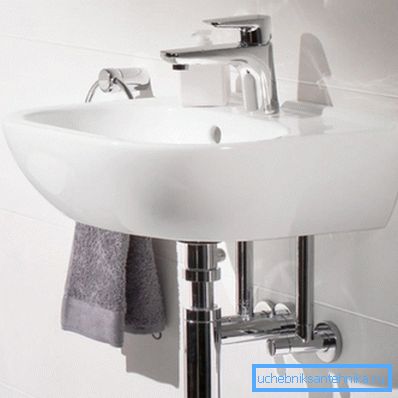
After completing all operations, turn on the water and check for leaks. If they are not there, the tap can be used!
Conclusion
Of course, information on how to fix the faucet on the sink will be incomplete without vivid illustrations. For this reason, we recommend that you carefully study the photos above, as well as view the video in this article. After that, questions about the choice and installation of the mixer should not remain with you!