Building a summer shower with your own hands - a few tips
It is rather difficult to imagine a dacha without a simple summer shower; usually gardeners try to organize at least a simple shower cabin. In some cases, such minimalism is justified, but sometimes it is better to build a full-fledged shower stall, which can be used not only in hot summer, but also in autumn and spring.
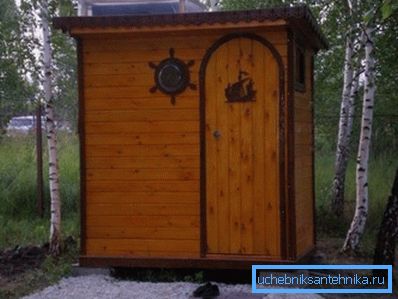
What summer shower to choose
Building a summer shower is a simple task, but sometimes it is difficult to find a suitable option.
Consider the main types of showers for giving, where you can highlight:
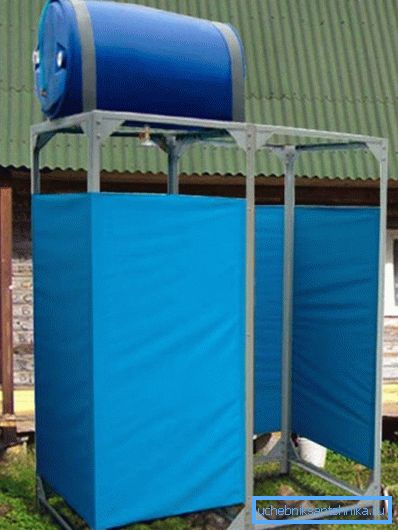
- basic shopping booths, consisting of a metal frame (round or metal tubes are used), curtains (they will be used instead of walls) and a tank installed instead of a roof. This arrangement of the tank allows you to solve 2 problems at once - creating the required pressure and soul autonomy, the volume of water will be enough for 2-3 people;
- according to the same principle, a shower stall can be made independently. As a material for the frame can be used as a metal profile (it is convenient to connect using metal pipe couplings or welding). And sheathe the resulting frame can be a tree, and polycarbonate, and any other material;
- If you plan to make the shower more capital, then you can already consider the options of a brick structure. Although the wooden structure remains relevant, you just need to pay more attention to insulation, wood protection and the foundation.
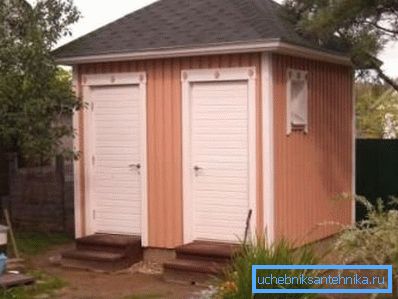
If to compare the listed options, then for the organization of a temporary shower, the simplest purchased shower is best. If it is possible to connect to the dacha water supply system, then you can even do without a container at the top of the frame, which will reduce the cost of the shower even more.
Note! If there is no desire to constantly manually fill the tank with water, then it can be put on the ground, and the necessary pressure will be created by a foot pump. According to this scheme, the shower toptun.
It is also possible to build a summer shower out of brick, this option can be advised to people who visit the country house not only in summer, but also in autumn, in spring. Of course, the cost of this design will be higher.
Intermediate option can be considered as a shower stall on a columnar foundation with plating, for example, polycarbonate sheets. If there are no cracks, then you can also take a shower in cool weather. Of course, to heat the water will have to install a tank with heating elements and connect it to the mains.

Where on the site to place a shower stall
Recommendations for building and planning of the suburban area can be found in the standard SNiP 30-02-97.
There are a couple of lines about the device of a summer shower, in particular:
- It is not recommended to arrange a shower stall at a distance of less than 8.0 m from a residential building;
- sewage treatment is recommended in pits or trenches filled with sand and rubble. In our case, the usual drain hole will do, because the volume of waste will be small.
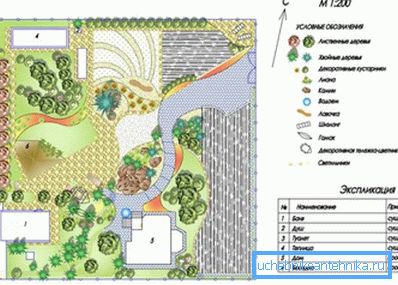
Also, when choosing the location of the summer shower, the following recommendations should be considered:
- place it preferably in the depth of the site, so that it was not visible from the street. Still, this is not the structure that everyone should have on a review;
- it is undesirable to place a booth in the valley. During heavy rains, the drain hole will simply fill with rainwater and it will not be possible to take a shower for some time;
- you need to think in advance about the approaches to the soul, it is possible to lay a separate path;
- if the option is to use the water to heat the sun rays, then the terrain should not be obscured by the branches of the trees.
Note! In the case when a summer shower device is planned with your own hands with a heating element, you may have to place it closer to the house than the standard 8.0 m. There is nothing wrong with this, simply removing the drain hole to the required distance.
Work Guide
If the shower is temporary and will be used relatively rarely (that is, the volume of flow will be small), then you can do without the foundation itself. Yes, and without a drain hole, too, the water will have time to be absorbed into the ground. But more often, a foundation is being built under the shower, especially since it does not require a significant investment of time and money.
So the foundation device can be considered the first item after marking on the site of the contours of the future structure. Next is the assembly of the frame or the laying of bricks and the final finishing of the shower stall.
Foundation device
Since the load is relatively small, then most often a columnar foundation is used for construction - it will provide sufficient strength and is built quickly. Under the brick buildings can be recommended either a strip foundation, or a column with a grillage. Sometimes a slab foundation can be used.
When constructing a columnar foundation, works are performed in the following sequence:
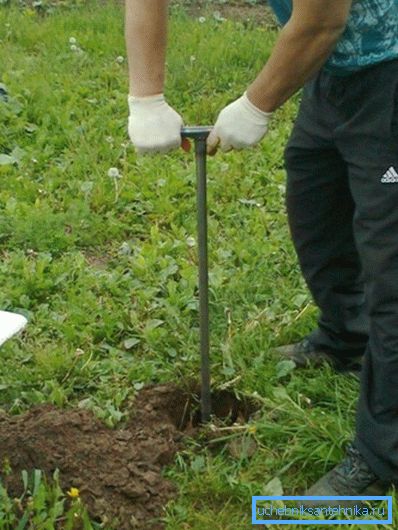
- with the help of a hand drill pits are made under the pillars;
- a sand and gravel pad is laid on the bottom, the total thickness of the layers is 20-30 cm;
- after it is possible to install a plastic or asbestos-cement pipe into the pit (it will act as a permanent formwork);
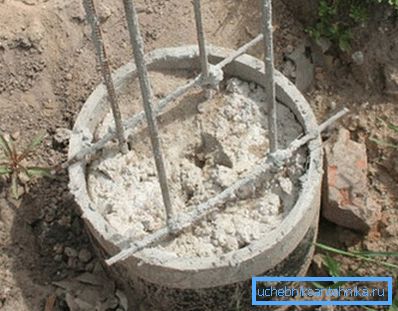
- an essential element of any foundation is the reinforcement cage. In our case, too, can not do. In order not to mess around with the welding machine, we will manage with a knitted frame - 6-7 reinforcing rods A-III with a diameter of 10-12 mm will be enough for 1 foundation column, the frame will be knitted using steel wire;
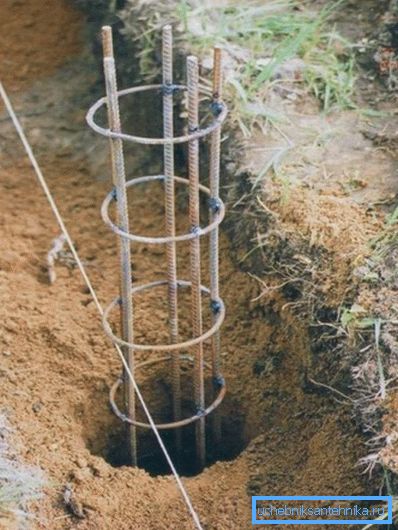
Note! When installing the frame in the formwork (pipe) you need to make sure that it does not twist and touch the wall of the formwork. The thickness of the protective layer should be uniform.
- Further, the instruction assumes the production and pouring of the concrete mix into the prepared formwork. Here you can advise not to use too large aggregate (maximum - 40-50 mm), otherwise the rubble will simply get stuck between the bars of the reinforcement cage and voids in the body of the column that reduce its strength;
- the edge of the basement (top of the pillar) should rise 40-50 centimeters above the ground. This will protect the frame from splashing water during rain and damp. Also, the concrete can be poured into the pit around the pipe, as well as make a small blind area after pouring.
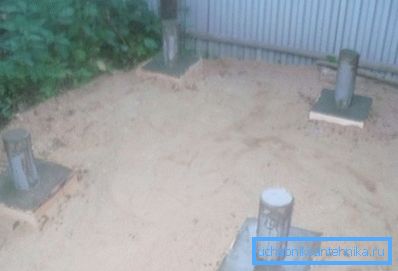
Note! Even at the stage of concreting, you need to think about how the shower frame will be attached to concrete pillars. For the convenience of mounting wooden bars, you can provide metal outlets, and for metal frames you can purchase special embedded parts.
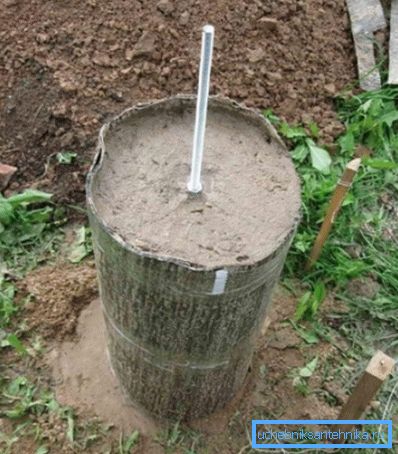
In the case of the construction of strip foundations, the procedure for carrying out the work remains approximately the same. Only the volume of earthworks increases and will need a more massive reinforcement cage.
Device drain hole
To build a summer shower in the country with your own hands and not to foresee a drain hole is the height of hindsight. Therefore, we will immediately take care of this element.
In principle, if the site already has a fairly spacious drainage hole, then it is possible to organize the drain into it. But more often, a separate drain is arranged for a summer shower, especially since it will not take long.
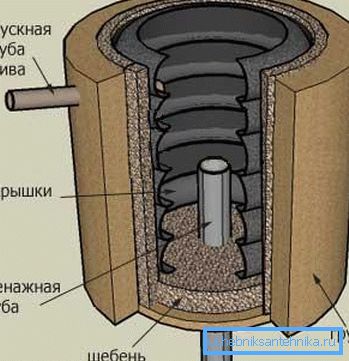
Usually the drain hole rumbles at some distance from the shower, the works are performed in the following sequence:
- earthworks first;
- then you need to strengthen the walls. If you don’t feel sorry for the time, then you can do it with the help of brickwork or concrete, or you can get along with a compromise option and use ordinary automobile tires;
- then a layer of sand and rubble is laid on the bottom, through which the drain will be filtered and go to the ground.
As for the organization of drainage from the shower stall, the simplest option is superficial (it is enough to dig a usual groove). But it is better to spend a little more time and lay a sewer pipe, albeit at a shallow depth.
Not bad proved the option in which the drain hole is located directly under the shower. In this case, its construction will differ slightly from the generally accepted one — the pit itself is placed between the pillars of the foundation and is filled to the top with rubble. Drain pipe slightly buried in it.
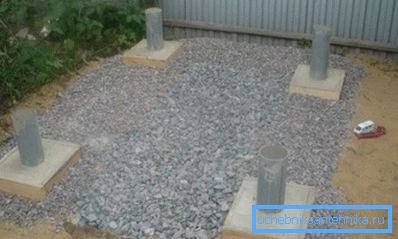
The device of a summer shower in the country with its own hands with such a drain will allow the most efficient use of the territory of the site and ensures reliable drainage. Among the shortcomings it can be noted except that a large consumption of rubble.
Building shower
At this stage, there are no special secrets. Attention should be paid to the stiffness of the frame and the absence of cracks, it is unlikely anyone would like to take a shower and feel the whole body stream of cool air.
Just in case, we mention the list of main works (the list of works is indicated for the wooden structure of the frame):
- the lower binding is mounted;
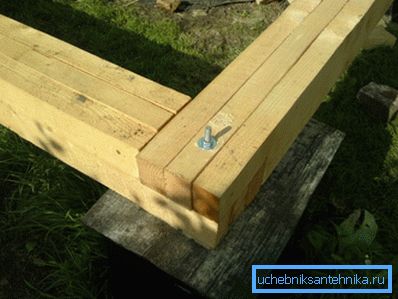
- racks are then installed in the corners, then intermediate racks, they are fixed with temporary cuts;
- mounts the upper trim bars;
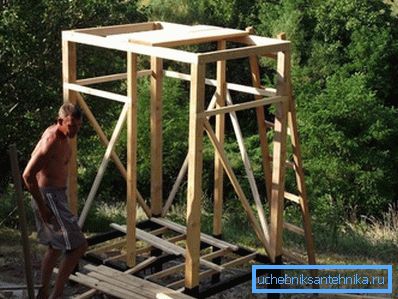
- temporary cuts are replaced by permanent ones;
- truss trusses are installed on the roof;
- wall and roof cladding is performed. It is advisable to make the roof transparent and place a massive dark water tank under it. This will allow the use of solar energy to heat water even in the cool season;
- the necessary equipment is installed inside, the drain is connected.
On this ambitious project - we build a summer shower in the country with our own hands can be considered complete. It remains only to try it in action and brag to your friends.
In conclusion
Building a summer shower at the dacha is almost an obligatory task for any summer resident. You can get by with a ready-made purchase shower, which is enough to be installed in the right place and use it immediately, but it is better to approach the task more thoroughly and build a more capital structure. In this case, the proposed material is useful.
The video in this article briefly shows the process of building a wooden summer shower in the country.