Cabin with shower: buy or do it yourself
If you needed a change house with a shower and a toilet for the dacha, then you can go two ways - the first one is its purchase in finished form from any manufacturer (company or private trader), and the second one is its independent production. Of course, each of the options carries with it its pros and cons, for example, in the first case, everything will happen quickly, but expensive, but in the second - slowly, but cheaper, and according to the size you need.
We will pay special attention to the second option, as it is used most often, and for the full picture you will be given a video in this article.
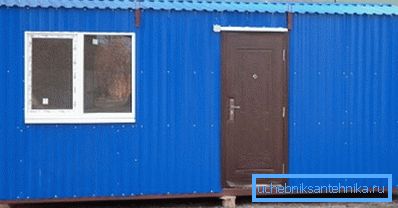
Change houses
Materials for construction
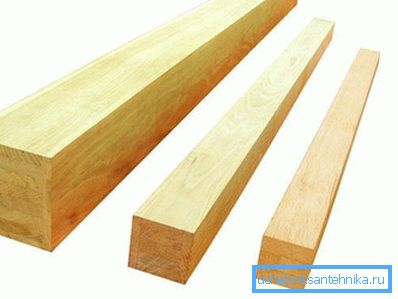
- If we are talking about summer cottages with a toilet and a shower, then one of the main materials will of course be a wooden bar from which, actually, the frame consists, not only for self-made structures, but also for factory metal sheathed houses. The thickness of the timber here mainly depends on the size of the building, although for the same project a different cross section is used - it all depends on the purpose (rafters, beam, lathing). But in most cases, the thickest timber is used for upper and lower trim, angular risers - 200200 mm and 150150 mm, as well as for log floor and rafters - 200100 mm or 150100 mm

- Considering the fact that country cabins with a shower and a toilet are made in a frame way, you will need a covering and there are two options here - metal sheeting or oriented chipboard OSP (European abbreviation OSB). But the cost of the metal (especially alumina galvanizing) is much higher than that of the OSB, besides, the metal is very hot and can be put only in the presence of insulation. But OSB will not only be cheaper, but also serve as a natural insulation, like any other wood, besides, you still have to sheathe something with a gazebo from the inside, and such material is not afraid of moisture, especially since it can be painted.
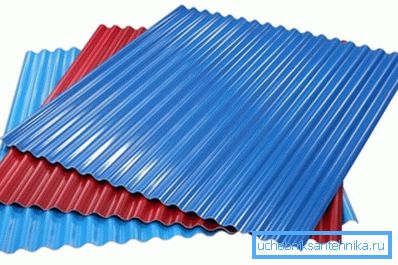
- Now, regarding the roofing materials - the instruction allows you to use almost any of them - most often it can be roofing material and slate, but we still would recommend you aluminum zinc profiled. Of course, the price of this material is the highest of all listed, but you will have to use it only once during the entire service life, no matter how long it lasts - you will not need to change and repair such a roof.
- If, when planning the construction, you mean such projects as winter change houses with a shower and a toilet, then you will, of course, need warming, and foam is most often used here, or one of the types of mineral wool (basalt, slag, glass). In addition to the insulation itself, you will also need waterproofing - it can be vapor-permeable or plain, dense cellophane film, as well as aluminum foil or thin foil insulation.
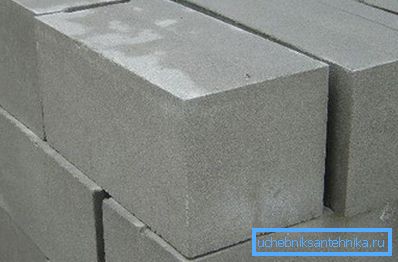
- Any cottage shower cabins, whether it is with a shower or without it, should be set on any basis, of course, it can be ordinary wooden logs, but such a foundation will not last long. Therefore, there are two good options here - this is a columnar foundation of concrete blocks, or slab, of concrete solution. And if you have a cabin with a toilet-shower-toilet and it is being built for many years, then it is much more convenient, of course, to use a slab base, but, again, it should not be overlooked that all this can be done from wood.
Installation
Note. We will not focus on how to make this or that foundation - our goal is to tell you how the cabins are made with a bathroom and a shower.
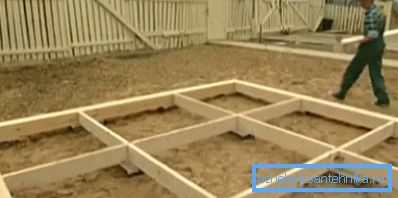
We will proceed from the fact that according to the project we have a columnar foundation of concrete blocks, each of which is covered with a cut-off waterproofing made of roofing material. Directly under the shed, no drain pits should be done (neither for the toilet, nor for the shower) - they are best done aside, and even better - take all drains through the septic tank.
Do not forget that all the blocks must be set strictly on a horizontal plane, the maximum distance is 2 m, but they must also be at every corner and under each joint of the wall and partition.
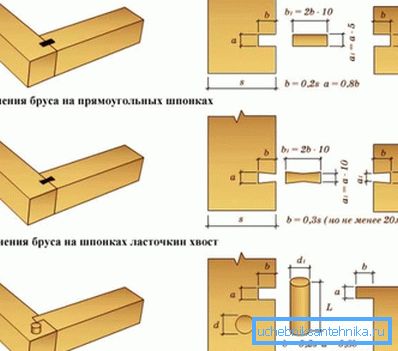
First of all, the four-bar trim is laid - it is better to use a cross section of at least 150150 mm - less is also used (100100 mm), but again, everything will depend on the size of the building. These bars are joined in a dovetail, on rectangular keys, or on a root spike, but in addition, for the insurance, you can fasten the corners with a metal corner, fixing it with self-tapping screws.
Tie bars should preferably be attached to the blocks with front dowels, if you are not going to move the trailer from place to place, but before that you must measure the diagonals so that their size coincides and the corners are exactly 90 ?.
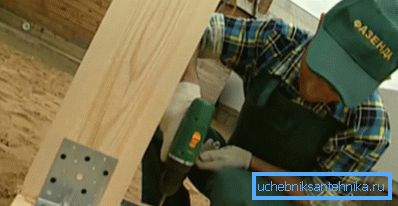
Racks are installed from a bar of the same section as the harness, and it is also more convenient to fix them with metal corners, as shown in the photo above. By quantity, you can calculate these profiles like this: you will need 4 pieces for the corners and 2 pieces for each partition, in addition, it is advisable to install a timber of the same section on the door frame, therefore, you will get 2 pieces for each door.
But one of them may refer to a partition or to a wall (this will save material).
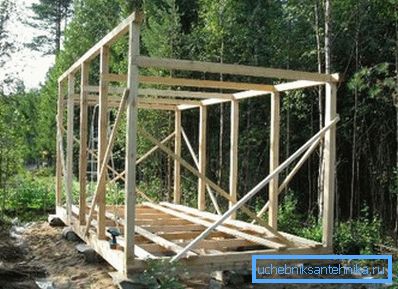
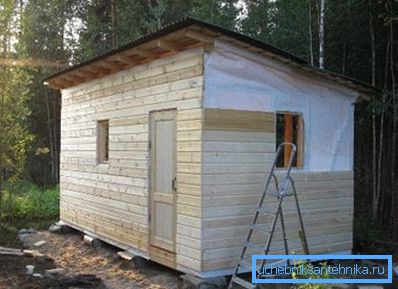
Whether it is a summer cottage or construction cabins with a toilet and a shower, in any case, first of all, you need to finish the construction of the frame, where vertical profiles are trimmed taking into account the slope of the lean-to roof - this is clearly seen in the top photo.
In order to keep the side risers in a strictly vertical position prior to the installation of the upper trim, they can be strengthened with wooden slats in the form of stretch marks - this is also clearly seen in the upper image.
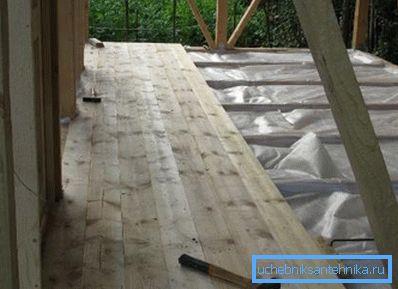
If we proceed from the fact that we will have a winter cottage with a stove with a toilet and a shower, then we will have to insulate it and first of all it concerns the floor, since you need to start with it, and at this stage you will have to take care of the ladder in the shower and the pipe sewer for toilet.
Of course, it would be better if you installed a pallet for the shower - in this case you will not need a ladder - you already need a siphon. Whatever it was, but the pipes immediately, before weatherization and flooring, need to be taken to the cesspool or septic tank.
Before laying the insulation on the floor, you need to take care that it does not fail, which means that you need to sew the same boards or (even better) galvanized sheets, or just make a batten from the slats.
It is best to put polystyrene on the floor - if water seeps through the boardwalk, then this heater will do absolutely no harm, however, make sure to cover dense cellophane over the foam, and seal the joints with adhesive tape. For the floor it is best to use a tongue-and-groove board - this will further protect the thermal insulation from the danger of leaks from above.
Note. Sheathing the walls with their own hands board or OSB, heat insulation, too, need to be cut off with dense cellophane or foil.
Conclusion
As you can see, shower cabins for giving a fairly simple structure that does not require particularly special knowledge. If you wish and have the necessary joinery tools, you will cope with this task yourself (see also the article Built-in shower - some important features of this type of structure).