Caisson for the well do it yourself: tips from professionals
In the process of well equipment, a separate place is given to the creation of a caisson. The fact is that this device can be safely called the basis of the whole structure.
That is why the question of how to properly make a caisson for a well with your own hands is very much discussed among modern masters.
Phased process
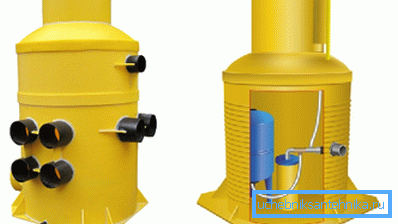
First of all, it is necessary to say that it is best to use ready-made plastic products during construction, which are equipped with all the necessary fasteners and additional equipment.. At the same time, ready-made modules do not need additional waterproofing and are lightweight, which significantly reduces installation costs, since you do not need to order heavy equipment.
Earthworks and installation of the main structure
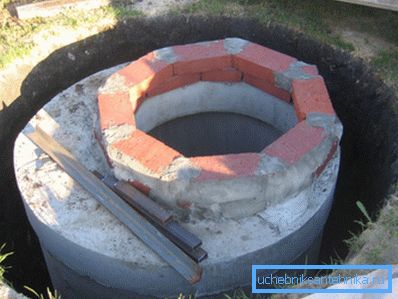
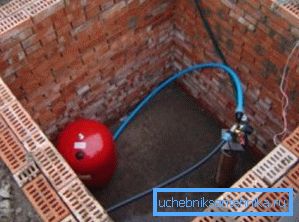
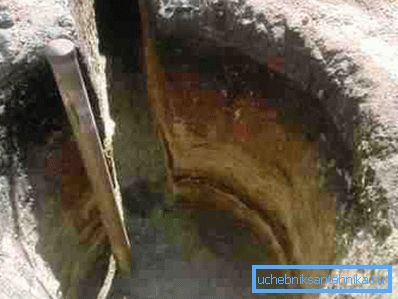
- First of all, you need to dig a large trench around a well in which a plastic construction can fit. At the same time, professional craftsmen recommend making the pit dimensions half a meter on each side more, so that you can organize the bedding and, if necessary, make the insulation. This is especially important if you create a caisson for a well from a brick with your own hands and in addition have to do waterproofing.
- The finished plastic segment is installed in the pit on the casing, in accordance with the instructions for the selected model. It is worth noting that some manufacturers intentionally change the method of fixation and the geometry of their products to stand out.
- After this, the space between the walls of the pit and the plastic construction is covered with coarse sand or fine gravel. At the same time, it is first necessary to carry out a water pipe in advance, which the installation manual recommends to place at a depth below the ground freezing level.

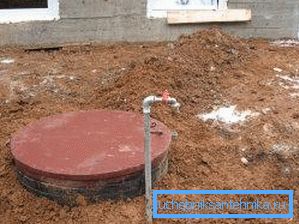
- A concrete blind area is arranged on top of such a filling in order to protect it from the additional influence of moisture from the outside.
- At the bottom of the caisson lay a layer of cement mortar with crushed stone and a small amount of liquid glass. So get a solid foundation, which not only will hold the design of the walls when raising the level of groundwater and will not allow them to get inside, but will also become a support for the installation of other equipment.
- As a result, we obtain a plastic container installed in the soil, from the bottom of which a casing string reaches a level of more than 20 cm, but not above the level of soil freezing. If it is impossible to choose such a distance, then the professionals recommend that the caisson and the water pipe that comes out of it be warmed.
Tip! Before starting installation it is worthwhile to create a small project in which you need to display all the main components of the system. This will greatly facilitate the work and will avoid errors due to carelessness.
Interior arrangement
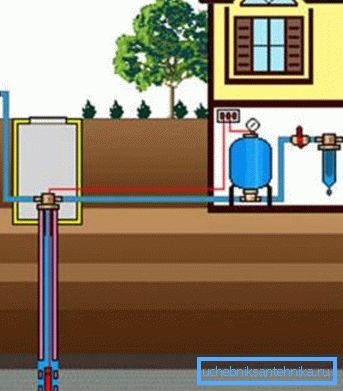
- If you are arranging the caisson for the well with your own hands, then you should immediately determine what type of pump will be used. The fact is that the location of all elements of the internal space will depend on this.
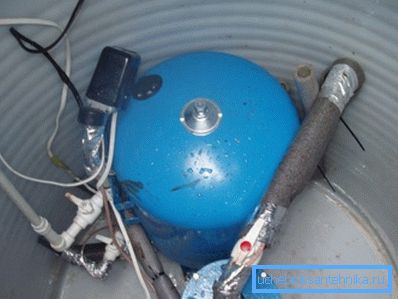
- When using a surface pump, it is installed directly in the caisson, fixing it on a concrete base. There you can also place the hydroaccumulator and other elements of this node.
- After that, a pipe or hose is fixed to the pump inlet, on the other end of which a special filter is mounted.
- Next, make the immersion of the system to the bottom and then raise it one meter. So reduce the likelihood of contamination of the filter for the well.

- At the final stage connect the system with a water pipe that goes into the house.
- If a submersible pump is used to create a well, then the principle of arranging the caisson looks a little simpler.

- First, a check valve is installed on the pipe or hose that will be immersed in the casing. Its purpose is to prevent the occurrence of water hammer. In this case, the price of this part is small and you can not save on it.
- Next, install the pump, which necessarily attach the metal cable in a moisture-resistant braid.
- Then, every 0.8 meters, they fix the cable and the power cable on the pipe with the help of special fasteners.
- At the next stage, the system is immersed in the casing, from which a headband is placed. To him fix the water pipe and cable.
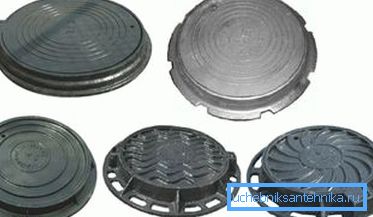
- After that, the headband is mounted on the column, securing it with special bolts through a rubber gasket.
- At the final stage, it is necessary to connect the external water pipe to the trunk of the one that is immersed in the well. At the same time, the remaining structural elements are best located inside the house to ensure proper system pressure and timely care.
Tip! The location of the caisson is a kind of sanitary zone. That is why it is placed away from cesspools and trying to create a small elevation.
Conclusion
Watching the video in this article, you can get more detailed information on how to create a caisson. At the same time, on the basis of the text presented above, it should be concluded that this process is rather laborious and requires certain knowledge from the performer. However, if, having thoroughly studied all the necessary material on a topic, then even a beginner can handle the work.