Change of plumbing in the apartment: 3 main stages
Sooner or later the time comes when the replacement of the plumbing system is required. And then the question arises: to call to perform the necessary work of a professional plumber, or to implement everything yourself? If you prefer the second option in order to save, then read for a start with the contents of this article, which contains the main recommendations on the arrangement of water supply for apartments.
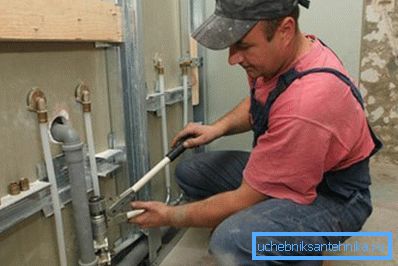
Reasons for Replacing
What makes it all worth changing pipes?
Let's look at the main indicators of what is already time:
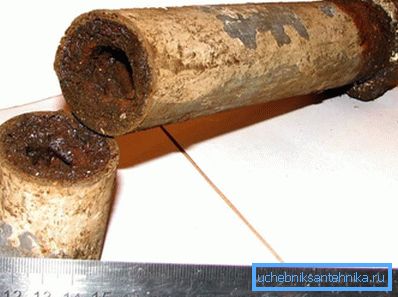
- Garbage plugs. Old pipelines in standard flats were assembled from steel pipes that did not have an internal anti-corrosion coating. With goals inside such a system, particles of rust, sand, scale, mineral salts accumulate on the walls, which form a dense insoluble formation. Periodic cleaning with a steel cable solves the problem only for a short time.
- Regular leakage. The suture type of pipe tends to start flowing in several places over time. Constant calls to the welder are not cheap and, as in the previous case, the result is only temporary.
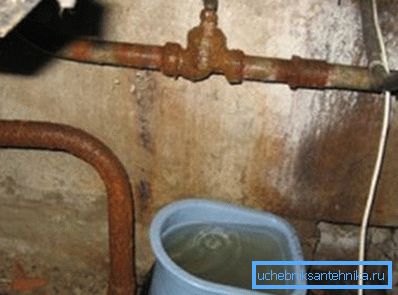
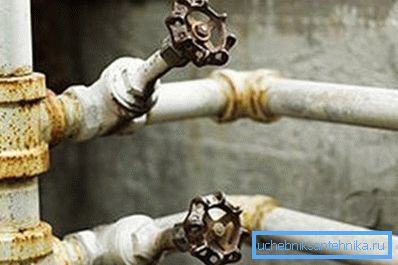
- Lack of attractiveness. An old metal construction with many traces of streaks, rust and layers of paint causes rejection. If you want your kitchen and bathroom look aesthetic, then it's time to think about the new plumbing.
Progress
Installation of plumbing in the apartment with their own hands begins with the selection of the material of new pipes:
Stage # 1: Choosing Pipes
| Title | pros | Minuses |
| Steel |
|
|
| Galvanized |
|
|
| Metal plastic |
|
|
| Polypropylene |
|
|
Tip: when choosing metal-plastic products, try to place the fittings in easily accessible places where you can quickly tighten them to eliminate any leaks.
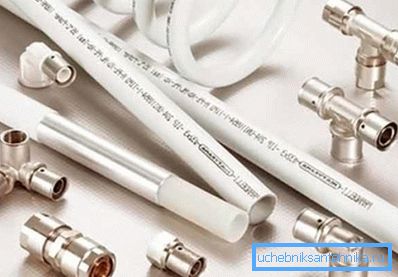
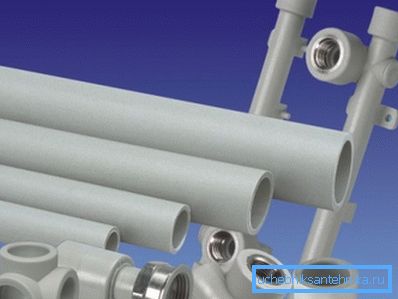
As you can see, polypropylene pipes are an ideal option for flat plumbing for self-assembly. Even the only minus does not matter much, as their strength is weak relative to steel models, but it is quite enough to meet the household needs in a residential apartment.
Stage 2: scheme
Next, draw a scheme of water supply in the apartment with their own hands. It is necessary first of all for you, so as not to get confused in all the intricacies of the future water supply system, which is not limited to pipes alone, and may be needed by a water utility inspector when connecting a water meter.
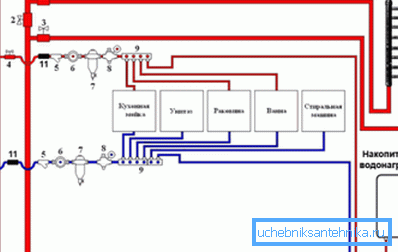
| Designation in the figure | Item Name |
| one | Valves for heated towel rails |
| 2 | Shut-off valves on the "bypass" |
| 3 | Valves from the heated towel rail |
| four | Shared hot water valve |
| five | Coarse Filter |
| 6 | Water meter |
| 7 | Fine filter |
| eight | Gearbox |
| 9 | Collector |
| ten | Cold-water common valve |
| eleven | Check valve |
| Cold-water | Cold liquid riser |
| Hot water supply | Hot liquid riser |
| OBR | Rack "reverse" |
Tip: do not neglect the installation of filters, especially for coarse devices. Their absence threatens not only your health, but all sanitary fixtures.
Stage number 3: installation
Now we will directly consider how to properly make the plumbing in the apartment:
- Overlap the riser. For this task it is advisable to call a plumber, this ensures that water will not suddenly be turned on by someone at the time of the dismantled pipeline. In addition, if the water supply system in the house is old, then there is a risk that the public valve will simply remain in the hands when it is tightened or unscrewed, and it’s better, of course, that an authorized specialist should face such a problem, not you.
- We replace the old valves with new ball valves, which are much more practical and attractive. Shut off them, after which you can no longer rush to hold water in the apartment.
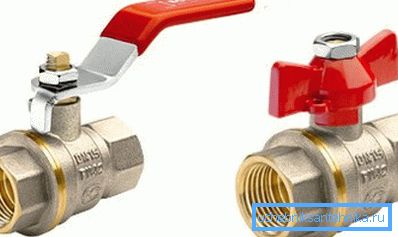
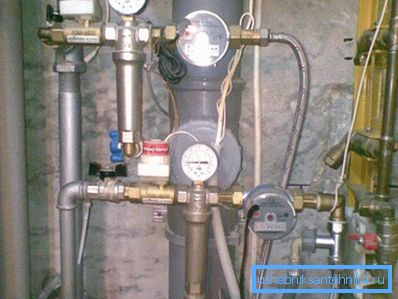
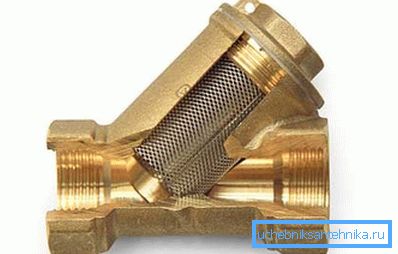
- We install coarse filters to prevent the penetration of rust, scale and slag from the public water supply system into your apartment plumbing.
Tip: install the filter tank down so that the dirt stopped by the mesh settles to the bottom of the sump and can be removed. If you send the device upside down, its efficiency will be reduced to a minimum.
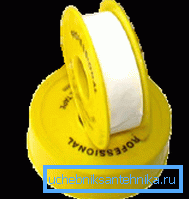
- The filter, the first fitting and the mixers are connected using a threaded connection. Be sure to wrap the threads pre-FUM tape to increase the sealing of the joint.
- The instructions for connecting the plastic pipes themselves are as follows:
- Mode pipe on the desired segments.
- We insert special nozzles into the soldering iron and heat it to the melting point of polypropylene.
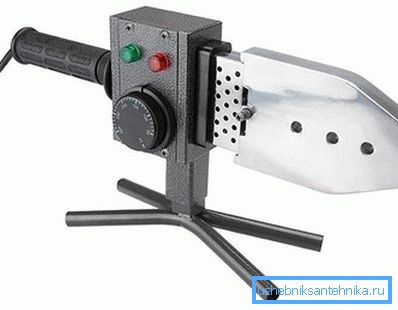
- We put the pipe and fitting on the nozzles for a few seconds.
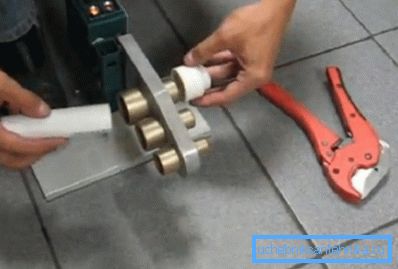
- We take out and quickly insert each other.
- The connection is reliable and durable.
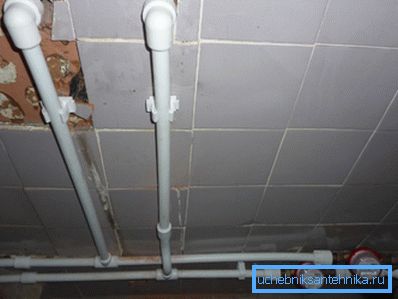
- So collect the entire circuit.
Conclusion
Replacing the plumbing in the apartment is quite feasible on its own taking into account the use of modern materials. Everything fits into three stages: the choice of pipes, the creation of the scheme and the implementation of the installation itself.
The video in this article will provide additional material.
Have a good time doing this!