Connecting the well to the house: tips and recommendations
When all the problems of drilling the well and its designation are left far behind, a whole range of additional work is needed to bring water into the house. Many people believe that this process is quite simple and does not require detailed instructions. However, if this were so, then the question of how to connect the well to the house would not be asked so often.
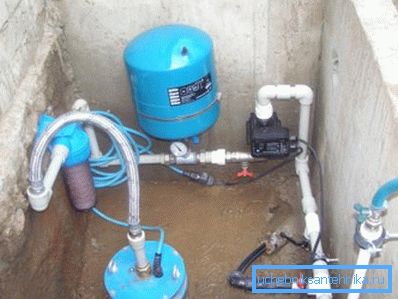
Phased process
To begin with, it should be said that all work on further improvement can be divided into three stages. The first involves the creation of a caisson and installation of the pump. The second stage is responsible for laying the pipeline, and the third paragraph tells how to organize the pressure compensation and cleaning system in the house itself.
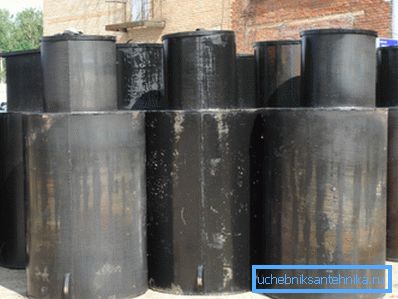
Caisson
- To begin with, a small trench is dug around the well casing, in which the caisson will be installed.
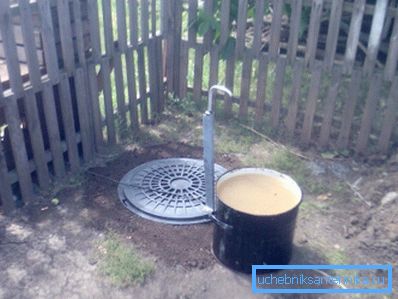
- Its purpose is to create a small space at a level below the freezing ground, where the entire pipeline system will be located. It is necessary for the subsequent well maintenance and repair. Also, the caisson should protect the structure from the effects of groundwater and stormwater.
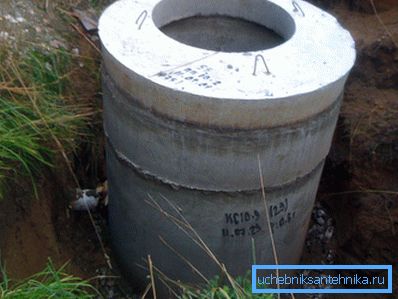
- Previously, the walls and floor of such a well were lined with bricks, they were made waterproof and additionally insulated. At the same time, a small hole was left in advance at a level below the freezing of the ground, so that a pipeline could be installed through it. Also on top was made a concrete cover, which had a hole for the hatch.
- Some masters for such work preferred to use concrete rings, allowing to quickly create a spacious well, which perfectly tolerated all external influences. However, both of these methods are rather laborious and costly.
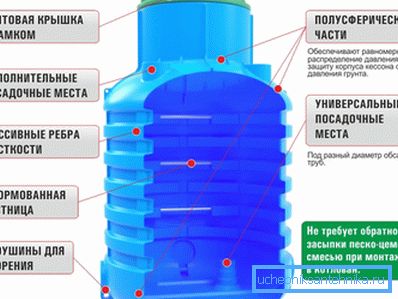
- Currently, professional craftsmen prefer to use plastic caissons, which are sold in specialized stores. They are simply placed in a pit in accordance with the instruction manual, and the bottom for reliability is poured with concrete with liquid glass. At the same time, the price of such systems is low, and the simplicity of their installation also affects the cost of work.
- Experts advise to insulate such structures so that the water in them does not freeze in winter.
- It is necessary to say that there are metal structures of this type, but their cost and practicality leaves much to be desired, although some experts still use them, spending on additional waterproofing, corrosion protection and insulation.
- After the caisson is installed and fixed it is necessary to install a water pump.

- To begin with, a check valve is attached to it. It will prevent hydraulic shocks in the system.
- After that, a pipe is attached to the valve, and a galvanized wire braided of non-wetting material is attached to the pump itself.
- It should be noted that the cable and wires are fixed on the pipe at a distance of not less than 1.5 meters.
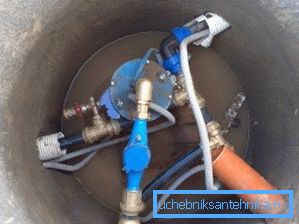
- Next, make the dive to the bottom of the well. As a result, there remains a pipe, a cable and a pump feed wire on the surface.
- At the next stage, it is necessary to note the level of maximum depth using a marker on the cable, and then raise the pump by one meter.
- Then make a fixation. For these purposes, apply the tip of the casing, to which is attached the cable and water supply. Subsequently, it is fixed through the sealing ring on the bolts.
- As a result, on the floor of the caisson appears the upper part of the tip, securely fixed with a water pipe, to which further wiring can be fixed.
- It should be noted that such a well connection is typical and meets all necessary standards.
Tip! In this process, small changes or additions may be allowed due to the design of the materials used. Therefore, it is very important to study in detail the previously developed project and check it for compliance with the acquired elements of the well.
Pipeline laying
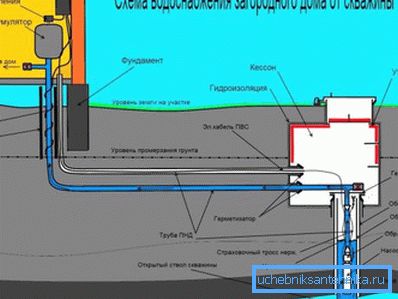
- At this stage it is necessary to dig a trench that would lead from a special hole in the caisson to the house.
- It is worth noting that its depth should be below the level of soil freezing, and entering into the house should be done at the level of the basement or basement.
- After that, a trench layer of 5 cm of sand is laid on the floor of the trench, which is recommended to be shed with water and leveled for compaction.
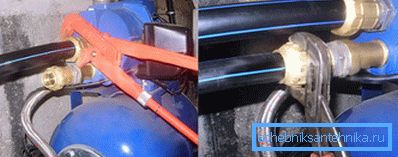
- In the next step, you must select a water pipe. Professional masters recommend using propylene systems for this purpose. They are sold in roll form and do not require additional connections when laying, as they can even turn at a certain angle.
- It must be said that the diameter of such a pipe must be at least 3 cm. Therefore, in advance it is necessary to purchase all the adapters necessary for installation.
- Then a tee is installed on the pipe in the well, to one side of which a water pipe is connected. In the second branch mount a small crane, which will serve for technological work and help relieve pressure during maintenance.

- To the pipe laid in a trench, some craftsmen place the wire and the feed pump. However, this decision will be wrong, because the installation manual prohibits it. The fact is that both conductor will be affected by inductive currents and at the same time maintenance and repair of electrical systems can be performed much more often than plumbing.
- Given this, the wires are usually brought out of the caisson or placed in a separate trench, if they use a special cable and a corrugated protection.
- Professional craftsmen recommend protecting the pipe from heavy loads from above. To do this, you can use special concrete boxes or other safety systems that are installed in the trench.
- You can also use special housings for pipes that are made from foamed polystyrene foam. They will serve as an excellent protection against small loads and will serve as insulation.
- After that, all fall asleep dug soil and compacted.
Tip! Even if the input to the house and the output from the caisson are located below the freezing of the soil, in the places where the pipes pass through the walls it is still necessary to install insulation and protection against friction.
Home Improvement
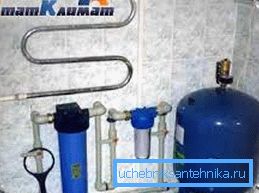
- This stage is considered to be one of the most simple and it is quite possible to do it yourself. It does not require tedious land work and is to build the system.
- First you need to organize the free space on which all the necessary equipment will be located.
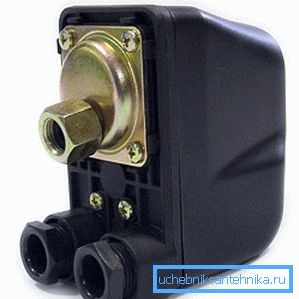
- Then, a pressure switch is installed on the inlet pipe. It will be responsible for creating a specific working head throughout the system.
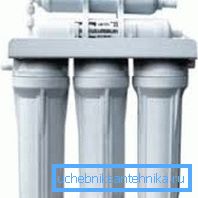
- After that, experts recommend to put a mesh filter, which will serve as additional protection against large debris.
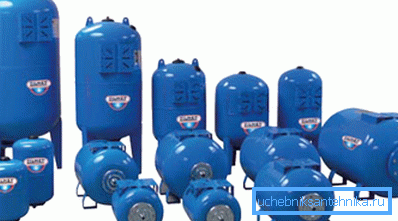
- The next step is to install the hydroaccumulator. This device is responsible for maintaining the pressure in the system even after the water pump is turned off. At the same time, thanks to him, it does not need to be turned on all the time to provide access to water.
- The accumulator has a certain volume, which can also be used as a reserve. However, you should not install large devices, the cost of which is very high. Professional masters recommend the use of several products of smaller volume, which does not affect the pressure, but will allow you to use water without turning on the pump for a longer period.
- After that, the usual distribution of water through the house.
Tip! Not always well water is perfectly clean. That is why it is recommended to install a fine filter in the house.
Conclusion
After reviewing the video in this article, you can get more detailed information on how to organize the entire system of home water supply from a well. In this case, based on the text above, it should be concluded that this process is rather complex and may require certain skills from the executor. However, if you have a project and follow the instructions of the installation manual, you can perform it yourself (see also the article Independent construction of a well on water).