Construction of a water supply system: a plan for laying
Construction of water supply and sewerage in a private estate can be done without attracting professional plumbers. Of course, in this case, the work will take a little more time, but in this way we will be able to save significantly and ensure the required quality of installation.
In our article we will tell you where to start the construction of the water supply system and what the main stages of this process should be highlighted in the design.
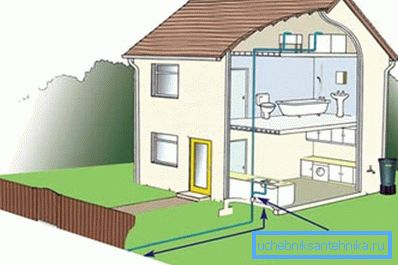
Source selection
Construction of water supply networks must begin with deciding the question of where we, in fact, will take water.
And for a private house two options are relevant:
- If your site is in close proximity to the main water supply, you can connect to it. In spite of the fact that it takes quite a lot of time to issue permits, this method is preferable: only the price of pipes for laying and payment for installation works will be included in the cost of construction.
Note! Most of the installation of pipelines can be done by hand, and below we will tell you how to do it. The only exception is probably the laying of a network under highways and access roads: here it is better to use specialized equipment.
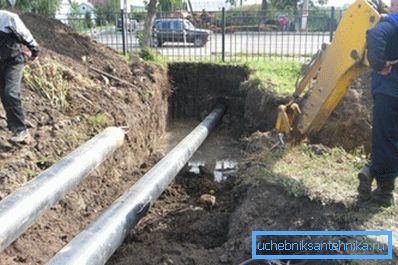
- If there is no water supply at the site, then you will have to equip the source yourself. At the same time, we either dig a well (if the groundwater is no deeper than 10 m), or we drill a well.
- To lift the water and transport it through the pipes, you will have to install at least a pump, and as a maximum - a full-fledged water pumping station, which will ensure the management of the entire water supply system in automatic mode.
However, despite the cost and complexity in the implementation of the second option, it should be noted that individual sources are often equipped in the event that there is a main water supply system nearby. It is all about water quality: well or borehole water is often much cleaner than the one that flows through the pipes from the treatment plant.
Laying communications
Outdoor networks
If we exclude the digging of a well or the drilling of a well with the arrangement of a neck, then the most labor-intensive stage of laying the water supply system in a private house is the installation of its outer part:
- To place the pipes we need to dig a trench. Its dimensions should allow placement of the contour below the level of soil freezing, but usually the instruction recommends making it a depth of 1.8 m or more.
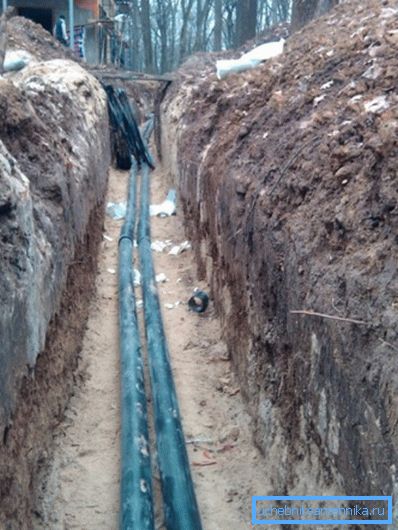
- The bottom of the trench is carefully leveled, after which we fall asleep on it a sand pillow with a thickness of 10 cm. The sand is well rammed to minimize shrinkage over time.
Tip! If there are large stones in the soil, they should be removed, thereby reducing the risk of damage to the pipeline during contact.
- Next, we lay the pipe, one end of which is attached to the pump or the water carrier line, and the other end is brought to the house. If earlier for this purpose cast-iron products from pipes were used, then today it is much easier to lay a thick-walled polyethylene hose. Lack of connections will be an additional argument in favor of this option.

- To avoid freezing of the pipe (and as a result of the rupture of the walls), you can protect it with a heating cable. Of course, to maintain a positive temperature in the cold will have to spend electricity, but in any case it is cheaper than digging up the frozen ground and performing the replacement of the damaged section of the water supply.
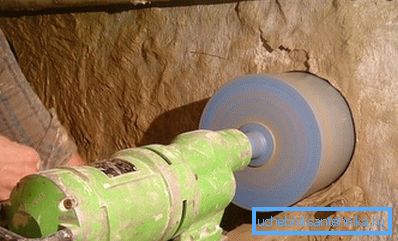
- At the final stage, we make a hole in the foundation or base (it is best to use a drill with a laser crown). Through this hole we start the pipe into the room, after which we fill the trench with the excavated soil.
Internal networks
Inside, we need to do pipe routing at all points of consumption. To do this, it is best to use metal-plastic pipes or products made of polypropylene: they are all relatively easy to install and have a sufficient period of effective operation.
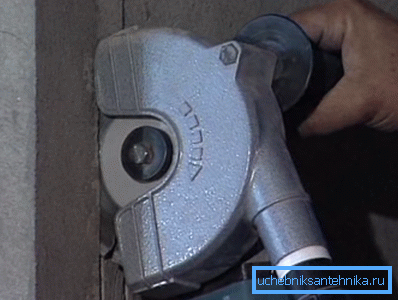
We perform works in the following way:
- We apply markings on the walls along which water supply pipes will be laid. At the same time, we remember that in some places there will be a parallel sewage pipe, so we make the necessary margin in width.
- By marking either we fix wall brackets (for external installation), or we cut out grooves (for internal installation). The size of the strobe is chosen so that the pipe is completely hidden in the thickness of the wall and does not protrude under the finish.
- Then we install a crane to the pipe inlet, preferably a ball valve, and fasten a collector to it. This detail is needed in order to equip several independent water supply circuits: so when using one mixer, the pressure in the others will not decrease to critical values.
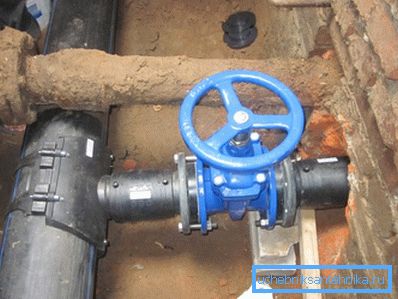
After installing the collector, we do pipe routing.
Branches are needed for:
- The faucet in the bathroom.
- Mixer in the kitchen.
- Connect the toilet.
- Washing and dishwasher.
- Water heater (boiler or boiler).
From the last device also need to lay the pipes of heating and hot water.
All communications are collected either by using press fittings for metal-plastic, or by welding polypropylene. We attach the valves to the pipes (taps, mixers), after which we perform testing by applying pressure to the system.
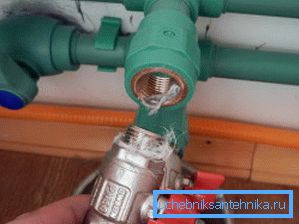
If no leakage was found, the grooves can be filled with a solution, then proceed to the finish.
Conclusion
Of course, here we have given only general tips on how to build water in the country with their own hands. However, a well-written plan is at least 50% of success, and the details can be found by viewing the video in this article.