Convenient summer shower to give your own hands
Sooner or later, almost every summer resident wants to figure out how to make a summer shower in the country. Of course, the modern market offers many ready-made designs. But, firstly, these are additional expenses, and secondly, after the construction of the house, as a rule, there are building materials that can be successfully attached.
And finally, with your own hands, you can build exactly what you want.
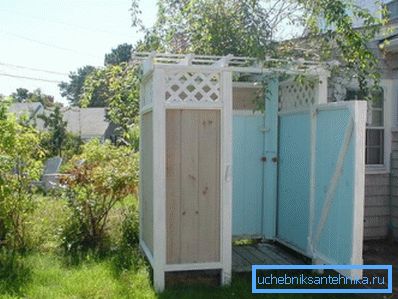
What are the options
Before you make a summer shower in the country, you must first decide what you want to see in the end. From this depends largely on the price of construction and how much it will stand. The simplest, fastest and most affordable option is the construction of the film structure.
Most often it is an easy folding framework with a usual shower blind. The advantage of this type of structures is their mobility. It can be assembled or disassembled in a couple of hours, plus it doesn’t weigh much, easily carried around the site, and hides in the house for the winter.
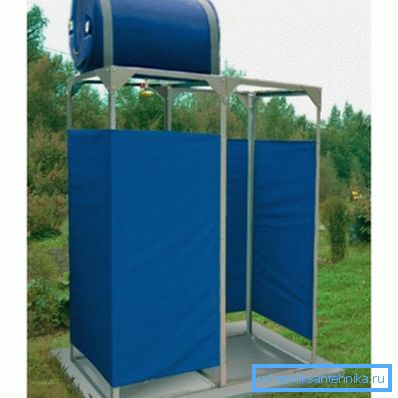
But, unfortunately, this is where all the advantages of light film construction end. Often these booths are assembled for a short time, a maximum of a season or while a house is being built.
As a material for the frame, a metal corner, a profiled pipe or a wooden bar of 50x50 mm can be used. The construction is covered with polyester, tarpaulin or regular polyethylene.
Important: you do not need to attach the film shower to the wall of the house, especially if the house is wooden. Film facilities are temporary, and if soapy water splashes onto the wall of the house during the season, it will at least permanently lose its aesthetic appeal.
At least half of all structures of this kind are made on the principle of frame assembly. As in the first version, these booths require the construction of a solid frame, but in this case the design is made more solid, under it laid the foundation. Such frames, as a rule, are not designed for the possibility of dismantling.
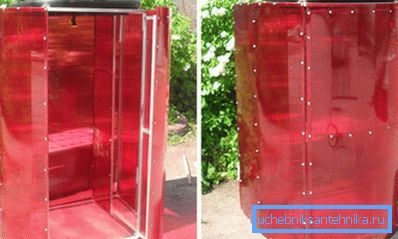
The frame is sheathed with any sheet of waterproof material. It can be asbestos-cement slabs, slate, sheets of corrugated flooring or wooden lath.
Especially popular lately is cellular polycarbonate. The disadvantage of such booths is the need for seasonal prophylaxis.
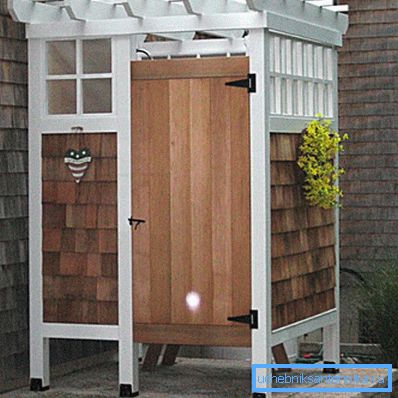
But the capital installation of the summer shower in the country, is considered almost ideal. In this case we mean solid, block structures. Time, effort and money for the construction of such a summer bathroom will take much more, but as a result you will receive a structure that will last more than a dozen years.
Stages of construction
So how to install a summer shower at the dacha can practically everyone, the main desire, the specialists of our site have developed a general instruction, which contains the basic recommendations for construction.
In fact, it is not so important what kind of summer shower design is chosen in the country, we tried to reveal the most important points that fit most of the structures.
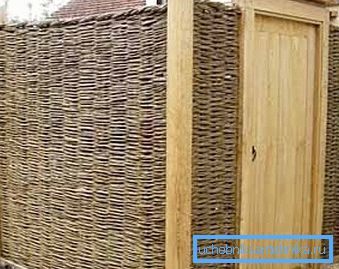
Where do we start
- Any, including collapsible simple design begins with drawing on paper. In this case, no one forces you to make complex drawings of a summer shower to give your own hands, it is enough to draw a detailed sketch indicating the sizes and materials.
- When your improvised drawing of a summer shower in the country will be ready, you can think about where to attach this architectural structure. This aspect is especially important if you are building a capital structure. First of all, remember, the shower should not stand in the valley. As a rule, it is installed on the highest open point.
- The second factor to consider is the convenience of organizing the drainage and filling of the upper tank.. If there is already a drain hole on the site, and a sewer pipe is laid to it from the house, then it may be necessary to think about installing the cabin somewhere in the middle. So that it was convenient to crash into the drain pipe.
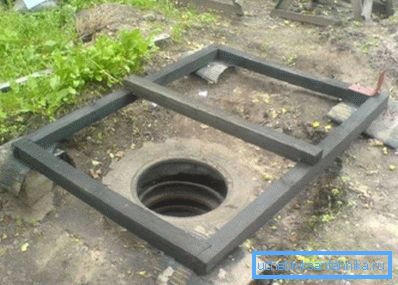
- Seasoned gardeners are not advised to install the booth so that it can be seen from the street, it is better to hide the structure behind the house.
- And finally, if you install a summer shower in the far corner of the site, you may have problems filling the tank, especially if you pour it in buckets manually.
Arrangement of the basics
If we are talking about a collapsible temporary structure, then it is quite enough to pour out a few buckets of rubble and level it. After installing the booth, a wooden ladder falls on the rubble and a small water groove is dug out of the embankment. For the temporary construction of this will be enough.
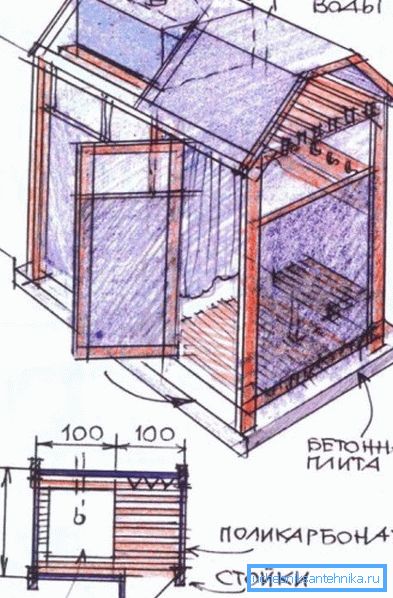
In the case of the construction of a booth frame, it will be necessary to lay a small columnar foundation.
The summer shower scheme for the dacha, while providing for the arrangement of 4 bearing pillars at the corners of the structure.
- It’s easy to do it yourself, after the markings were applied, you need to take an ordinary garden auger and drill 4 holes to them, to a depth of about 1m.
- At the bottom of the holes, the sand-gravel pad is dampened, moistened and well compacted, it is not worth doing too much, it is enough 100 - 150 mm.
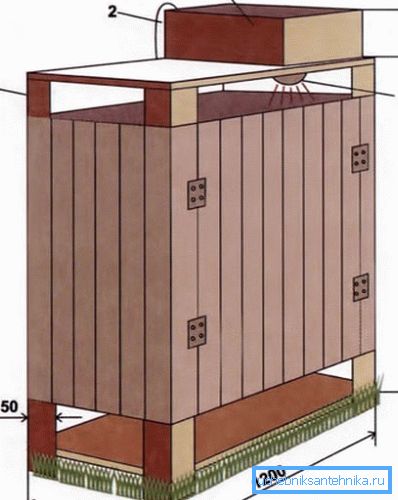
- Next, the size of the holes, you need to twist the pipe from the roofing material. These pipes should be inserted into the wells and preferably reinforced.
- To determine the composition and detailed proportions of concrete, we insert tables according to which it is possible to prepare a solution for any foundation.
- Initially, the well is filled with a solution of only 1/3. After that, the pipe will need to be pulled out by 100 - 150 mm and as soon as the cement starts to set, it takes about 2 hours, the rest of the column is added. During the set of the fortress, the concrete must be moistened, the monolith freezes to 28 days, but in this case a couple of weeks are enough.
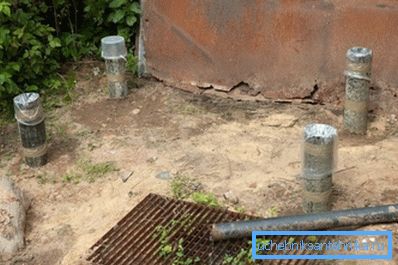
- The metal frame is attached to the fixture. To fix the wooden frame is used pre-processed and wrapped with roofing material beam. It sinks into the monolith while the concrete is still liquid.
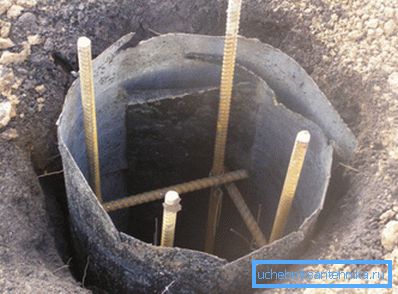
Tip: Some experts prefer to use asbestos-cement or plastic pipes for arranging posts. There is nothing wrong with this, but additional costs will be borne on your shoulders, and the option with roofing felt will cost a penny.
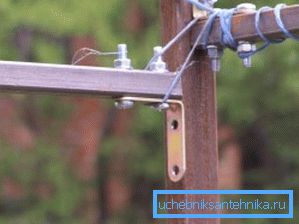
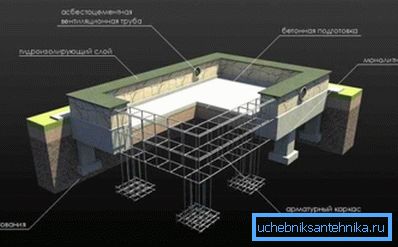
Capital construction is not much more complicated. Depending on the soil can be poured tape or tape-column foundation. How to make the pillars you already know, the contour of the strip foundation is laid to a depth of about half a meter. The width of the tape is calculated depending on the width of the laying, it should be 50 mm wider than the wall.
The concrete belt is poured 150 to 200 mm above the ground level. Here everything is as usual, the formwork is done, the reinforcement cage is laid inside and concrete is poured. Drain, sewer pipe is better to insert at the stage of pouring, so that later not to hammer the concrete.

The pallet itself is also made of concrete. Inside the foundation is chosen soil to a depth of 150 mm. Next, you need to determine the point of discharge, it will be made to bias.
At the bottom of the pit, a sand and gravel pad is laid on 50 mm. A thin layer of mortar is poured onto it and the reinforcement mesh is placed. Next, pour the remaining part of the solution to the desired level.
Tip: often the drain in the summer shower is mounted directly, without a siphon. But if the drain hole is near and you are afraid of smells from it, you can install a special siphon with a dry gate. The standard water lock cannot be used, because with the onset of cold weather, the water in it will freeze and tear the structure.
A few words about the drain hole
The dimensions of this structure are determined depending on the frequency of use, but experts advise to make it at least 2m ?. The walls of the pit can be strengthened in different ways, some install a plastic container without a bottom, something resembling a septic tank.
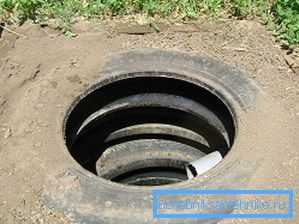
In small constructions, you can put a stack of old automobile tires. But ideally, it is better to lay out the perforated wall of full-fired burnt brick in a checkerboard pattern. The bottom of the pit is covered with a layer of gravel.
Important: all such structures should be no closer than 2m from the foundation. The fact is that at such a distance the penetration of odors is unlikely. But the main thing is the possibility of flooding and destruction of the foundation itself.
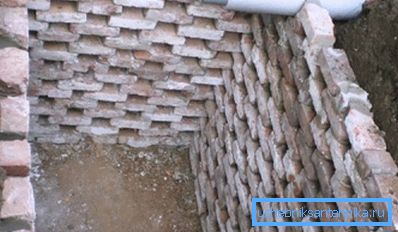
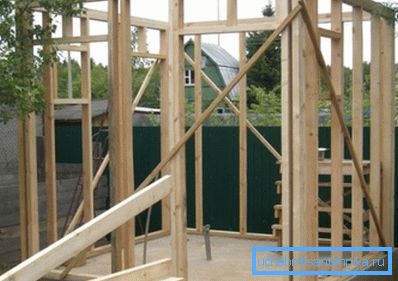
Frame construction
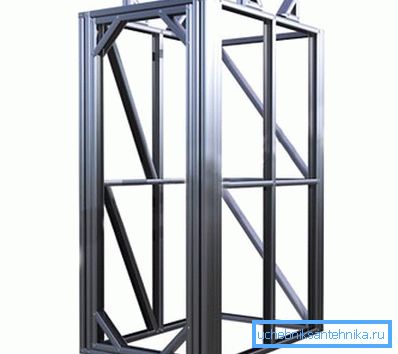
The frame for a lightweight summer shower can be assembled from a shaped tube, a metal corner or a tree. In wooden structures, the bar of 100x100 mm is used for trimming the lower chord; all the rest is made of 50x50 mm bar.
If you choose between a corner and a profiled pipe, it is better to take a square or rectangular pipe. It is equally easy to assemble the frame itself from both the corner and the pipe. But to fix the lining is much more convenient to the pipe. The fact is that the screw on metal easily bites into the pipe wall, while the corner will need to be pre-drilled.
As for capital structures, before erecting walls, a waterproofing layer is laid on the foundation, most often it is roofing material. It is advisable to use silicate brick as a material; it often does not need plastering and further lining. If funds permit, you can build out of facing bricks. The thickness of the masonry is usually done in half-brick.
Sometimes the owners are interested in how to warm the summer shower in the country, so that you can use it in the offseason. Everything is simple, it is better to take sheets of foam as a heater. Some advise styrofoam, but its price is significantly higher, and in this case there is no difference.
It is possible to warm both from the inside and the outside, it is convenient for you. Initially, a lathing of wooden beams or metal profiles for drywall is mounted on the wall. Insulation is laid between the battens of the batten and the top is covered with polyethylene. Most often, plastic or wall paneling is used as a finishing lining.
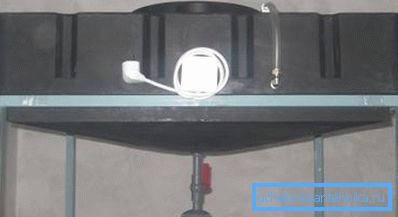
Important: the shower tank can be installed with or without heating. But for country conditions it is better to use plastic containers. They are much easier to transport and install. Plus, plastic does not interest metal hunters, which is still relevant for most of the dachas.
The video in this article shows some points of construction.
Conclusion
Installing a summer shower in the country is not as difficult as it may seem at first glance. If, however, competently approach the construction of this structure with your own hands, then this shower has every chance to become a true decoration of the site.