Crane replacement: description of the technical side of the
Replacing the tap in the kitchen, in the heating system or even on the riser is quite feasible on its own. Of course, in the event of a breakdown, you can always call an experienced master, but this will result in additional waste. If you want to save your family budget, then the following information is for you.
Sink faucet
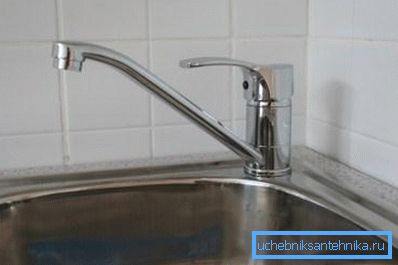
Let's start with the most time consuming option, and consider how to replace the faucet in the kitchen.
Necessary tool
| Title | Purpose |
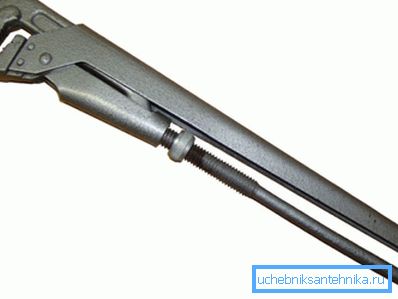
| Pipe wrench | Unwinding and twisting threaded connections of different sizes |
| Passatizhi | Capturing and manipulating various fragments of the structure |
| FUM tape or tow | Sealing threaded connections |
| Hammer | Dismantling old items |
| Screwdriver | Tightening fasteners with the corresponding groove |
Tip: it is recommended to always have a similar set of tools at home, as it will come in handy for any dismantling and installation work.

Dismantling

Before you replace the faucet in the bathroom or in the kitchen, which is almost the same, you need to disassemble and remove the old design:
- We spread the cloth on the floor to remove possible moisture.
- We block access of water to the room.
- If the equipment has not changed for a very long time, then we process the junction with kerosene or a blowtorch in order to weaken the rust that tightly engulfed the thread. This is necessary not only to facilitate the process of loosening the clamping nut, but also in order not to damage the seat in the sink.
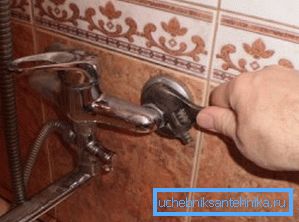
- Wrench unscrew the locking nut with an adjustable wrench.
- Carefully remove the mixer with your own hands.
- Carefully clean the bore from traces of rust and dirt.
Installation
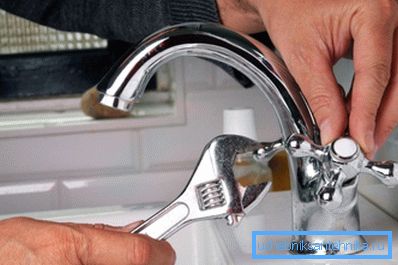
The installation instruction looks like this:
- We wrap all threaded connections with tape or FUM tape.
- Connect the connecting hoses to the mixer, after which we pass them into a special opening located at the sink.
- Next, install the crane itself in the seat, while controlling the position and condition of the sealing gaskets.
- We tighten the fixing nut with a pipe wrench tight, but trying not to break the thread.
- We connect hoses to hot and cold water sources.
Tip: it is recommended to make the connection in the same way as it was in the old mixer. In the opposite case, you will find a painful period of getting used to the fact that where the cold supply used to be, now it is hot and vice versa.
- Start the system and check for leaks.
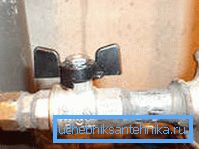
Ball valve in the pipeline
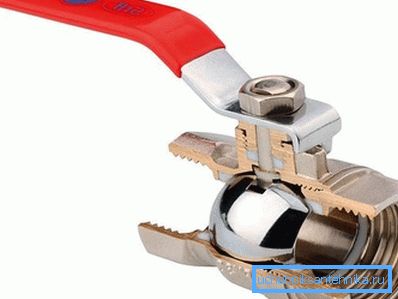
Replacing the inlet valves in the apartment on the riser and radiators is technically the same. To date, with this put ball models with several advantages.
Merits
- Easy operation. It is enough to make one turn of the handle by 90 degrees to change the operating mode of the locking equipment.
- Compact size. Does not stand out from the whole pipeline.
- Durability. In the manufacture of used brass, resistant to wear and corrosion processes.
- Attractive exterior design.
Instruments
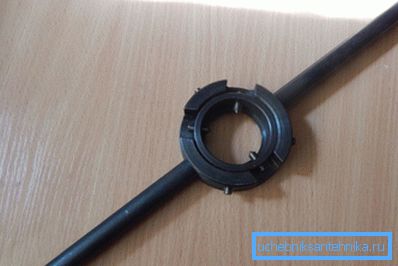
Replacing the crane on the riser, in addition to the tools required when mounting the mixer, requires the presence of some more:
| Title | Purpose |
| "Bulgarian" | Cut from the pipeline of the old crane in the event that it rusted so that it is not amenable to a wrench |
| Dice | Cutting new threads in case of removal or violation of the old |
Dismantling
Before you replace the old valve with a ball valve, you must remove the old one.
- Shut off the flow of water into the system.
- Under the valves we substitute the tank to collect the liquid.
- Turn off the tap with a pipe wrench. If the connection does not give in, then cut off the product "grinder".
Installation
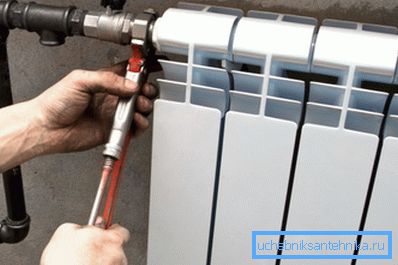
- We check the condition of the thread and, if it is broken, then we drive a die for cutting pipes through it.

- We wind a threaded joint with tow or FUM tape to create a reliable sealing.
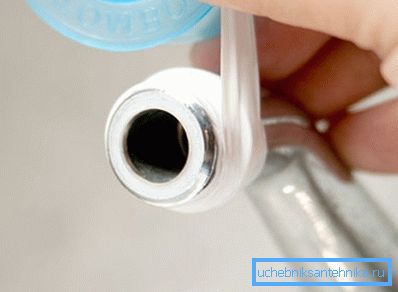
- Fasten the faucet with an adjustable wrench until it stops.
- We check whether the handle can be fully opened and closed in the final position of the shut-off valves.
- We start the system and check the work of the structure for the presence of leaks.
Conclusion
Replacing cranes is quite feasible on their own, but it is necessary to adhere to some of the rules described above. In particular, it is necessary to pay special attention to sealing the threaded connections and to be careful when dismantling old structures, so as not to damage the seats under the new technical units.
The video in this article will introduce you to additional information regarding the materials presented. Replacing the heater tap, riser or sink is a simple matter, as long as you pay attention and follow the necessary instructions.