Crane switch with a shower: learning to configure and repair
If you plan to fix the basic faults in the plumbing yourself, then you need to know the device of the faucet with a shower. This node is used very actively, and therefore the need for its adjustment arises with enviable regularity.
In our article, we describe the main types of such devices, and also describe how you can return them to work without attracting specialists to work and not spending money on a complete replacement of the mixer.
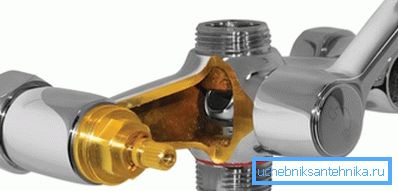
Basic constructions
Today, various devices are used to improve the mixers: convenient flywheels, automatic switches, LED tap and shower heads, etc. However, the overall design of such devices remains unchanged.
It includes:
- One lever-type tap or two separate box cranes for hot and cold water.
- A valve that switches the flow either to the shower or to the spout.
It is on the construction of this site, we dwell in more detail.
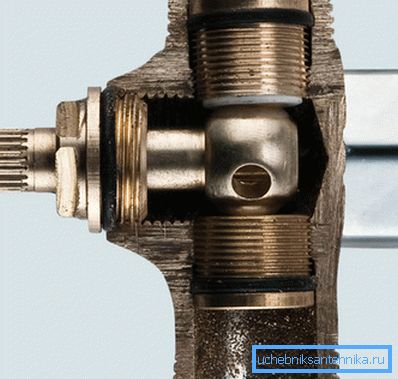
Switch "spout - shower" can be very different. You can compare the main types according to the table:
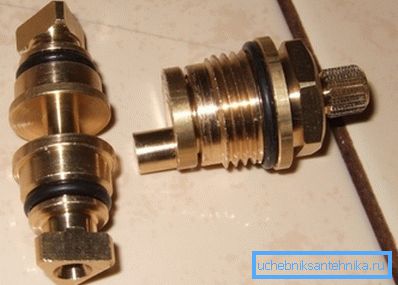
| Switch type | Features of the device |
| Spool |
|
| Sharovy |
|
| Push-button / exhaust |
|
In addition to the models listed in the table, we can also mention a kitchen faucet with a shower. However, this design fits the description only conditionally (the switch is installed at the spout itself, and to activate the shower mode, you just need to pull out the hose), so here we will not consider these devices.
Troubleshooting
Repair ball valve for shower
As we noted above, the “shower-spout” switching unit is very demanding for maintenance and adjustment. So, even high-quality products may eventually begin to leak, so we will have to troubleshoot with our own hands.
In this section, we will discuss how to repair such switches, and begin with the most common - the ball.
Instructions to eliminate leakage from the ball valve between the shower and the spout recommends that you perform the following actions:
- To start overlap the water on the riser. This is done to ensure that during the work we do not accidentally touched one of the flywheels and did not provoke a flood.
- Then unscrew the bottom nut and remove the spout. Before disconnecting the gander from the tap in the shower, we place a rag under its base so that the water from the pipe does not flow to the floor.
- Repeat the manipulation, unscrewing the mount and removing the shower hose.
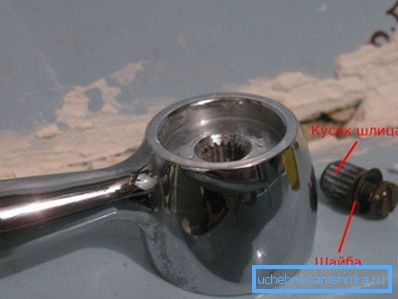
- Next, remove the trim and screwdriver unscrew the screw that fixes the flywheel switch.
- Remove the flywheel and the cover covering the rod.
Now our crane is fully ready for repair:
- For starters, you can simply try tightening the upper and lower locking insert. This is done using a hex key (most often used a key of 12 mm, but some manufacturers have nuts of a different size).
- If the pulling does not help, unscrew the locking insert completely, then remove the ball through the hole on the front of the mixer.
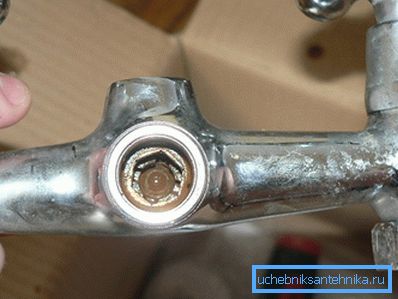
- We carry out the replacement of teflon rings (their price is relatively small, but it is important to choose a model that exactly matches the size of the mixer), after which we return the ball to its place.
- Screw the fixing inserts into place, clamping the ball so that the ball moves with a little effort.
- We check tightness by supplying water. If everything is in order, then we install the flywheels and return the spout and shower to the place.
Note! The handwheel should be positioned on the guides so that when you turn on the shower handle "looked" up, and when you turn on the spout - down.
Button repair
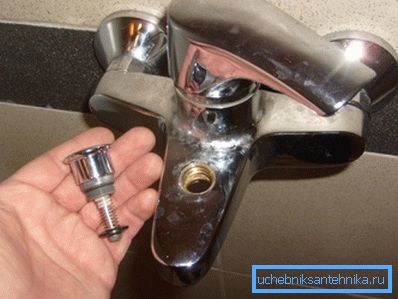
Push-button designs are considered more "capricious", but they can be repaired:
- To begin with, we remove all decorative covers from the tap and unscrew the shower hose.
- Then we disconnect the adapter with the button from the tap itself, using an adjustable wrench.
- Next, disassemble the node, removing from it the central cartridge or valve and removing the button with a spring.
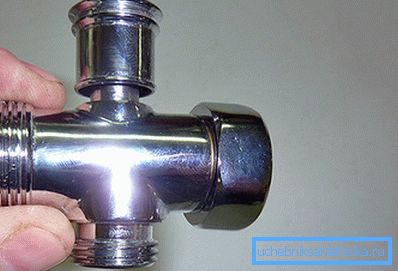
After that, we may have several options for repair:
- If the spring is broken or has lost elasticity, replace it with a new part.. In the absence of a spare part, you can temporarily get out of the situation by putting additional gaskets under the screw to reduce the spring travel.
Note! If necessary, the spring can be made independently of a short piece of steel wire.
- If the problem is not in the spring, but in the valve itself, then it is necessary to replace the rings.. To do this, remove the old rings from the slots, and install new ones in their place.
- But the cartridge models are practically impossible to repair, so they just need to be replaced.

After that, we assemble the entire structure in the reverse order, connect the water and check the work of the repaired unit.
Conclusion
The above tips on how to disassemble the faucet in the shower cubicle or an ordinary faucet in the bathroom will be very useful: by following them, we will be able to restore the system to work as soon as possible, while saving on plumbing fees (see also the article How and high pressure valve).
Well, if you want to master the described techniques perfectly, then before applying the knowledge gained in practice, we recommend watching the video in this article.