Diy brick shower - building technology
There are many options for the construction of the dacha shower, however, if you want to have a structure on your site that can last for many years, then you need to build it from brick. This task is not so difficult, however, before embarking on this work, you should definitely familiarize yourself with its main nuances. To help in this matter, below we take a closer look at how to build a shower in the cottage of brick.
Order building a shower
The construction of the shower cabin is carried out in stages and includes the following actions:
- Project preparation;
- The choice of location;
- Arrangement of drain holes;
- Preparation of the base;
- Walling;
- Arrangement of booths.
Below is a detailed look at all these stages.
Project preparation
Before you build a shower of bricks, you must complete the project.
To compose it, you need to decide on the following points of the future structure:
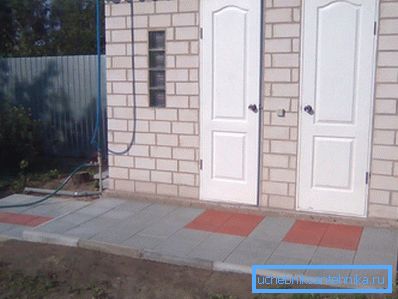
- Configuration - You can build a toilet and a shower out of bricks under the same roof, or build a single cabin.
- Dimensions of construction - Concerns the height, floor space, etc.
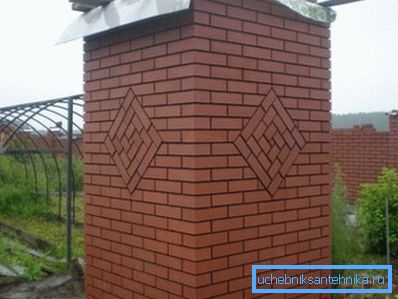
- By design - A beautiful brick toilet and shower can not only ensure the comfort of staying at the cottage, but also become an ornament to the whole site.
Having decided on the main parameters of the future construction, it is desirable to depict it on paper. This will allow to calculate the amount of building materials, respectively, the project price will be known in advance. In addition, a schematic representation of the structure with dimensions will allow to avoid errors in the construction process.
Most often, shower cabins are built 2.5 m high with a wall length of -1 m, i.e. brick shower tray has an area of 1m2. However, at will these sizes can be changed, for example, to equip a shower with a locker room.
Location selection
After preparing the project, you need to choose a suitable place for construction.
It should be noted that some requirements are imposed on the site:
- Cabin should be located in an acceptable proximity to the house.
- It is desirable that the ground is well lit by the sun, i.e. was not shaded.
- The distance from the shower and the drain hole to the well should be at least 8 meters.
In addition, ideally, the site should be flat so as not to waste forces on additional ground work.
Arrangement of drain holes
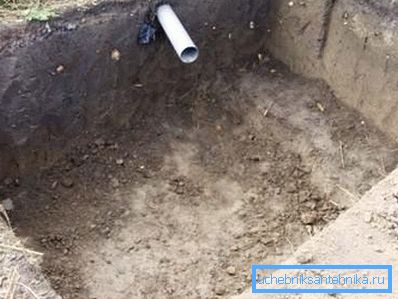
As a rule, the pit is made behind the shower at a distance of one and a half to two meters from it. The size of the pit depends solely on the intended intensity of use of the shower.
There are quite a few options for arranging the pit, but since it is planned to build a summer shower out of bricks, it is also better to make a pit of capital. To do this, the walls of the pit should be lined with bricks or even poured with concrete. The bottom of the pit should be covered with sand and rubble.
Tip! If you plan to build a country toilet and a shower of bricks, the cesspool is located under the toilet.
Foundation preparation
The next step is to prepare the foundation for the future of the soul.
Instructions for doing this work looks like this:
- First of all, you need to remove all rubbish and grass from the site, then remove the soil layer by about 10 cm.
- Then you need to perform markup. For this purpose, pegs are hammered in the corners of the future building, and a thread is pulled between them. The markup must be checked diagonally (must have the same length).
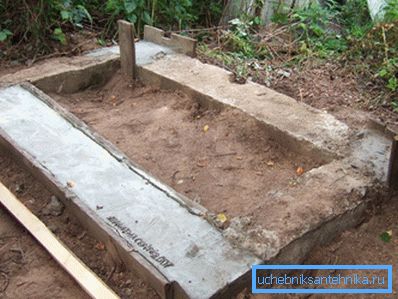
- After that, trenches should be dug to a depth of about 0.6 m, which is wider than the thickness of the future walls.
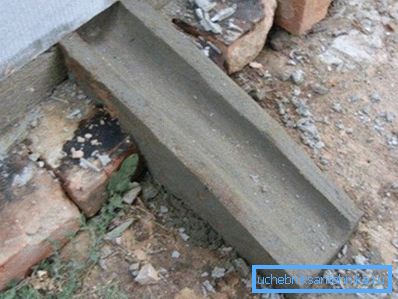
- Then there is a drain, which, as a rule, passes through the foundation. For this, the pipe from the platform of the future, the soul is placed under a slight inclination and put into a drain hole.
- Next, the bottom of the trenches need to fall asleep sand and gravel thickness of 15-20 centimeters. Moreover, each layer must be carefully tamped.
- After preparing the trenches, you must do your own formwork with boards or chipboard boards.
- Then the formwork must be reinforced. For this, vertical bars of reinforcement are hammered and a transverse belt of the same bars is attached to them.
After installing the formwork, you need to prepare concrete for the foundation in the following proportion:
| Materials | Number of parts |
| Cement M400 | 2 |
| Sand | 2.8 |
| Rubble | 4.8 |
After the concrete is prepared, the mixture is poured into the formwork and displayed “under zero”, i.e. the end of the foundation should be located in the same horizontal plane. To make it easier to level the foundation, you can pre-stretch the thread, aligning their position with a building level.
After 28 days, when the cement hardens, you need to fill the floor of the shower.
This operation is performed in this order:
- First of all, the soil is filled with a small layer of sand.
- Then the reinforcing mesh is laid.
- Next, the floor is filled with concrete. At the same time it is necessary to perform a slight bias towards the drain hole.
Walling
After preparing the base, a shower cabin is built of brick in the following order:
- First of all, several layers of roofing felt are laid on the base.
- Then install the door frame. The structure is fixed from below, and also fixed from above with struts.
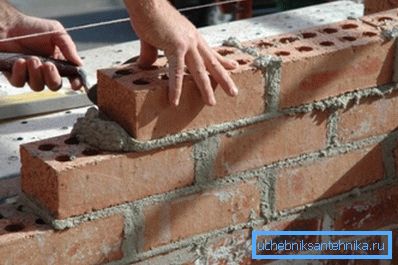
- After this, brickwork is performed. The position of the rows must be checked by the building level.
- After laying every three or four rows in the door frame, you need to hammer in long nails, which will allow you to connect it with brickwork.
- The laying of the back wall stops when its height reaches two meters. The front wall is built four rows higher, as a result a ladder is formed on the side walls.
- Next, on the front and back wall you need to lay the boards and perpendicular to them to nail the boards. Bars and boards should be strong enough, since a tank with a capacity of 200-300 liters will be installed on the roof.
- Next, the roof is covered with corrugated sheet or other roofing material.
- At the end of the work, the sheds are attached to the door frame and the shower door is installed. The latter can be made independently of the boards or buy ready-made.
Tip! To prevent the occurrence of mold inside the booth, as well as provide natural lighting, a small window should be made in the back or side wall under the roof.

Arrangement
It can be said that the summer shower was built of brick itself. The only thing, now it is necessary to equip it - to install on the roof a suitable tank with a built-in fitting for the installation of a shower head.
Before installing the tank, it is necessary to drill a hole in the roof of a suitable diameter, through which the outlet pipe will wind up into the cabin. When the tank is installed, you just need to connect the valve and shower head to the nozzle.

Tip! In a specialty store you can purchase a shower tank with all the necessary fittings. Moreover, the capacity of the dacha shower can serve as the roof of the booth. True, in this case all the walls should be of the same height.
Now it is necessary to make a grid of wooden bars and lay it on the floor. In the future, after each use of the shower, the grating can be lifted and dried.
At this shower in the country with their own hands from the brick is ready. If desired, you can plaster the building to give it a more attractive look.
Conclusion
Building a summer brick shower is an easy task. However, in order for the construction to last as long as possible, it is necessary to approach its construction correctly. And help with the above recommendations.
You can read more information on this topic from the video in this article.