Diy polypropylene plumbing: an express method of laying
Polypropylene plumbing, in addition to the obvious advantages, has one indisputable advantage - it is quickly mounted. This work can be done even by those who have not previously done plumbing, so newcomers in this area should study the recommendations given in the article very carefully.
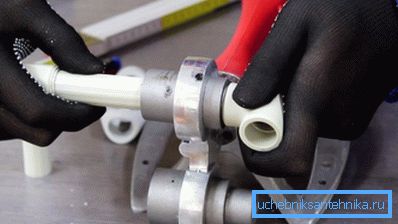
Benefits of PP communications
Before proceeding with the installation, we prepare the project and carry out the purchase of material. And here we have to decide whether it is better for the water supply system - metal-plastic or polypropylene? Opinions of experts on this issue are usually divided, so we give arguments in favor of both options.
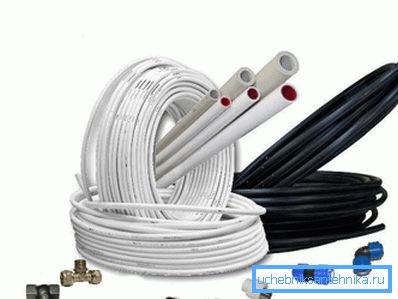
To begin, compare the technical characteristics of materials:
| Parameter | PP | MP |
| Working pressure, atm | ten | ten |
| Working temperature, 0WITH | +75 | +95 |
| Maximum temperature, 0WITH | +95 | +110 |
| Service life in the hot water system, years | 25 | 50 |
| Service life in the cold water system, years | 50 | More than 50 |
As you can see, the technical characteristics of metal products are preferred. However, it should be noted that the properties of polypropylene pipes are also quite sufficient for domestic use, because you should not be afraid of their deformation or premature breakdowns.
On the other hand, propylene products have obvious advantages:
- First is the price. The arrangement of such a pipeline will cost us about 25-40% cheaper than using plastic pipes, so the savings will be obvious.
Note! The percentage of savings depends on the scale of repairs, as well as on the choice of valves and other plumbing fixtures.

- Secondly, as we noted at the beginning of the article, propylene pipes are mounted with much lower labor costs.. So, if earlier you didn’t perform such large-scale works, then the choice - metal-plastic or polypropylene for water mains - is automatically worth making in favor of the latter option.
Below we describe how the laying of communications is carried out using this material.
Mounting technique
Laying basics
First we need to pick up pipes from which the contours of hot and cold water supply will be assembled.
Here we will be helped by product labeling, which is universal for almost all manufacturers:
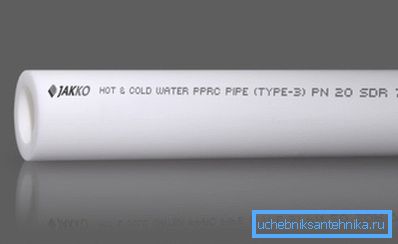
- For cold water use pipe PN10.
- For cold and hot - PN16. This option is universal, because you can only buy it - the cost will be insignificant.
- For very hot water (if we have an autonomous boiler room), we take PN20 products with high-quality internal reinforcement.
As for the diameter of the pipe, here it is necessary to adhere to such restrictions:
- For a compact pipeline (in a country house, a shed, etc.) with a contour of less than 10 m, 20 mm pipes can be used.
- If the total length of all circuits is less than 30 m, then the minimum diameter must be equal to 25 mm.
- For contours over 30 m, the minimum cross section is 32 mm. The same cross-section should be at the risers of hot and cold water.
The pipe layout itself can be mounted according to two schemes:
- Sequential - a horizontal outlet is laid from the trunk or riser, into which tees cut. From tees pipes are supplied to the points of consumption. This design is cheaper, but if you use several taps at the same time, the pressure in them will fall.

- Parallel - provides for a collector with several outputs, each of which is connected to a separate circuit for the point of consumption. Despite the cost, the instruction recommends to stop on this option, since it gives the opportunity to evenly distribute the pressure inside the system.
Forming pipe connections
In this section we will describe how to assemble a plumbing from polypropylene using a special device for soldering pipes.
There is nothing difficult in the work, but before taking up the instrument, it is worth spending some time on theoretical training:

- To begin with, we cut off a fragment of the pipeline that we will be laying. This can be done with the help of an ordinary plastic saw, but it is better to use a special pipe cutter.
- We clean the edge of the pipe from burrs, which contributes to the formation of a stronger connection.
- We select fittings for plumbing from polypropylene. All adapters, couplings, elbows and elbows need to be purchased in advance with a small margin.
- Next, we take a soldering iron for pipes and insert into it a pair of nozzles with a diameter corresponding to the cross section of the pipe and fitting, which are put on these nozzles.
Note! By itself, a soldering iron is inexpensive, but if you use it for just a few connections, it would be wiser not to buy the device, but ask your friends or rent it.
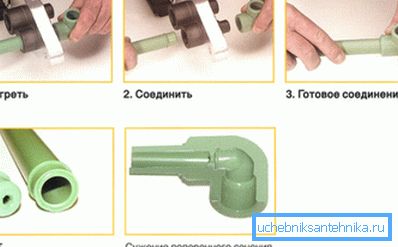
- We put docked parts on the nozzles, after which we turn on the soldering iron. The time and degree of heating is determined by the power of the device and the wall thickness of the pipe, so you need to focus on the table that comes with the device.
- After heating is completed, we remove the parts from the nozzles and combine them by sliding the pipe into the fitting without rotation.
- Withstand the connection for 30-40 seconds, then let it cool. Full polymerization of plastic takes no more than an hour, so that it will soon be possible to check the tightness of all compounds by supplying pressurized water to the circuit.
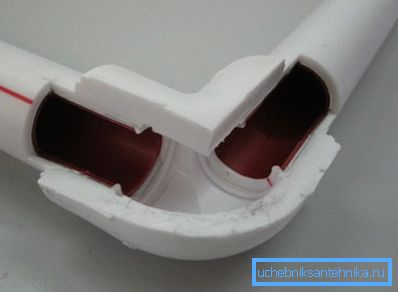
The process of installing one joint from an experienced master takes no more than 10 minutes. So when you get the necessary skill, laying a water pipe made of polypropylene will not cause you the slightest difficulty.
Conclusion
Focusing on the above recommendations, anyone with at least minimal skill can build a plumbing system in an apartment with their own hands made of polypropylene. Of course, you will have to spend money on the purchase of materials, and no one will do without marriage at first, but if you do everything as it is written above and shown in the video in this article, you will definitely succeed!