Do-it-yourself summer shower: a budget version of the
The story of how to make a summer shower with your own hands, does not take much time. The fact is that such a structure is not particularly complex, and it can be built in just a few days, even if you have not previously encountered similar tasks.
Below we will tell you what is needed to build a shower and in what sequence we will carry out all the work.
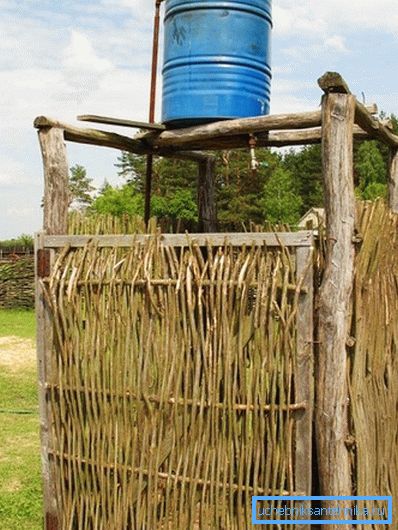
Materials for construction
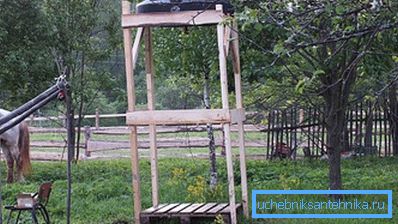
To make a summer shower in a private house with our own hands, we need to purchase everything necessary in advance. If we want not to be mistaken and not to buy too much, it is advisable to make a list in advance. Here you can focus on the list of materials listed in the table below:
| Construction element | Necessary materials |
| Base with drain hole |
|
| Skeleton shower |
|
| Wall decoration |
|
| Equipment |
|
| Other details |
|
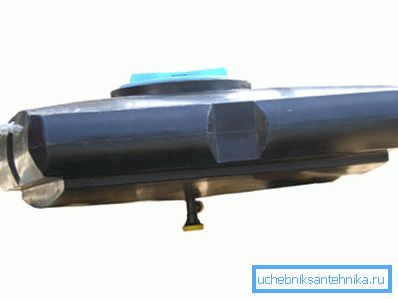
Note! The table shows a list of materials that allows the manufacture of a summer shower with your own hands according to different schemes. Selecting one of them, you should make the appropriate adjustments to this list.
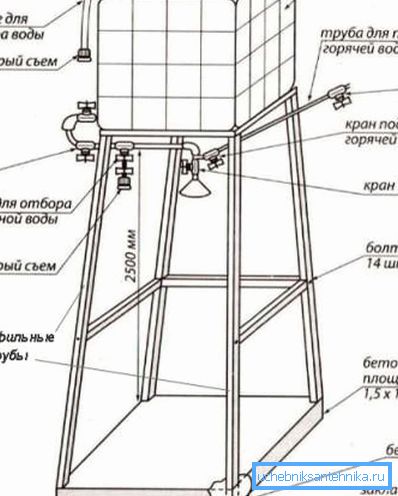
After we determine what we need in principle, we should calculate the volume of purchases. Here it is important to create in advance the most detailed drawings of the summer shower with your own hands: knowing the dimensions of the product, we will be able to calculate the required amount of materials.
It all depends on your preferences: some build the most compact cabins with a base of 80 x 80 cm, while others prefer to build more solid buildings 1.5 x 1.5 m and more. As for the height, there is also no consensus, because you should take into account the growth of your family members: too high and too low souls will be inconvenient.
Building a shower
Base and drain
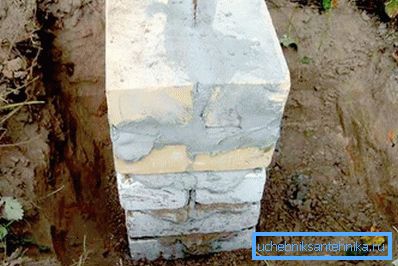
When all materials are purchased, we need to build a foundation. If we are going to make a summer shower out of a bar with our own hands or to build another rather heavy structure, then the foundation must be done either in ribbon or slab.
But for the construction of an economy class instruction provides for the laying of more simple load-bearing elements:
- Apply markings on the bottom of the stall base.
- On the corners we dig up grooves up to 50 cm.
- At the bottom of each depression we fall asleep about 10 cm of sand and carefully ram it.
- We install concrete blocks into the sand holes, which are carefully leveled. The gaps between the walls of the pit and the blocks either fall asleep with tamping earth or are concrete.
Note! Instead of blocks, you can concrete immediately racks. But in this case you will have to wait at least 10 days for the concrete to gain strength and only then begin further work.
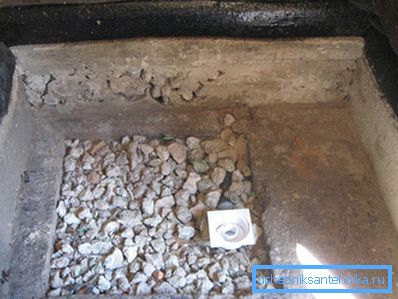
Now between the blocks you need to make a pallet.
The easiest way to install the finished product on the cement pad, but you can make a pallet for a summer shower with your own hands:
- We deepen the site by 5-10 cm, cutting off the turf and removing the top layer of soil.
- On the ground we lay the pipe section with the upper branch so that this pipe is located in the center of the future shower.
Note! The pipe can be immediately laid in a trench connecting the shower with a septic tank, cesspool or drainage ditch.
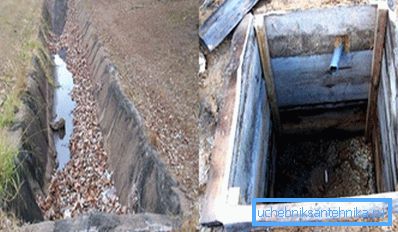
- From above we fall asleep a layer of sand-gravel mixture, which is well compacted.
- Then we install a formwork around the perimeter and perform the casting of mortar based on cement M400. The resulting area is aligned so that the drain pipe is located at the level of the future floor; in the process of forming the solution, we make a small bias towards the drain.
Then you can do in two ways: either to revet the floor in the summer shower with your own hands using floor tiles, or to leave the concrete base without finishing, simply blocking it with a shield from the smoked boards. Of course, in the first case the price will be higher, but such a construction will last longer, since ceramics will reliably protect the concrete from moisture.
Frame and fence
Summer shower from the boards is going to be quite simple:
- First, from the timber we make the bottom strapping in the form of a square or rectangle of the appropriate size.
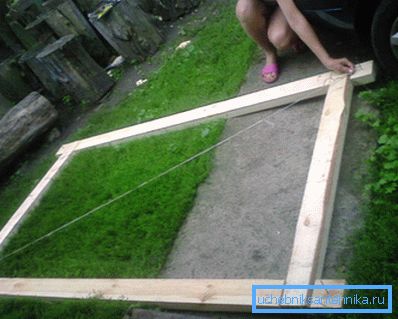
- Binding set on the support, putting a waterproofing material under it.
- Attach four racks of the selected size to the corners.
- Behind and on each side we connect racks cross-pieces. The lower ones are located at a height of about 40 cm from the base, the upper ones - 170 - 180 cm.
- Between the crossbars we install struts - diagonal planks, which will strengthen the structure.
- Top fasten support strapping of timber and install guides for the tank with water.
Now we need to make a fence that will protect the shower from the wind. To do this, we stretch the tarp or polyethylene from behind and from the sides, which we fix to the upper and lower crossbeams with the help of a construction stapler.
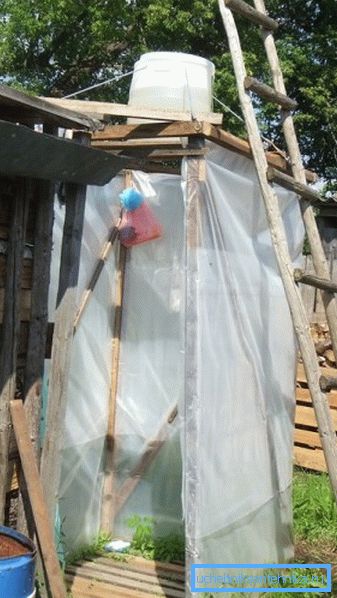
Tip! It is better to take polyethylene opaque, then it will be possible to wash without constraint.
The door remains.
We make it simple:
- From the beam we collect the frame, which we reinforce with a diagonal insert.
- We frame the frame with the same material that we used to trim the shower.
- We fasten hinges to the door and to one of the pillars.
- We hang the door, after which we install handles and latches on it (from the outer and inner sides).
Equipment installation
After completing work on the frame, we need to equip the water supply system.
We start work with the installation of the tank:
- As a container, we take a special tank, barrel, Eurocup etc. Carefully wash the structure, raise it to the roof and fix it securely to avoid movement from the wind.
Note! If you are planning to make a summer shower out of the Euro Cup yourself, then you need to take into account a significant amount of such containers. So the frame should have a margin of safety and not be deformed even if we fill the tank “under the neck”.
- We make a hole in the bottom of the tank, in which we install a special mixer for the summer shower: with our own hands this construction in the form of a watering can with a nozzle is attached quite simply, so our main task is to reliably seal the joint.
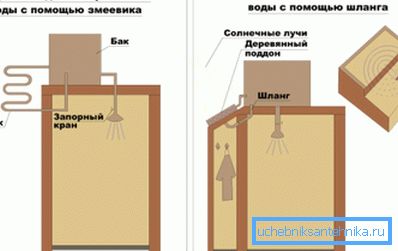
- In order to wash as much as possible with warm water, you can equip a small device: connect a piece of flexible hose with a piece of foam or a plastic float attached to the mixer nozzle located inside the tank. So the water will flow into the shower from the top layer, which heats up the fastest under the sun.
If our goal is to equip a budget soul, then this work can be completed. In the future, you can improve the design by adding a flow-through or storage heater to it, but such a booth can be used with great pleasure.
Conclusion
As you can see, to equip a simple summer shower with your own hands with relatively small investments is quite a realistic task. If the described method of construction has interested you, then you can read more about such structures on the video in this article.