Drills for wells do-it-yourself: features and production
If you do not want to pay for the work of strangers and want to build a well with your own hands, then you will need a tool. For drilling, we first need boraxes, which are not always affordable to buy, especially if they have to work only once.
We will tell how to make home-made drills for wells from improvised means.
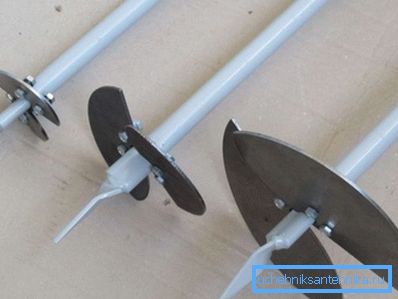
Homemade borax
Screw
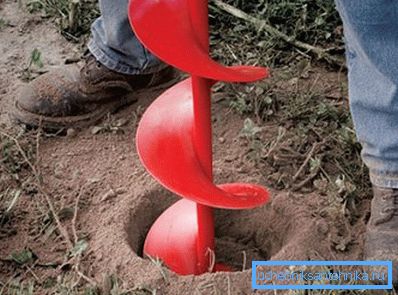
The screw or screw bit is a very simple construction: it is a steel strip twisted in the form of a spiral around the axis and welded to it tightly. As an axis, use a metal tube or rod, to the end of which is attached a handle with a rotate or handles to rotate the tool..
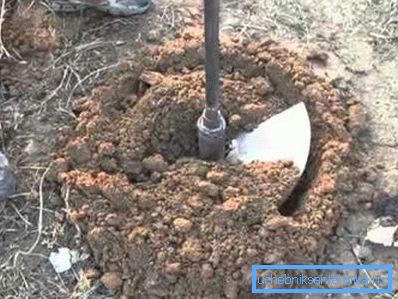
When rotating the spiral begins to dig up the ground and lift it up with its blades on the principle of the screw. At the end of the projectile is a sharp tip, which increases the convenience and efficiency. (See also the article How to equip a well with your own hands.)

For the manufacture of the classic version, you will need special equipment, machines and furnaces for hardening the steel from which the spiral is made. For obvious reasons, to make such a tool yourself will not succeed.
However, there is a way to circumvent these conditions and still make the screw yourself:
- Cut three pieces of steel pipe with a diameter of 40 mm and a wall thickness of 3.5 mm. The length of one segment - 40 cm, the other two - 50 cm;
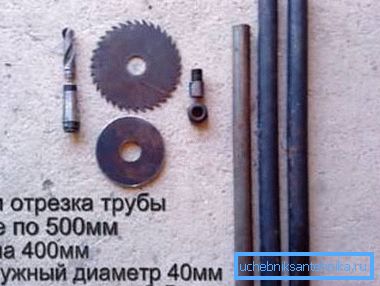
- We take a half-meter length of pipe and with the help of a sledge hammer we make one of its ends oval;
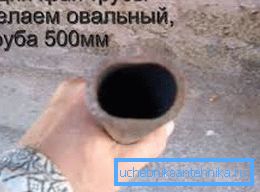
- With the oval end we weld this pipe to a segment of 40 cm exactly in the middle, having obtained a T-shaped handle;
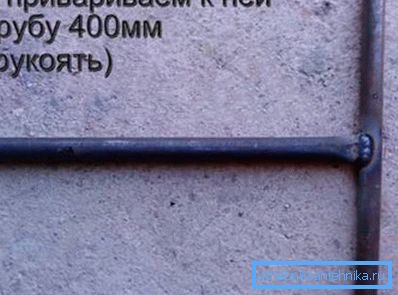
- To the lower end of the part with the handle, weld the M20 nut;

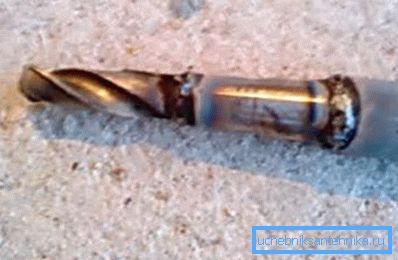
- We take another half-meter segment and weld a cone-shaped tip with a truncated tip to its end, weld the drill bit over the metal with a diameter of 2 cm to the tip;
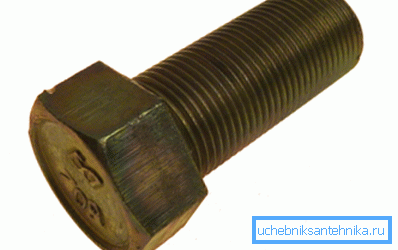
- To the other end of this pipe weld M20 bolt. We try to keep the coaxial arrangement of all parts of the structure;
- We take two discs for a circular saw, one with a diameter of 10 cm, the other - 15 cm and saw them in half with an angle grinder with a disk for cutting steel;
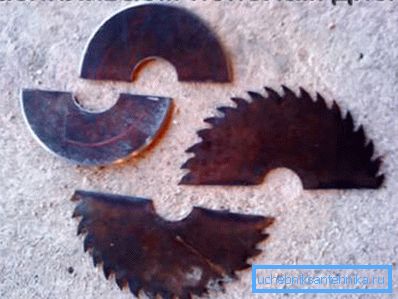
- At a distance of 20 cm from the tip end with a drill, halves of a smaller diameter are welded to the pipe at an angle of 20 degrees opposite each other. As a result, between the halves will be an angle of 40 degrees;
- We retreat 15 centimeters upwards and at this level we weld halves of a larger diameter in the same way;
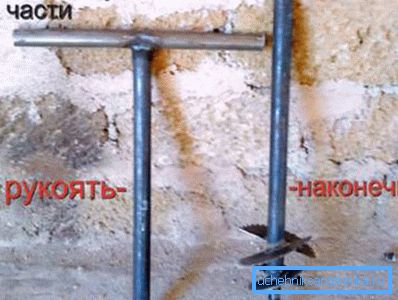
- We fasten the part with the handle to the working part with the drill and perform test drilling. If everything turns out and the drill does not bend, does not break and drills normally, then the production can be considered successful. It remains to open the product with paint.
Shock Drill
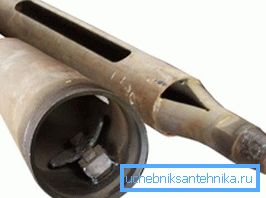
Drills for manual drilling of wells by the percussion-cable method are pipe sections with a check valve, which, when dropped into the well, capture the soil and lift it to the top. Sleep does not allow the breed valve. (See also the article How to clean a well: the nuances of work.)
The price of a factory product is high enough to be purchased for single use.
Therefore, we have prepared an instruction for the independent manufacture of a yolk:
- We take a piece of pipe 0.6 m long with an inner diameter of 7 cm. The wall thickness is 3.5 - 5 mm. At the edge of the pipe we drill two holes with a diameter of 1 cm each.
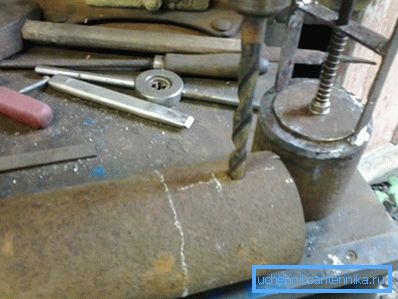
- Insert a piece of steel bar into the holes and weld it. The assembly handle for fastening of a cable turns out.
- On the other hand, we drill two of the same holes, just shift them relative to the axis of the pipe in the direction of its body by 15 mm;
- We take a piece of steel bar with a diameter of 8–9 mm and a length of 9–9.5 cm, in it we drill two through holes at a distance of 20 mm from the ends of each;
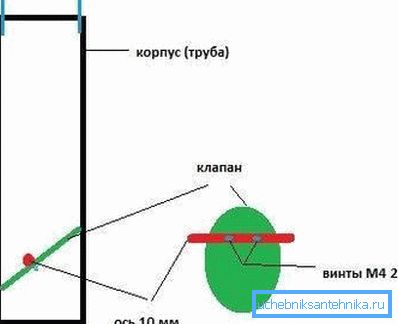
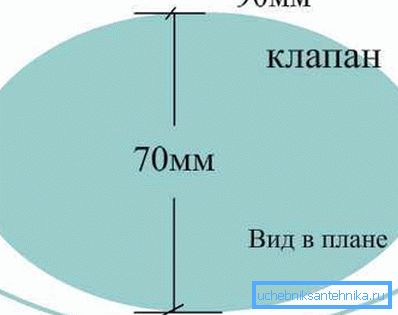
- From a piece of sheet steel with a thickness of 1 mm we cut out an ellipse. The smaller diameter of the figure is 70 mm, the larger - 90 mm. On the ellipse, drill holes so that it is attached to the rod from the previous paragraph. The distance from the attachment point to the center of the ellipse is 20 mm; we place the bar perpendicular to the larger diameter of the figure, but do not fasten the flap to it;
- Insert the rod into the holes that are offset from the axis of the projectile, and rive the protruding ends or twist the nuts on them. After that we fasten an ellipse to the rod with bolts and nuts - we get a check valve;
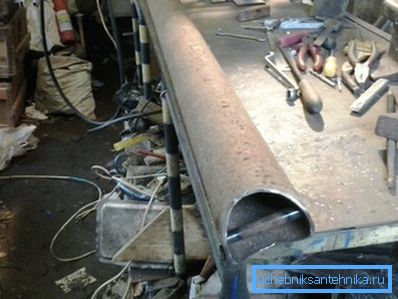
- Along the body of the pipe we make a vertical slot for easy cleaning of the instrument. You can simply drill holes. (See also article Features of the well filter.)
Note! Due to the eccentricity of the axis of the valve, it turns out two blades of different length. When pressure is applied to the valve, the blade that is longer will come, as it has more leverage. According to this principle, the valve is positioned so that the long blade is pointing upwards, therefore, it opens at the pressure from below, closes at the pressure from above.
Conclusion
Making homemade tools for drilling is quite a challenge for a normal man. We have compiled a detailed guide for you, following which you will surely succeed. In conclusion, we propose to view the video in this article for a more visual impression.