Glass and plastic shower enclosures with tray
Shower stalls or more formally, shower enclosure with a tray, is widely used both in high-rise buildings and in the private sector, and in most cases, this is a salvation when plumbing fixtures are placed in small bathrooms.
In contrast to the boxes with the same purpose, the fence made of glass or plastic will take much less space, as it adjoins adjacent walls, and they are a continuation of the perimeter. We will tell you today about such devices and their installation, showing the video in this article in addition to the topic.
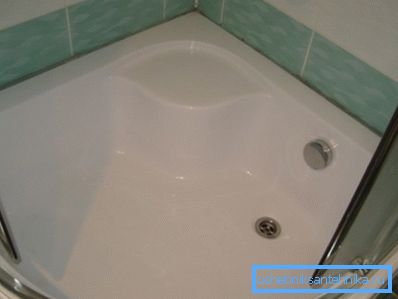
Showers
What is the difference
Note. In most cases, this type of fence has a semi-oval shape, as this figure saves space, but it can also be a square or a rectangle. Fixed panels with doors can also be different - they are made frosted and transparent, from plastic or tempered glass.
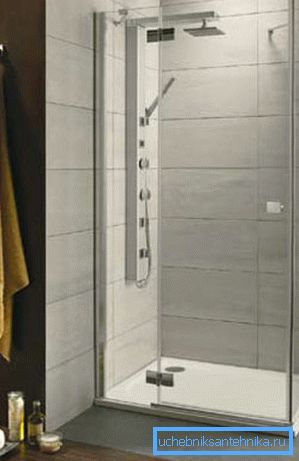
- As a rule, transparent fences are too intimate and can only be used by small families (husband-wife), but having a child, you hardly want him to be able to watch your bath.. Also, these booths are practiced in the bathrooms, when there is a separate toilet, that is, the toilet can be used by any family member or even by a guest, without interfering with taking your shower.
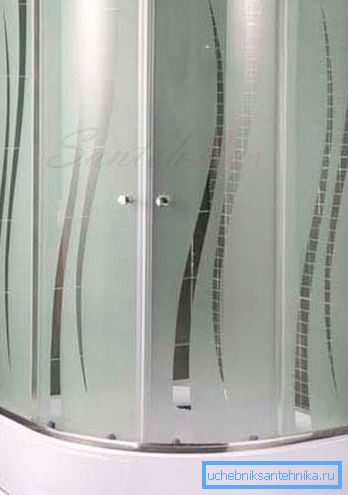
- Matte doors and fixed panels will be much more practical, as you can see in the photo above - you most likely will not mind your child using the toilet while you are in the middle.. Of course, this is not an aesthetic rule and not instructions for use, but in small apartments you have to find a way out of the situation.
- Of course, the differences are not only in the degree of transparency of the fence, but also in the material - plastic or tempered glass. Plastic has a more porous structure, therefore, it is easily polluted, it darkens and it is more difficult to care for it - you need detergents without abrasive additives, and active chemical substances.
Tempered glass (the price of such partitions is higher) can be washed by any means that are designed for windows and mirrors, while using glass, but glass, despite its special heat, is a rather fragile material and you need to be especially careful with it, especially during installation.
Install the booth
Note. In small apartments most often use a shower enclosure with a pan 80x80 or, in extreme cases, 9080 cm. But if the bathroom is separate, the bathroom is much larger (this also applies to the private sector) - there the dimensions of the cabins can even reach 100,120 cm and that’s what we will install it now.
First of all, we, of course, unpack the pallet and place it horizontally in an angle - you do not need to tilt it, as it is provided by the configuration of the vessel - the drain hole is always at the lowest point (see also the article Shower enclosures without a new pallet). generation).
Also, at this stage you will need to connect a siphon - then you cannot do it just physically, since it is at the farthest point, where it is simply impossible to crawl. It is best to glue the walls of the pallet to the tile with silicone sealant, rather than with liquid nails, so that if necessary it can be dismantled.
In this case, we have a door frame, more precisely, the frame of a metal profile is not attached directly to the wall, but is mounted on guides, therefore, we will start with their installation. To do this, take any arc (top or bottom - they are the same) from the frame, put on the edge of the pallet and relative to it raise the vertical profile with holes, marking them with a marker on the tile.
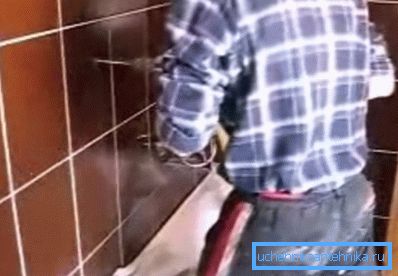
Since the repair is fresh here, we did not dare to use a puncher for drilling ceramics and used a drill, although it is always better to do so in order not to split the tile.
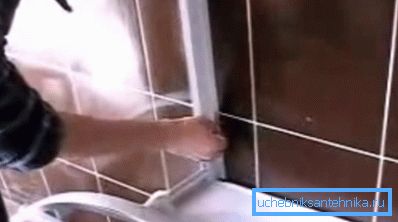
The guide profiles are not just screwed to the wall with screws and dowels, but before that they are glued to silicone - this allows you to hold water within the booth, which in any case will splash, and flow along the walls. No matter how even the ceramic tile was installed, the profile will never press so tightly against the wall to create a water tightness - it will leak at least through the joints.
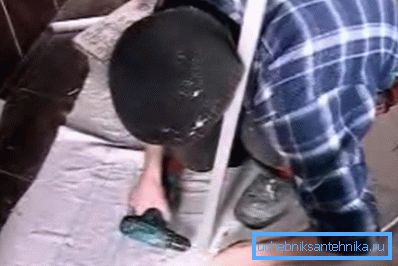
After mounting the rails, you can begin assembling the frame under the partition wall and it should be done separately from the booth, on the floor, as shown in the top photo - there is also an old blanket, so as not to scratch the floor.
Assembly is usually carried out using self-tapping screws, which are supplied in a set from the manufacturer - two pieces for each joint, total - 8 pieces. This operation is desirable to carry out together, especially for large booths, so that someone held profiles.

After assembly, insert the frame into the guides and fasten it with special screws, which are also provided in the shower set. But that's not all - under the lower arc profile we smear a strip of silicone on the pallet - there will also be a joint through which water can flow out.
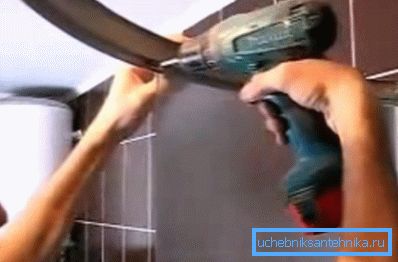
Deaf panels, which are necessarily on both sides of the door, are fixed with brackets with rubber gaskets, but be careful not to squeeze the clamp and do not crush the glass. From the side of the wall, a U-shaped plastic profile is put on the panel, which makes it firmly fixed in the frame, and from the side of the door there is the same profile, but with an apron that fits into the door without letting in water.
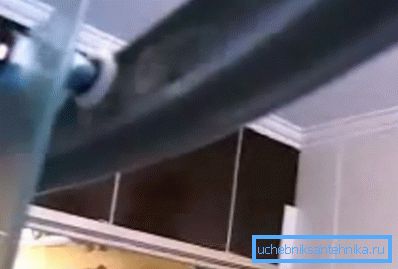
Doors drive over the sled on rollers, but for a start only two upper wheels need a rigid fixation - after you put them on the upper arcuate profile, you can also fix the lower ones - you can change their position with the help of eccentrics.
After fixing, it remains for you to fasten the handles and put magnetic profiles on the edge of the joint - such strips tightly compress the edges of the partitions between them, and if you have not reached the door slightly, then the magnets will do their job.
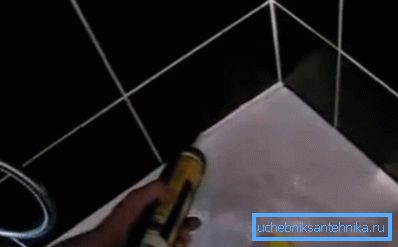
Now there remains the final touch in the installation - this is the seal of the joint of the pallet and the wall with silicone sealant. After applying it, swipe your finger along the seam, giving it shape and removing too much - it will turn out smooth and beautiful.
Conclusion
You saw how you can install a shower partition with your own hands. Exactly according to the same principle, square and rectangular cabins are mounted, pressing them against the wall and sealing the joints with silicone.