Glass shower screen: variations and installation features
Probably everyone knows (at least by ear) shower partitions made of glass for the bathroom, that is, you have a separate sanitary unit in which you can wash yourself, like in the most valuable bath without leaving home. Such convenience is possible precisely thanks to glass or plastic fencing, as well as to the pallet - the water flow from the watering can is localized and not sprayed around the room, which gives this unique opportunity.
Let's try to figure it out and install such a structure, and also see a video demonstration in this article.
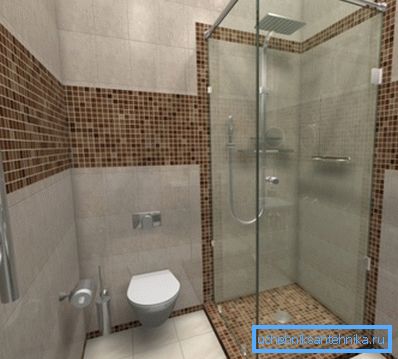
Showers
Partition types
Note. It should be noted that plastic or glass shower partitions can be mounted not only to the wall, but also independently, that is, it can be just a shower box, where only the doors remain transparent.
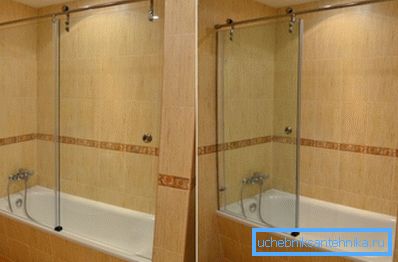
- To begin with, the shower partitions of tempered glass or plastic can be straight (rectangular and square) or semicircular., what exactly changes the possibility of their installation in one place or another. The difference lies in the fact that the direct option can be installed almost anywhere in the room, and the semi-circular booths are placed only in the corner, as it is provided for by their configuration. Of course, rectangular options have more possibilities in terms of design, since they can be installed anywhere, but they (because of their configuration) take up more space, which is not always acceptable for small apartments.
- For example, a combined bathroom in Khrushchev has about 2.2m2, but if you put a washing machine in there, then there is no room left for the bathroom (not to mention the sink). Consequently, in such situations, it is preferable to get rid of the bathroom, and install a semicircular shower cubicle of small size 8080 cm or 8090 cm. As a rule, there is not enough space in the same row for the booth, sink and toilet bowl, but the plumbers solve this problem due to the shell spade - here you can save about 20-30 cm. The small area of the bathrooms gives a lot of inconvenience for the residents of such apartments, but the correct location of sanitary units simplifies this problem somewhat.
Assembly work
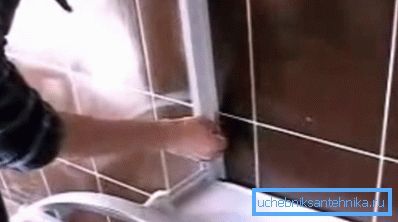
Now we will install a regular glass partition booth - just carefully follow the sequence of actions and you will be able to mount any other size of a similar design.
At first you just put a pallet in the corner, and then align its legs with the level - do not try to make a slope, as it is provided for in the construction, that is, there is already an angle in the direction of the siphon.
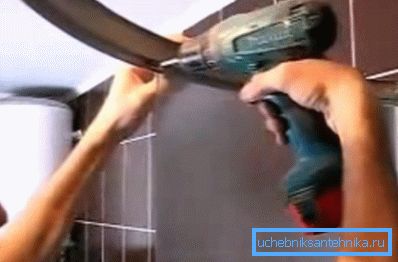
After you attach the pallet, you will need to mark the guides, but this is best done with respect to the lower arc of the partition wall - just put it on the pallet and lift vertical risers along it, as shown in the photo above.
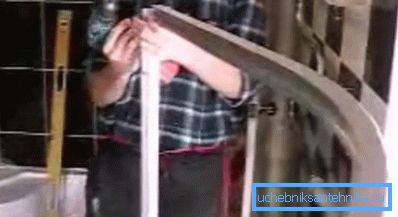
After you have installed the guides, you need fittings for shower partitions made of glass, that is, you assemble the door frame, but do not touch the fixed partitions and doors - this is better done away from the installation site, and under the design lay some old cover so as not to scratch the tile.
The frame is assembled on the self-tapping screws, which come in a complete set, there is not even a need to rearrange anything - everything is thought out in the kit, that is, the size just fits the doors and fixed panels.
Further, as required by the instructions, you need to install fixed partitions - they are in the booths of any size - for them go door on the sled, that is, it is part of the fence, without which it can not do.
Please note that such sheets (semicircular or straight) are fixed on metal brackets with rubber seals - try not to squeeze them during clamping so that glass or plastic will not burst.
Council When assembling, be sure to look at the integrity of the glass - if there is even the slightest crack there, then you will have a 99% chance that the doors will burst. Their price is almost half the cost of the booth, so it is better to be safe.
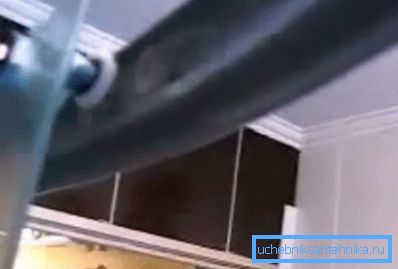
The glass partitions for the shower stall, which move (doors), are covered with special plastic rollers, which drive along the sled of the door frame (this is shown in the photo above). You only need to put on the upper batch, then hang up, and only after that adjust the lower pair - they are still eccentrics, so that the spreads are very easy to clean.
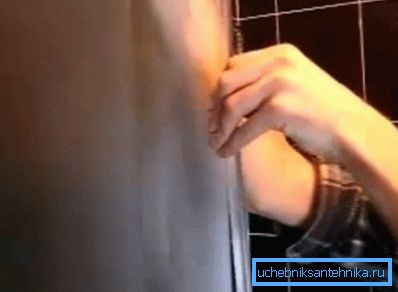
Adjoining the doors to each other will be clear only when you put on their edges magnetic tapes, which are provided in the complete set of all accessories. In addition to the magnet, there are other plastic profiles - a fixed panel is put on such a profile to create density when inserted into the guide, and on the other hand this U-shaped profile has an apron that rubs against the door, creating a seal so that water does not leak out .
Conclusion
It is quite simple to install such partitions with your own hands, if you, of course, have the necessary tools - a drill, a rotary hammer, a grinder, a screwdriver, and so on. Here it’s not even a matter of skill, but of careful installation, that is, different booths may differ in installation and you need to carefully look in the documentation.