How to build a shower in the country - everything you need
In our country at the dacha, people often do not rest and indulge in the contemplation of the beauties of nature, but work by the sweat of their brows. It is clear that after working on the ground on a hot summer day, there is a desire to freshen up, so it is simply impossible to do without a summer shower.
And if you wish, you can build a more capital structure instead of the summer version - they can be used all year round.
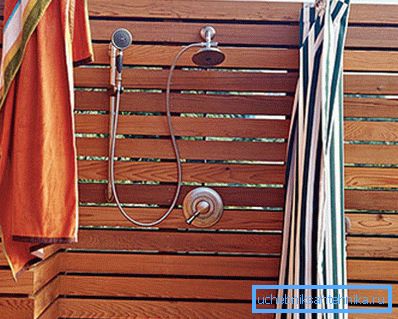
Types of shower in the country
When it comes to building a shower cabin in the country, there may be several options, ranging from simple curtains and a toptun shower to a brick building with heating, as well as cold and hot water. The choice should be divided on the basis of needs, for example, there is no sense in building a capital shower stall if at the dacha there are people only in summer.
You can select such options soul in the country as:
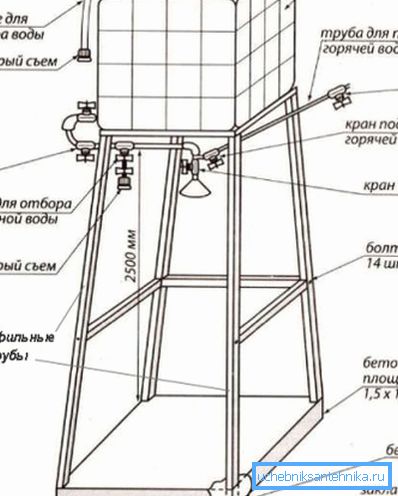
- temporary - externally, this option looks like a regular frame of metal corners on which curtains are hung (improvised walls). You can install such a cabin literally anywhere on the site. And for the winter you can simply leave the cabin under the castle out of harm's way;
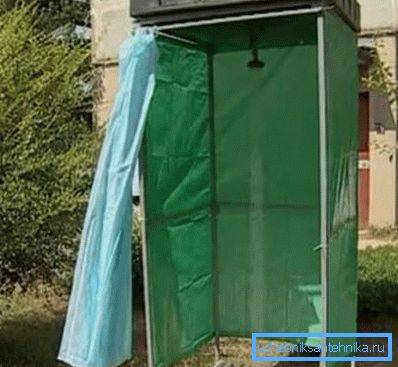
Note! As a rule, in this case, a separate drain pit is not equipped, the calculation is made that all the water will have time to be absorbed into the ground. There is a downside to such a decision - if the family is large and people take a shower often, then the water may simply not have time to soak.
- more serious option - shower cubicle with foundation, in this case, its “relocation” is impossible, therefore, the choice of location and the construction of the booth itself must be approached with increased responsibility.
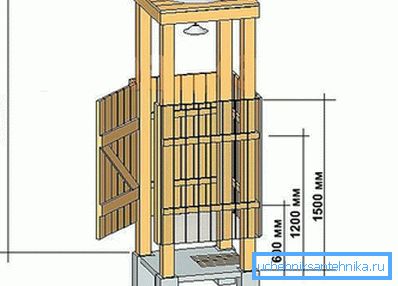
The question of how to build a dacha shower should be considered with the choice of design and its development.
In the case of more or less capital showers, you can select such options as:
- A full wooden shower (both wood frame and paneling) on a column base. Construction is carried out on frame technology;
- wooden or metal frame with polycarbonate lining;
Note! It is worth choosing the most opaque version of plastic. Still, a shower is a place that requires privacy.
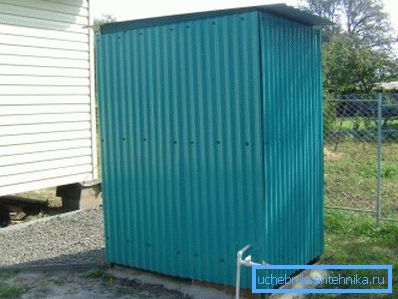
- the same frame, but the trim in order to reduce the cost of construction can be made of corrugated and other sheet building material. Needless to say, such structures have a plainly handicraft look and cause only pity;
- if the budget is not a weak point, then the shower stall can be folded from wooden bars. Expensive, but durability is guaranteed and drafts will not pester;
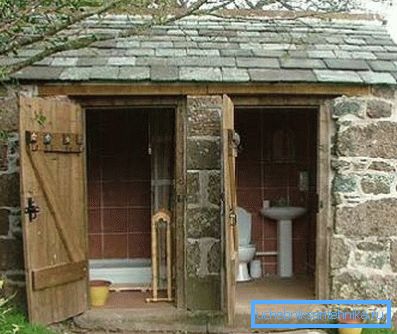
- Well, you can complete the list with a brick shower, it will last for decades, and you can use it all year round. The only possible limiter is the price, the cost of just one brick will outweigh the cost of building a polycarbonate booth, together with the foundation casting and the construction of the frame.
Little about construction technology
The matter will not be limited to building a booth only; you will also need to organize a drain hole and take care of the foundation.
Briefly, the procedure will look something like this:
- First, the optimum location of the shower stall at the site is selected. Already at this stage it is worth thinking about its design, it may be convenient to make a booth with a dressing room;
- then the foundation is constructed. In principle, in the case of the use of mobile showers, you can do without it, but the foundation will still be safer;
- next is the construction of the frame, installed trusses (if the roof will be gable);
- after that it remains only to sheathe a booth and you can proceed to the arrangement of it from the inside.
With regard to the placement of the shower stall on the site, there are no particularly strict requirements. We can mention perhaps SNiP 30-02-97, but in this document the only thing that needs to be paid attention to is the distance from the shower to the residential building. It is undesirable to place a booth at a distance of less than 8.0 meters.
However, in practice, this recommendation is often not taken into account and there is nothing to worry about. If the summer shower is close to the house, the main thing is to ensure sufficient removal of the drain hole.
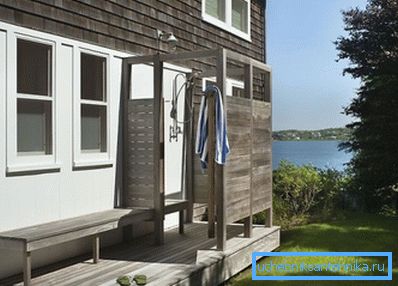
The solution of the problem, how to build a shower in the country itself, begins with the choice of its location.
In addition to the recommendation of the SNiP, you can highlight a couple more points:
- it is desirable that the shower stall is protected from prying eyes by trees, shrubs;
- however, it should not be located in a shaded area. In the summer there is a chance to warm the water in the tank to a comfortable temperature using only solar energy. If a tank with heating elements is used, then there is no such limitation;
- the best option is to place the booth on a small elevation, and a location on a slope with a slant toward the drain hole will also work.

Before starting work, it would also do well to acquire a shower tray, water tank, pipes, etc. You also need to prepare enough material for the frame and its subsequent plating.
Construction of shower stall
Only the main stages of the construction of a shower stall, which can be considered common in every construction, will be considered.
Selection of foundation type
First, it is worthwhile to dwell on the most common types of foundations; in the construction of a shower stall in the country can be used:
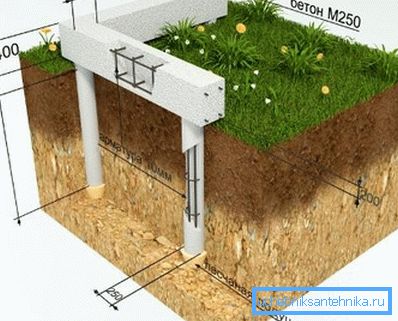
- column foundations - ideal for frame booths. The load on the foundation in this case is small, so its main task is to ensure sufficient rigidity;
- columnar with grillage - in this case, the concrete pillars on top are combined by a grillage. This option is already suitable for brickwork;
- strip foundation can be advised when using bricks or concrete blocks for construction;
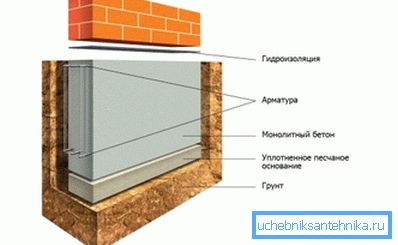
- slab - sometimes a small concrete slab is poured for a temporary summer shower. Although, the concrete slab can also be used for the construction of a brick shower.
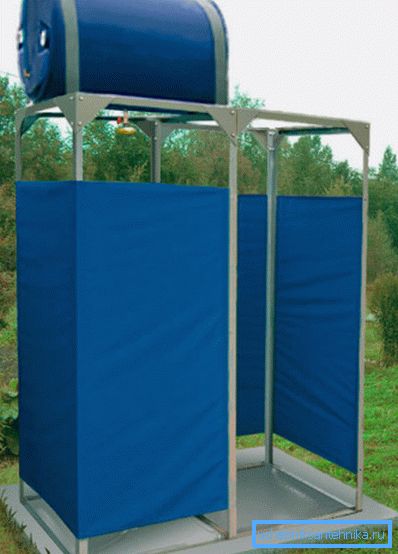
When the design is finished and it came to how to build a shower in the country, it is sometimes difficult to choose a suitable basement option.
It all depends on the type of future booths, we can recommend these options:
- temporary shower - without foundation or use slab of small thickness. His role in this case is to level the foundation;
- frame booth - column foundation;
- brickwork - tape or columnar with grillage;
- concrete blocks - slab or tape.
A few tips on decorating the shower stall
As for how to equip the shower in the country, you can give a few general tips:
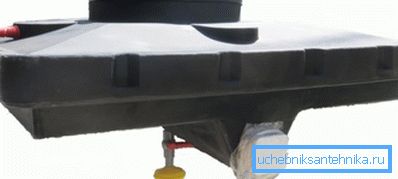
- if the booth is located near the house, then you can buy a tank with heating elements, it can be connected to the mains and enjoy warm water in any weather;
- It is better to choose the pallet as strong as possible; cheap models of thin steel are not the best choice;
- if there is enough space under the roof, then it can be sheathed with transparent sheets of polycarbonate, and under them should be placed a tank of dark color. Get a kind of solar collector;
- special attention should be paid to the absence of cracks, when it will be cool outside, drafts are unlikely to deliver pleasant sensations;
Foundation building
The work is recommended to perform in the following sequence:
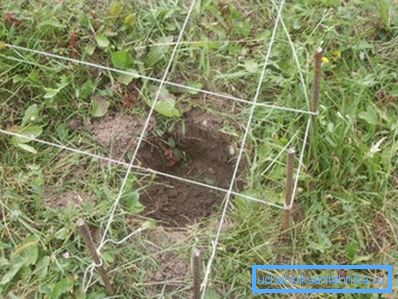
- First you need to mark on the terrain the contours of the future shower stall, in the corners it is enough to hammer in the pegs and pull the string;
- then you can proceed to earthworks. Much at this stage depends on the type of foundation, for example, it is sufficient to simply make pits under the columnar one (you can use a hand drill). But during the construction of the strip foundation, the scope of work is much more - after all, it is necessary to dig a continuous ditch;
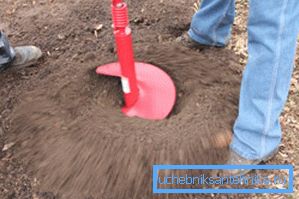
Note! Common in the construction of all the foundations can be called a device at the bottom of a sand-gravel pad with a thickness of 20-30 cm (a layer of sand, and on top - a layer of rubble). As for the depth, then according to the rules you need to go beyond the limits of the freezing depth, but in practice they are often limited to a maximum foundation depth of about 1.0 m.
- the next step is the reinforcement of the future foundation. In order not to complicate your life, you can use knitted reinforcement cages (reinforcement A-III with a diameter of 10-12 mm), 1 column of 4-6 rods should be enough. To make the frame hold the shape they are bound by wire;
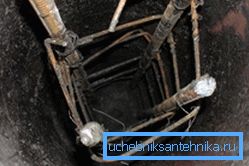
Note! For strip foundations, the principle is the same, only the reinforcement consumption is higher, vertical bars are needed rather for the frame to keep its shape, therefore a smaller diameter can be used. In the case of slabs, a mesh is laid before the concrete is poured, which will then absorb tensile forces.
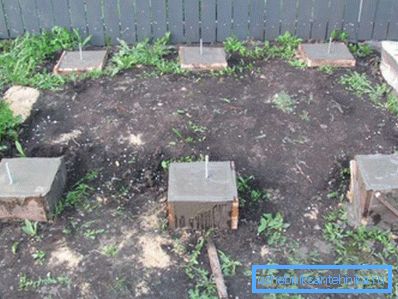
- Further instructions include pouring concrete. In the case of a columnar foundation, you can install plastic or asbestos cement pipes in the pits - permanent formwork, concrete can be poured not only into the pipe, but also into the pit, this will give the foundation strength. Here you can advise not to use too large aggregate, it can get stuck between the reinforcing bars.
Device drain pit and construction booths
It is best to organize a separate drain hole at some distance from the shower stall. Although, if the shower is elevated above the ground, then it is possible to dig a hole and directly under the shower - you will have to work less with sewer pipes.
If the shower will be operated in the winter, the sewer pipes will need to be laid below the freezing depth, and in the area near the shower will not interfere with additional insulation.
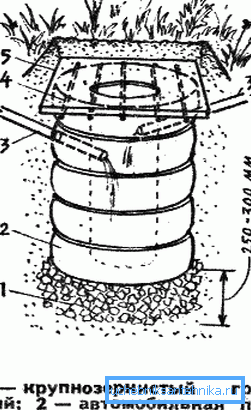
As for the drain pit, the traditional construction will do - a regular pit with reinforcement of the walls with automobile tires. Then part of the pit is covered with sand and rubble (filter beds).
The construction of the booth itself is the final stage in the question of how to build a shower at the cottage with your own hands. The most commonly used lightweight wooden frame, followed by plating with polycarbonate or other sheet material.
The same techniques are used as in frame construction:
- First, the lower tie bars are fastened to the foundation, at this stage you need to think about installing a shower tray (it should not just hang in the air, relying only on the sides);
- then the framework itself is constructed of ordinary wooden bars, the stiffness gives it the required rigidity;
- then comes the turn of the upper strapping and the installation of trusses;
- lining of the frame can be considered the final stage of construction work.
In conclusion
Construction of a shower stall at the dacha is a feasible task for any summer resident, no special construction skills will be needed. And in order for the result to please the eyes for many years, it is enough just to follow the advice offered in the article.
The video in this article briefly shows the main stages of the construction of a wooden shower stall at the dacha.