How to build a summer shower: temporary and permanent
Perhaps, about how to build a summer shower with your own hands, you can tell any owner of the suburban area. Such structures are simple, and therefore for their construction does not require any specific skills or expensive materials.
And yet even here there is a place for creativity. Below we will explain what needs to be done to arrange a temporary or permanent shower with minimal costs.
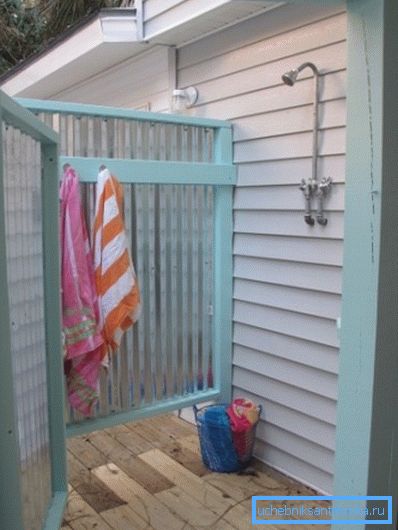
General requirements for the soul
Before we equip the summer shower in the country, we need to decide on its fundamental features.
There may be two options:
- If we plan to spend relatively little time outside the city, then we do not need a capital structure.. Enough primitive shower with a small capacity and basic protection from wind and prying eyes.
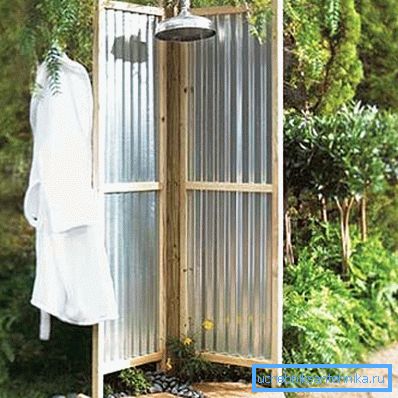
- Install such a shower preferably away from the beds and tracks: As a rule, it is not equipped with a separate drain, so that water flows directly to the ground. Accordingly, detergents will accumulate in the soil, which is not the best effect on the condition of vegetables. And the path, even paved with stone, will simply be washed away.
Note! Even in this case, you can minimize the consequences of water entering the soil. To do this, we dig a shallow groove for drainage either into a cesspool or just to a wasteland.
- If every year we come to the country for the whole summer, then the shower must be thoroughly done. So, one cannot do without a drainage well or a drain into a sewer septic tank, and the construction itself should be installed on a solid foundation.
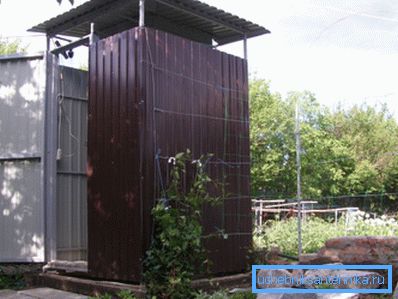
- The wall covering is also important: instead of a polyethylene film, it is better to use polycarbonate, corrugated board or wall paneling.
As you can see, you have to choose from two options. And below we will tell how to quickly make a summer shower according to a temporary scheme and how to build a capital structure.
Temporary construction
Base and frame
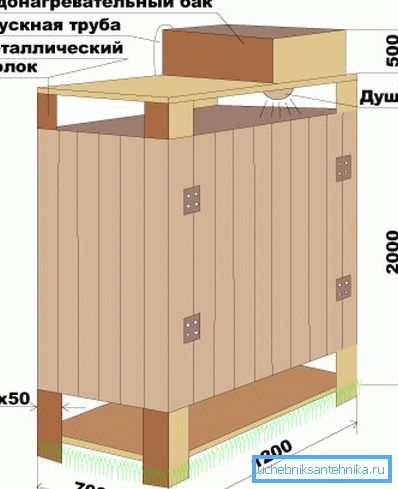
The design, which we will use for one year, is most often done on the basis of a wooden or metal frame.
All work is carried out according to this scheme:
- We take four pillars with a length of about 2.3 - 2.5 m. At the selected site (it is desirable to place the shower in such a way that at least the back wall is protected by a house wall or trees) we dig the pillars into the ground, forming a square with a side of about 1.2 m .
Tip! If you do not want to change the racks every year, then you must either wrap the underground parts with roofing material (for wooden structures) or cover them with bitumen mastic (for metal pipes).
- In order to give rigidity to the frame, we fasten the trim from the transverse bars to the bottom and top.
- We stretch the floor inside the frame with tiles or pebbles, and form a slope to the rear wall (water will flow there).
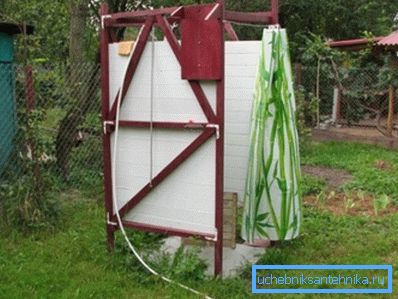
- On top of the paved floor we install a lattice of sanded boards with gaps of about a centimeter. Also on the ground, you can fix the old pan from the shower, but then under the drain should dig a pit to collect wastewater.
- From behind we dig a groove through which water will flow away from the shower.
- The walls of the construction are covered with polyethylene, and in front we hang the curtain on the rings.
Water supply system
Instructions for arranging the water supply system of such a design are also quite simple:
- On top of the frame we fix a plastic tank for a shower stall or a metal barrel painted black.
- From the neck of the tank we lower the hose, which, if necessary, will be connected to the water tap.
Note! If there is no running water at the site, then it will be necessary to fill the container with buckets, so that you need to attach a ladder at the back.
- Inside we install a watering can with a tap for dispensing water.
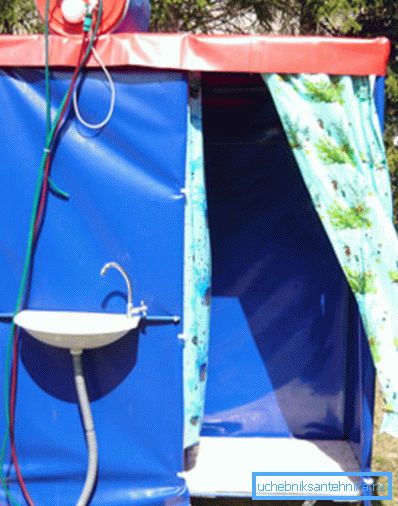
The advantage of this design is its simplicity: after the dacha season is over, it can be completely disassembled, putting all the details in the tool shed. There they will be stored until the first warm days, that is, until the summer shower is needed again.
Permanent construction
Wastewater Disposal Methods
If we want to wash in comfort, then it is worthwhile to equip the capital shower. Of course, the price of the project in this case will be much higher, and we will have to work not as an example more, but the construction will be reliable and durable.
You need to start with the arrangement of an autonomous place to collect waste:
- On the selected site we dig a small trench. Its depth should be about 1.5 m, and the area should be made somewhat smaller than the area of the base of the shower.
- The walls of the pit are necessarily strengthened. To do this, we either build a log house from a timber, or lay out a well from an old ceramic brick. In principle, typical concrete rings will do, but they are quite expensive.
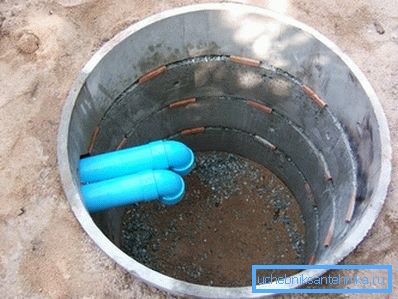
- At the bottom we fall asleep drainage - gravel pebbles, boulders, etc. The drainage layer needs to be made large enough: 40-50 cm will be just right.
- From above the sides we strengthen flush with the ground, laying along the perimeter wooden beams, impregnated with antiseptic, or metal corners.
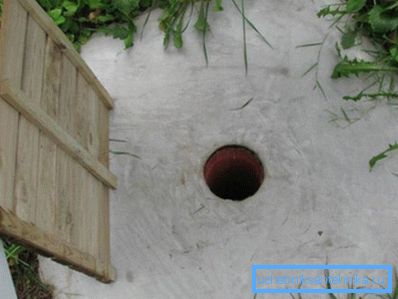
If a site has a septic tank of sufficiently large volume, then it can be “connected” to the process of disposing of drains from the shower.
For this:
- Under the shower we make a small depression, after which we carefully concrete it.
- We dig a trench connecting the shower with a septic tank.
- In the trench lay the sewer pipe with a diameter of 50 mm. The pipe should be sloped towards the septic tank.
- Entering the septic tank into the chamber at a distance of about 50 cm from the surface.
- Top we fill the pipe with sand, ram backfill and lay the sod.
Note! Warming in this case is not mandatory, because in the cold we do not use a summer shower, which means that the risk of ice block in the pipe will be reduced to zero.
Base varieties
Most often, the base for the future shower stall is settled in parallel with the laying of the drain well. It is possible to implement such options.
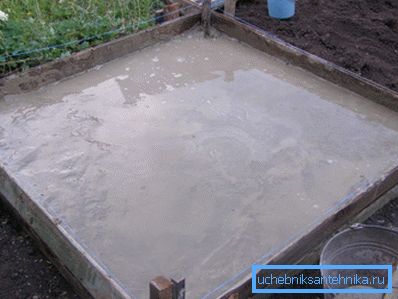
For the most durable and reliable shower of brick or lumber, you can pour a monolithic foundation.
For this:
- Overlap the pit with thick boards, leaving a hole for the flow of water. To do this, in the frame fix the pipe filled with sand.
- Along the perimeter we build timbering from boards or old plywood.
- We lay reinforcement from rods up to 8 mm thick.
- Fill the concrete, carefully ram it and dry it for three weeks under plastic wrap.
- When pouring concrete, make sure that the hole for the drain remains below the basement level. To do this, when aligning the slab manually, we form a small bias towards this point.
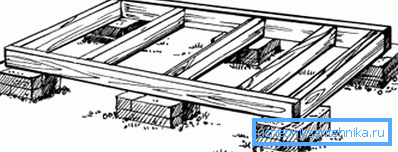
It is possible to equip a simpler column foundation:
- At the corners of the future structure, we dig up grooves of about 40 cm each.
- At the bottom of each dimple we fall asleep 10 cm of sand, which is carefully rammed.
- Then either we install concrete blocks in the nests, or we build columns of ceramic bricks.
- On top of each support lay a couple of sheets of roofing material, which will play the role of waterproofing.
- From the thick timber we collect a square frame - a covering crown, which we arrange in such a way that the corners fall exactly on the supporting posts.
Note! It is most convenient to fix the folding wreath with anchor bolts with a diameter of 10 mm, recessed into concrete or brick by 50-80 mm.
Finally, you can simply do the same as with the temporary structure, deepening into the ground the supporting parts of the frame and concrete them.
Construction and equipment shower
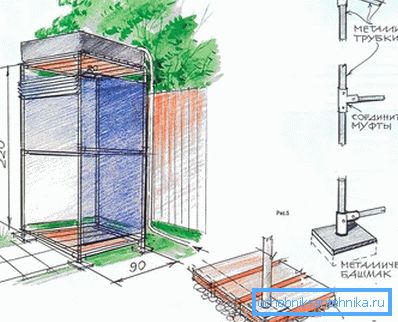
In this section we will describe how to build a summer shower from the boards and how to equip it so that we can wash with maximum comfort.
We have equipped a place for the drain, the foundation in one form or another is already there, so you need to start from the frame.
- The base for the shower can be made either from metal or wood. The second option is easier to implement, so let's dwell on it.
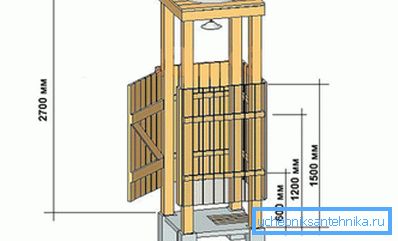
Note! To work with metal, it is desirable to purchase or rent a welding machine. If you do not have the right skills, then without the help of professionals can not do.
- We knock down a parallelepiped with a height of about 2.2 m from wooden bars (if you or one of your households is taller, then the frame needs to be done more). We install the frame vertically and fasten it either to the setting rim or to the poured concrete slab.
- To impart rigidity to the structure, we reinforce the frame with crossbars and diagonal planks.
- From above we fill several bars which will serve as a support for the container with water.
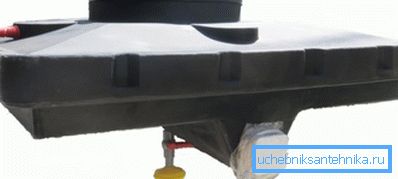
- Install the tank on the roof. So that it is not blown away by the wind (and in many models the windage is impressive even in the filled state), carefully fix the product to the frame.
- As in the case of a temporary shower, we make a tap to connect the plumbing hose, and inside we have a watering can with a valve.
Note! In some cases, the shower is electrically heated. In this case, instead of a tank, a flow-through heater connected to the water supply system and the power grid is mounted on the roof.
- If the area of the tank is smaller than the area of the roof, then the free areas are overlapped with a metal tile, slate or other roofing material. As a rule, for this purpose, trimming, remaining from construction.
Next, proceed to the finish:
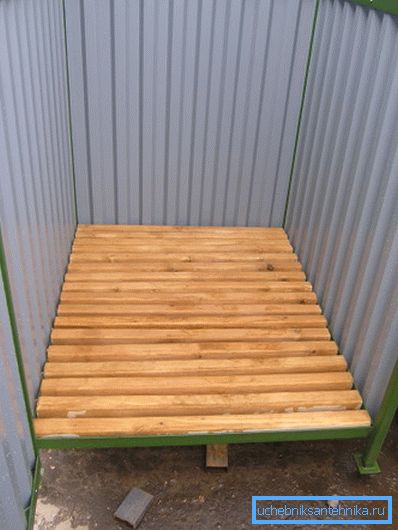
- We lay on the floor boardwalk. At the same time the board for him to connect with a gap to ensure the flow of water.
- Outside, we sheathe walls with clapboard, leaving 10–15 cm for top and bottom ventilation.
Note! Of course, this is not the only possible option. We can sheathe the walls with polycarbonate, upholstered with profiled sheeting or even covered with polymer fabric. Some generally prefer not to get involved in frame structures, but to build a shower of bricks.
- Inside we install the shelf for bath accessories, and also fasten hooks for washcloths on the wall.
- You can equip the compartment for towels and clean clothes: just enough to isolate 30-40 cm polyethylene curtain.
- On the front of the door we hang. Doors should open and close both from the inside and outside - then we will be able to ensure adequate privacy.
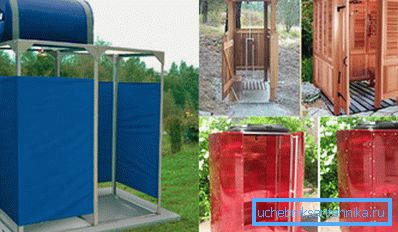
Then we can only treat all wooden surfaces with moisture-proof impregnations in order to exclude their rotting and fungal damage. After that, you can paint the shower outside, in order to fit it as organically as possible into the stylistic decision of the suburban area.
Conclusion
Information on how to build a summer shower in the country will be useful to any master. Such designs are quite simple to manufacture, so that they can be considered as a kind of training before a larger-scale construction. Having mastered all the necessary skills, as well as carefully watching the video in this article, you can safely proceed to the implementation of large projects.