How to clean the shower and what you need
Anyone who has baths or cabins in the house, sooner or later the question may arise as to how to clean the shower head, what to do with it and whether it should be disassembled at the same time - this happens because water trickles suddenly start beating in different directions, and some holes are clogged at all.
Of course, someone can simply replace it with a new one, moreover, along with the hose, but the old one could still serve for a long time, and this, although small, still saves money. We will now talk about how to disassemble such a device and how to clean it of lime and scale, and also show you the video in this article.

Shower Heads
Disassembly
Note. To clean a watering can, the instruction does not provide for its disassembly at all and sometimes it is unnecessary actions. Simply, there are situations when you simply cannot do without it.
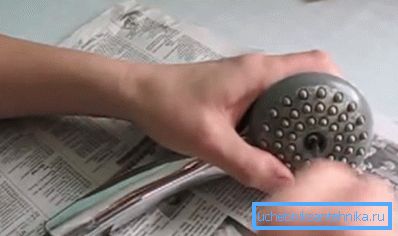
- To disassemble such a device, you only need a screwdriver, but first of all, you need to free the shower head from the hose. While the system is new, it can be done without anything — with bare hands, and sometimes even a woman or a teenager can handle it. But over time, salts, alkalis and scale are collected on a threaded joint and even a strong man cannot unleash such a joint with his hands, therefore, it’s best to use a gas key.
- When you disconnect the watering can with the hose, you can start disassembling and you need to start from the center of the grid - there is a plug that you need to pick up with a screwdriver or a knife - it should be removed without problems and under it you will find a screw that holds the grid. It’s not a fact that you can immediately unwind it, because there are also a lot of salts and scum, which will not allow the screwdriver to catch on the screw slot. Therefore, you may have to scrape the blade in the recess to clean the screw, or more precisely, the slot.
- When the screw is loosened, you can effortlessly be able to disconnect the grid with the case, just do not do it too sharply so as not to tear the gasket, which can stick to one or the other side of the connection. Its price is cheap, but you will not find such a size anywhere - they are simply not available for sale, therefore, the watering can will be thrown away because of this. Move the net smoothly and watch the gasket - if the need arises, then in the place where it stuck, slightly help her with a knife.
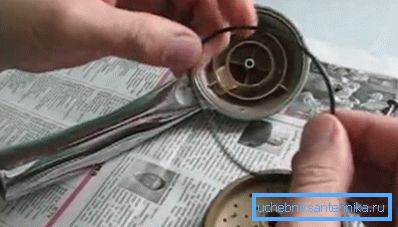
- As you can see in the photo above, the gasket during disassembly remained intact, but since you disassembled the watering can, remove it completely and the gasket - it also doesn’t hurt to rinse it off of the scale.
Note. When disassembling, it’s quite natural for you to ask how to clean the shower inside. But we will not respond to it specifically, since you will be able to apply either of the two methods, which we will tell you about below.
Cleaning
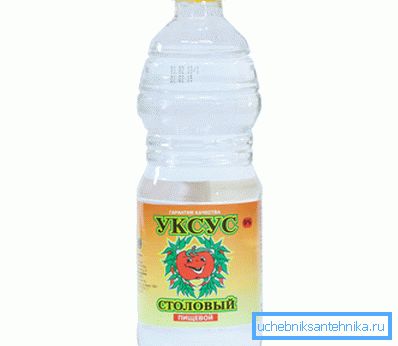
The first method is the easiest, because it can be used for both disassembled and unassembled watering cans, and, in the second case, you will not even have to disconnect the body from the hose. To do this, you have to take a bottle of table vinegar 9%, absolutely a whole cellophane bag (so that there is not a single, even a small hole) and adhesive tape or electrical tape - what's at hand is useful.
The amount of vinegar will depend on the diameter of the mesh, if this is the most frequently used option - 50-60 mm, then a three-hundred-gram cup will suffice (see also the article What is a shower head for Tropical rain and what are its advantages).
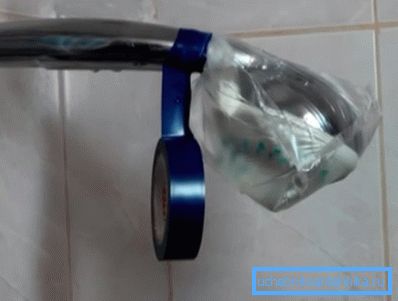
Now set the body on the holder in a horizontal position with the spout down and pour the vinegar out of the cup into the bag, at the same time checking that there is no leakage anywhere. Then put a bag of vinegar on the watering can, so that the net is completely submerged in the liquid, and press the edges of the bag to the body with tape or tape, as shown in the top photo.
Leave this construction for the night, and in the morning take off the bag and turn on the water for a few minutes - the grid will be clean!
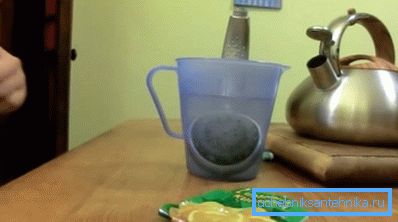
Now let's learn how to clean the shower watering can from scale more time consuming, but in a much faster way - in a solution of citric acid (one full pack of 25g will be enough for us). To do this, unscrew the watering can from the hose and drop it into a jar or a mug so that the net is completely hidden there, pour out the whole package of citric acid, heat the kettle to the boil and pour water into the container.
We are waiting for 15-20 minutes until the water cools down - at this time you will be able to observe the release of bubbles - this is a reaction of scale with acid - a process familiar to most housewives in cleaning dishes.
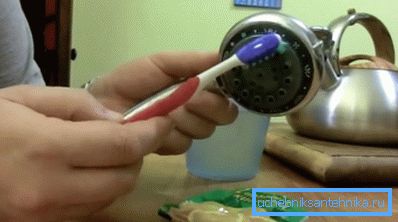
Now you need to pull out the watering can from the solution and finish cleaning with the help of an old toothbrush - in this situation the scum and limescale are softened, therefore, they can be easily removed with hard bristles.
If the grid consists of two circles, as it were in the top photo, then the plaque can remain around the perimeter of the inner circumference - the brush cannot cope with it, but there is a way out here. To do this, you will need an ordinary wooden toothpick or, at worst, a match - with these items you can remove the softened remnants of a raid.
Conclusion
In conclusion, I would like to remind you that if you decide to dismantle the body of the watering can with your own hands, then you can use any of the methods described above for cleaning. But we did not mention that Antinakipin is also suitable for cleaning, but if you use this tool, the treatment should be carried out in boiling water (see also the article What and how to clean the shower stall).
It is possible for a disassembled structure, but this method is used extremely rarely because of its inconvenience.