How to dig a trench under the plumbing on a country site
Laying a water supply system on a country plot is one of the most important moments, which will guarantee in the future comfortable living in a house. The main question is the depth of the trenches, so you have to deal with this task in more detail.
It is necessary to take into account the properties of the soil on the site, as well as the features of the water supply system itself. Below we learn how to carry out earthworks and the nuances of arranging the "external" water supply. As a result, you will be able to perform all the specified work in compliance with all the rules yourself.
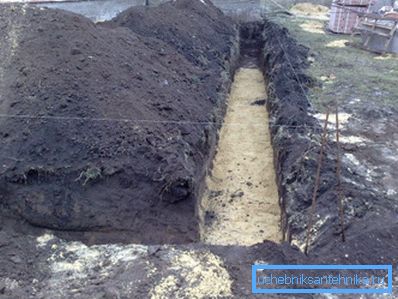
The greatest influence on the process has a depth of soil freezing. If you manage to lay pipes below this mark, the water in them will never freeze. Therefore, most of the water pipes are trying to equip at a depth of 1.5-2 m from the surface. You do not want to know how much it costs to dig a trench under the plumbing, then carefully read the article below.
Laying parameters
At the same time, a deep trench will increase the cost of manufacturing a water supply system. In addition, the speed of work in this case will be low.
We recommend in this case refer to the normative document that determines not only the depth of the water supply, but also a number of parameters:
- Ground water level.
- Ring degree of rigidity of the pipeline.
- The depth of the caisson installed above the water source.
- The use of thermal insulation, heating system of the external branch of the pipeline.
- Placing the entry point from the outer branch into the dwelling.

These parameters affect the depth of the pipe, increasing or decreasing it.
The influence of factors on the depth
| Increasing factors |
|
| Reducing factors |
|
Tip: if you do not use a caisson, raise the point of entry of the pipeline into the house and warm the water supply well, adding heating to the system. In this case, you can even lift the contour above the zero level of the soil. Although it is better to “warm” pipes prikopat at a depth of 50 cm to 1 m.
Excavation
Do not forget that a large role is played by the depth of the pipe. According to the rules of safety, "shallow" and deep trenches should be arranged completely differently.
The following instruction works for shallow ditches are proposed:
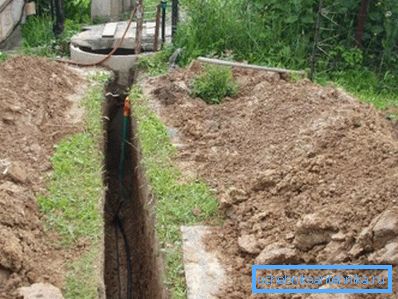
- Determine the place where you will be laying the ground out of the ditch. It is advisable to place it from it at a distance of at least 2-3 m, otherwise the walls will collapse.
- Dig a trunk hole with a size of 1 m x 1 m or a transverse trench over a trunk pipeline or along a well shaft.
- Dig the same pit near the foundation.
- Stretch two cords between the foundation and the source, marking the shortest path and trench boundaries.
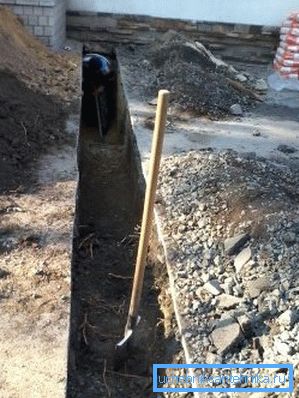
- With your own hands or with the help of technology, dig a trench along the delineated border with steep walls. The width must be at least 500 mm.
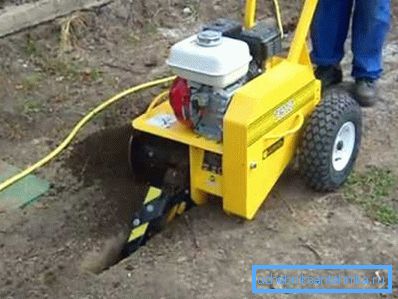
Tip: you can use a mill, then the trench width will be equal to 150-200 mm.
We dig a deep trench, while ensuring that its walls are not collapsed.
The procedure is as follows:
- Choosing a place for excavated soil. From the pit, it should be located at a distance of 3-4 m.
- We dig holes at the basement, well or well.
- We dig over the highway a pit with sloping walls. Its width of the upper cut should be equal to the depth of the central pipe.
- We equip a hole at the basement, through which the water pipe will have to pass.
- Mark the borders with two cords stretched between the pits. Keep in mind, however, that the width of the trench will be non-uniform in this case, since the walls of the excavation should be at an angle of 45 ?. In this case, at the bottom it will be 500-700 mm.
- Begin digging after marking.. At the same time, we recommend buried in the ground stepwise.
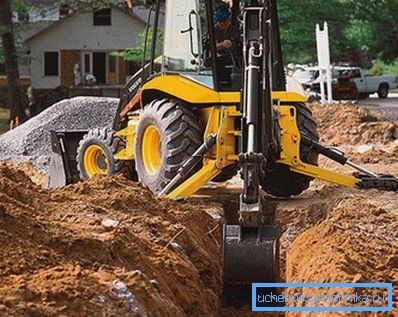
Tip: if you get a trench 2 m high, its walls can be made smooth and steep, only they should be reinforced with shields and cross struts, installing them as they deepen.
Do not want to suffer with such a deep structure? Then it is better to warm the pipe and lay it under the ground at a level of 500 mm, than to spend time, effort and money digging a trench up to 2 meters. In addition, it is not always possible to find a place under the excavated soil.
Laying external plumbing
The process is proposed to be divided into three stages:
- Training:
- cover the bottom of the trench with a sand pillow 200 mm high, moisten it abundantly and tamp it down;
- in the foundation, if you did not make it during installation, cut a hole with a hole that is necessary for the diameter;
- in the well or well shaft, make a hole with a special crown with a diameter for the free connection of the suction pipe of the pump and the water supply section. If you connect to the central highway, this item is irrelevant.
- Pipeline installation:
- cut a measured piece of pipe from the coil and place it on a sandy pillow. In order not to be mistaken, we recommend bringing the bay into the house and from there stretching the pipe to the water source;
- install the adapter to which then solder the free end of the pipeline or attach it with a coupling;
- cut the required length of the product, leaving a 300 mm outlet above the floor, and remove the coil from the house.
- Fill the trench with layers of 250 mm each, which do not forget to trample down carefully.
Tip: do not rush to remove the remnants of the soil, you will need them in the spring when your bedding "fails".
Conclusion
Laying external plumbing in a residential house does not require special knowledge. It is only necessary to determine its depth, in order then to choose the necessary work technique. Everything can be done independently or with minimal involvement of specialists. The video in this article will provide an opportunity to find additional information on the above topic.