How to dig a well: tips, features, walkthrough
Life outside the urban civilization requires a certain approach and the arrangement of life, first of all it concerns a reliable source of drinking water. The simplest and most obvious solution is to build your own well.
We will tell you how to dig a well under the rings and advise how to do it correctly.
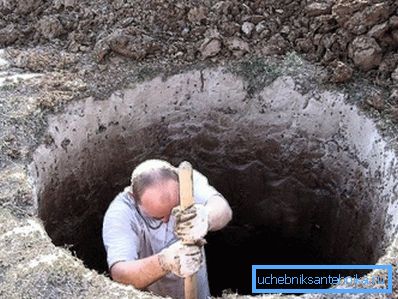
Preparatory stage
A bit of theory
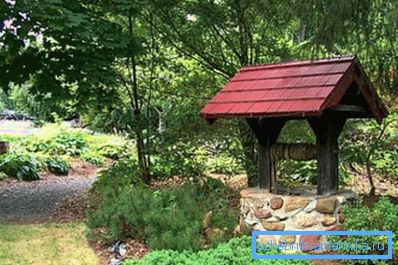
As you know, water is extracted from the ground. But in order to put this into practice, one should know exactly where the underground water is located, what is the quality of this water and what types of its sources exist. To do this, remember the course of school geography.
Water is absorbed into the ground after precipitation or melting of glaciers and snow. However, the land is heterogeneous and is presented in the form of a puff pie: layers of loose and loose rock are replaced by layers of dense clay, loam or rocky rock, then sand again, again clay, etc. As you can see, some layers let water through, others do not.
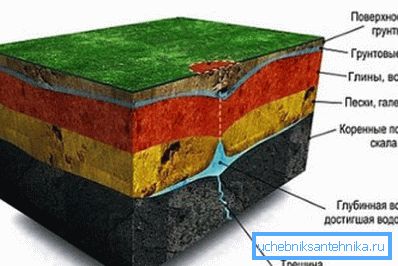
As a result, the fluid seeps through the upper loose and loose soil layers until it rests against the first waterproof layer of rock. Above this layer, it begins to accumulate and flow along it like a river to a fracture or crack, where it penetrates the reservoir and again continues to move down to the next impermeable layer.
Thus, on the cut of the rock, it can be seen that there are several aquifers under the ground. As the rock deepens into the rock, it is gradually filtered, therefore, the deeper the horizon is, the cleaner the water is in it.
There are several main aquifers:
- Verkhovodka. This is the highest water that only recently hit the ground after a rain or a high water, therefore its quality is unsatisfactory;
- Groundwater or sandy horizon. As a rule, a layer of clay follows the layer of sand, on which the water passing through the sand accumulates. It is fairly well filtered and, most often, suitable for drinking;
- Artesian water. At a sufficiently large depth (up to several hundred meters) are the main aquifers related to the strategic reserves of fresh water. They are located in limestone rocks and are often under pressure.
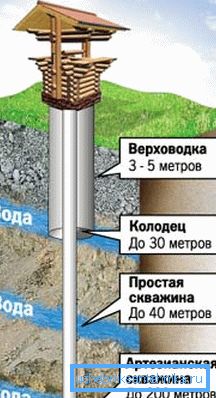
Note! The drinking bridge is not suitable, and it is impossible to get to the artesian stocks without special equipment. Hence the conclusion: we are interested in groundwater from a sandy aquifer.
The depth of the sandy horizons is different: from 3 to 30 meters, but, as a rule, it can be found within 10 meters. So, with the depth we have decided, now it is necessary to determine the location of the well on the site.
Determination of location
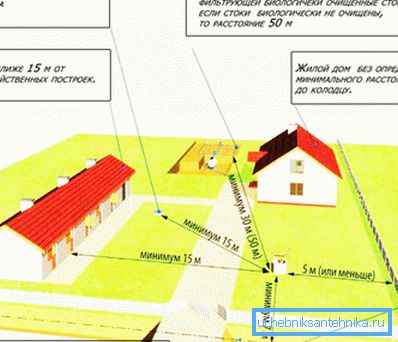
Now about how to determine a place for digging a well.
This is easy to do, following simple principles:
- Well better positioned closer to the kitchen, but the distance from the house to the source should not be less than five meters;
- Do not build water intake at the lowest point or trough, since all the rainwater will accumulate there, and during a flood this place may turn into a swamp or even a permanent puddle, which is highly undesirable for many reasons, primarily because of the danger of contamination of the well water with runoff;
- The distance from the water intake to the nearest source of infection or accumulation of sewage should be at least 15 meters, better - 50. Sources of infection should include septic tanks, rural toilets, cesspools and compost pits, livestock yards, storage facilities for manure and fertilizers, sewage treatment plants and rainwater collectors, burial sites;
- The distance to the garden is better to withstand as large as possible, but not less than 5 meters, as there is a danger of water contamination with fertilizers and plant decomposition products.
Note! The location of the well is better to choose so that it was convenient to approach from different sides. To do this, it is better to make tracks from the house, from the garden and from the economic part of the yard.
Safety during work
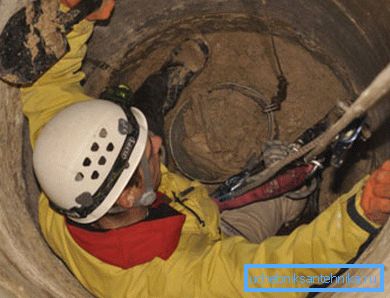
Before digging a well by hand, you should carefully take care of safety. This is important not for reinsurance, but for the possible preservation of the health and even the life of the workers.
Note! The development of rock belongs to the dangerous types of work, as in their process may be soil collapse, fall from a height of heavy objects, gas poisoning and other undesirable phenomena.
First of all, you need to take care of equipment and gear.
You will definitely need:
- Construction helmet. Buckets with the ground will be lifted on a rope, and if such a bucket falls on your head, then you will not have questions about the need for a helmet, as, incidentally, other questions;
- Safety glasses for eyes. Dust, debris and earth will constantly pour on top, and you will need your eyes on the whole process of mine development;
- Safety cable and belt tie. If you become ill, and you lose consciousness, then you can get out of the mine for the cable. To descend into a gassed mine, especially when a poisoned person is already lying there, is not the most sensible solution, but pulling the cable is not a problem;
- Reliable and durable ropes or cables for lifting buckets, tools and other weights. The lifting cable must withstand the fivefold weight of the object being lifted, and the heaviest of them. Breakage of such a rope is fraught with serious injuries;
- The site around the mouth of the mine within a radius of 3 meters must be cleared of foreign objects, stones, construction and other debris, unnecessary tools, etc. This will reduce the likelihood of accidental fall of dangerous objects into the well during the excavation;
- At each descent or ascent of any item, be sure to notify an employee in the face;
- If you feel worse, feel dizziness, nausea, loss of orientation, weakness, indisposition, or other negative changes in your well-being while working in a mine, you should immediately inform your assistants and leave the mine on your own or with them.
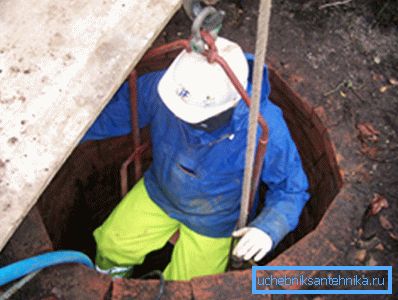
Note! The listed safety rules are not taken from the ceiling, but derived by trial and error, so the price of any neglect can be too high for you and those around you.
One of the most insidious dangers is the accumulation of natural gas in the mine. It is odorless and colorless, but it is very toxic and can quickly poison even a healthy man. To determine its presence, gas analyzers are used, and if they are not, a candle is lit at the bottom of the well.

If the candle burns normally, then everything is in order. If the fire has become a different color, the torch has increased, or other atypical manifestations of the flame have appeared - this is a sign of a weak gas concentration. If the candle goes out - it means a lot of gas, and the mine must be ventilated.

For airing, you can use hay piles of hay or pieces of cloth several times, as well as vacuum cleaners, fans, and hoods of various configurations. Sometimes, stoves with a pipe running from the bottom of the shaft to the blower are used for these purposes. Due to the thrust of the furnace is constantly airing the shaft.
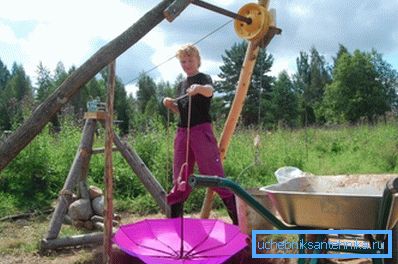
Well construction
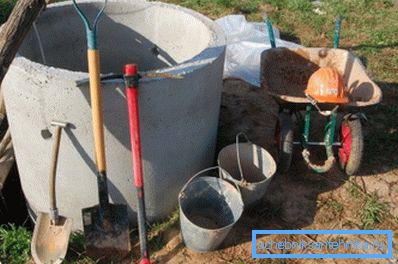
If you want to build a well with your own hands, you will find the instruction useful:
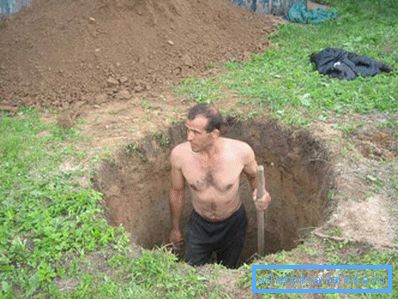
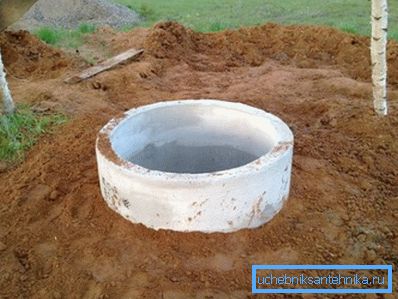
- In a pre-determined place we dig a pit of shallow depth (1–1.5 meters) with a diameter of a little more than a meter;
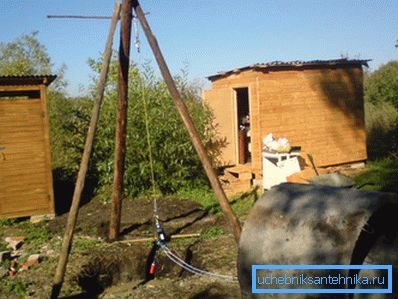
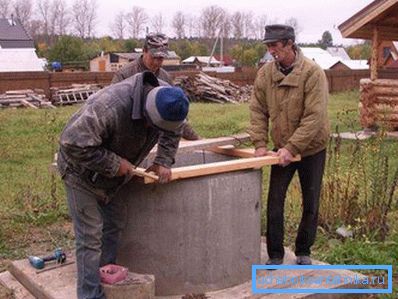
- Around the pit set a tripod made of wood or steel with a hoist or a winch. We attach a steel cable or chain with hooks at the end for fixing concrete rings to the lifting mechanism;
- With the help of a tripod, we place a reinforced concrete ring with a diameter of 1 meter in the pit and level it horizontally with a level. Then we coat the docking groove with a cement-sand mortar and put the second ring on top, fasten the rings with steel brackets;
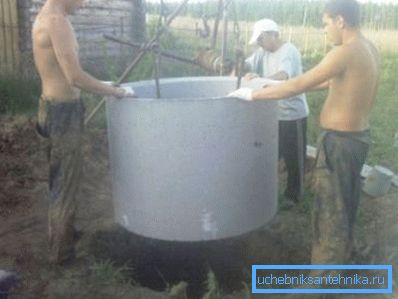
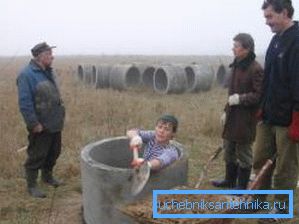
- We descend into the rings and begin to dig out the soil, undermining the ring. The soil is collected in a bucket, which will then lift your assistant, working at the top. Under its own weight, the rings will fall as the ground is dug out from under them;
- When the upper ring falls below ground level (or equals it), we place the following reinforced concrete on it;
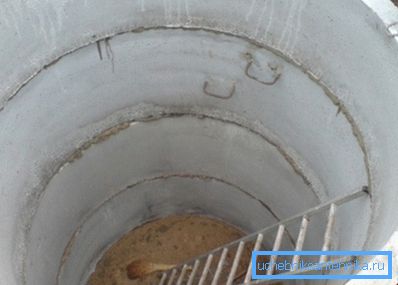
- Gradually deepen until the appearance of water;
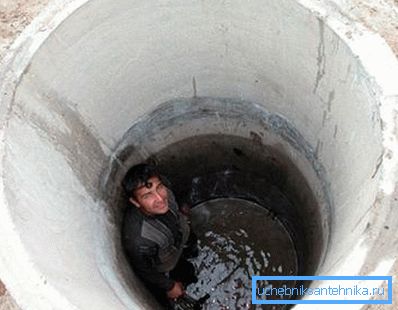
- When the water appeared, we start digging faster: if it stopped going - this is the overhead, we dig further. If the water began to arrive more and more, we lower the hose into the mine and pump the water out with a pump;
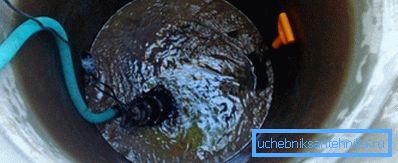
- Dive into the aquifer to a depth of one ring, if water flow allows. If the water arrives so quickly that the pump does not cope with the pumping, the work should be stopped;
- At the bottom of the mine we construct a filter for the well: we pour in a layer of fine river sand, then a layer of fine gravel, and finally, we pour in large gravel. The thickness of each layer is 15-20 cm, all materials should be thoroughly washed with bleach and water;
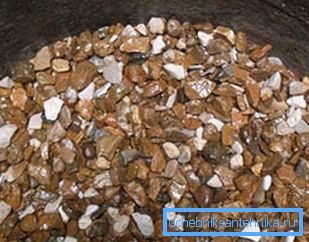
- After installing the filter, pump out the water until it becomes transparent. The first two weeks it can be used only for technical purposes, then you should take a sample and take it to the SES for analysis, and only after the positive verdict of the chemists can you drink the water;

- We dig up the earth around the upper ring to a depth of 1.5 meters and fill it with clay, which we carefully tamper. After shrinkage of the structure (1 - 2 years), the blind area around the top can be concreted;
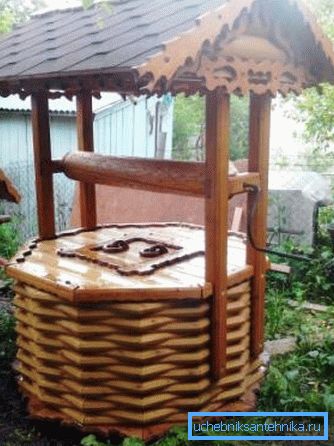
- We design the concrete cap with facing materials (boards, logs, siding, stone, brick, etc.), build a canopy over the well and install a lifting gate for the buckets (as an option - “crane”);
- We equip a mouth of a mine of a well with a cover with the lock.
Conclusion
For a normal life in a country plot, cottage or in a cottage, you will definitely need a source of drinking water. The simplest and cheapest option is the usual well, and you can build it yourself using our instructions. In addition, we recommend the video in this article.