How to get water into a house from a well - the whole
Autonomous water supply is a necessary, but very important thing. You will not only have to develop the source, but also to ensure uninterrupted water supply with the necessary parameters of pressure, chemical composition and volume. We will tell how to bring the water from the well into the house with your own hands, as well as how to connect and adjust the necessary equipment.
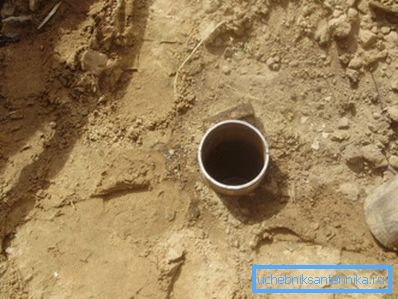
Autonomous water supply system
What it consists of
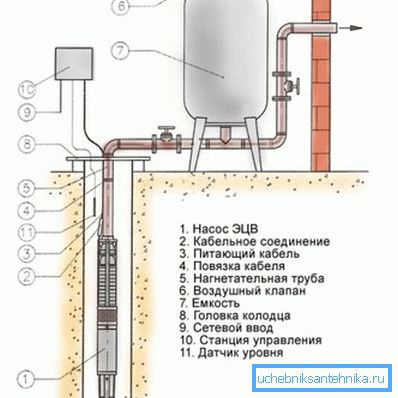
An autonomous water supply system is a set of tools that provide for raising water from a well, transporting it, accumulating it, creating the necessary pressure parameters, as well as managing and coordinating the work of all elements of the system.
Modern technical and material capabilities make it possible to create a completely autonomous and automated water supply system, so we will consider just such an option.
So, the composition of the downhole pipeline includes:
- Deep well pump. Most wells have a depth greater than 8 meters, so it is necessary to use the submersible unit;
- Nipple with double-sided external thread, check valve and coupling for connecting the outlet of the pump with the lifting pipe;
- Water pipe. It is important to choose a product that can withstand pressure according to the depth of the well, it is better to use metal-plastic or polymer models, we advise pipes made of low-pressure polyethylene (HDPE);
- Power cable of the engine of the pump and the sealed lead-in (moisture-proof terminal block);
- Fitting for transition from a vertical pipe to a horizontal pipe. This may be a knee or a tee, depending on the characteristics of pipe installation;
- Wellhead. This product is a sealed cover on the screw terminals with a terminal for pipes and cables, as well as fasteners for the safety cable;
- Horizontal pipe to transport water from the source to the house. Here it is also better to use a PND-pipe of the same diameter;
- A set of fittings for connecting the receiver: swivel couplings, corner filter, nipple. Depending on the configuration of the pipes, this kit may vary;
- Hydroaccumulator tank (receiver) 200 liters. It is better to use plastic products with a membrane, equipped with a pressure gauge and pressure switch;
- Magnetic starter, the terminals of which close / open the pump power supply circuit. The starter is controlled by operating current from the pressure switch of the receiver. Installed for starting high-power pumps with large starting currents;
- Pump control station, which allows manual start and restart of the device;
- Water level sensor in the well and the emergency shutdown relay of the pump when the water level falls below the permissible level.
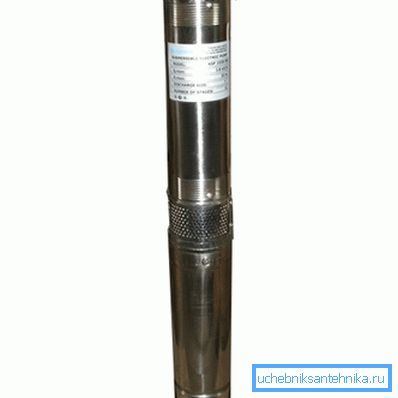
Note! Submersible pump and control automation elements should be of the highest quality, so we do not recommend saving and buying products of dubious manufacturers.
Immersion and pump connection
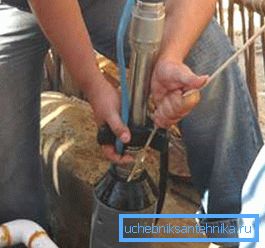
Let's get down to business.
First you need to assemble a system of lifting water to the surface:
- We take the pump, and in its outlet opening we twist the nipple with an external thread. Then we wind the check valve on the nipple, and screw the coupling into it to connect to the PND-pipe (the coupling is usually used 32 / inch);
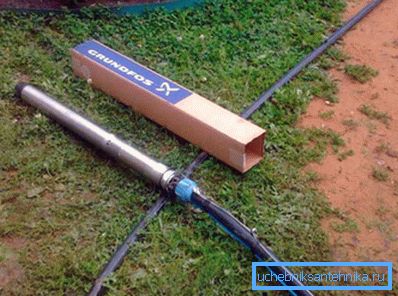
- Connect the coupling with a water pipe, pre-cut to size. The engine power cable is laid along the pipe and fixed to it with tape or clamps every 2 to 3 meters;
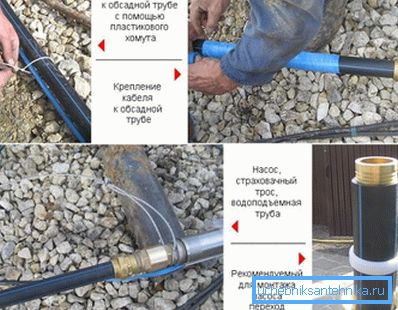
- In the mounting holes on the pump body pass through a safety cable (usually included) and fasten it with two clips on the bolts;
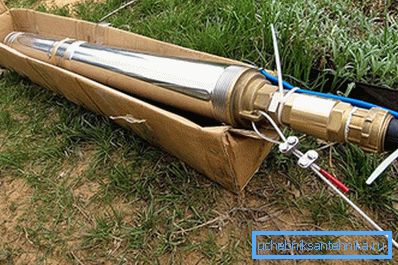
- We take the pump and gently lower it into the well by the pipe, try not to touch the walls of the casing. The distance to the bottom is at least 1 - 2 meters. The dynamic water level in the well must be at least 5 meters above the pump;

- The upper end of the pipe is threaded into the hole of the wellhead and clamped, we also arrive with a cable. The safety cable is attached to a special ring on the underside of the top cap;

- We connect the cable to the network of 220 V and make a test start of the pump. If the water does not go right away - pull it with your mouth out of the pipe, the check valve may not have worked because of the air in the system;
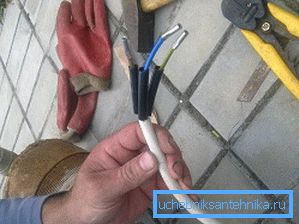
- If the water goes - it means that the first stage is completed.
Note! If the pump is already equipped with a check valve, it is better to duplicate it with a brass product, since it is much more reliable: the price of a good pump is too high to risk.
Underground pipeline
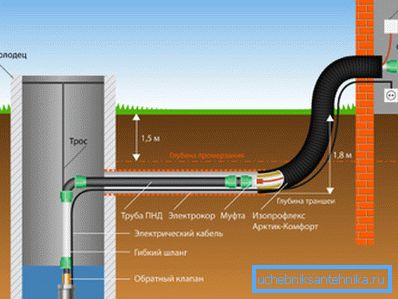
Now, actually, how to get water from a well into a house. For these purposes, it is better to use a pipe made of polyethylene, as it is sold in coils, and you have the opportunity to choose a segment of the desired length to avoid unnecessary joints.
Also useful is a swivel connection for PND-pipes and a set of additional fittings. Use only quality products, we recommend to stop the choice on the Italian manufacturers.
So, the instruction for laying pipes from the well to the house:
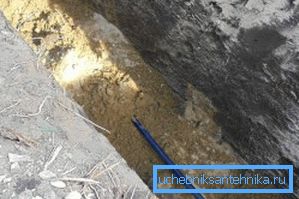
- At the depth of soil freezing (for each region has its own, the middle zone of Russia is about 5 meters) we dig a trench from the well to the house. It is better to lay the communication in the shortest straight line, since then you will not need swiveling docking stations, and the consumption of materials will be lower;
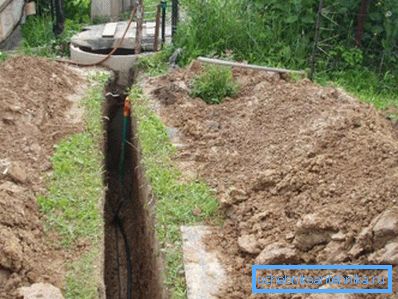
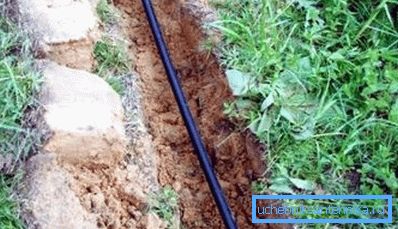
- At the bottom of the trench we pour a layer of sand 10–20 cm high, with a slight bias towards the well (1% will be enough). We put a pipe on this bedding;
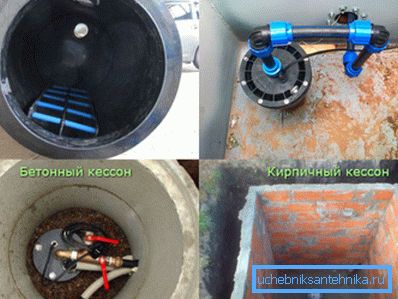
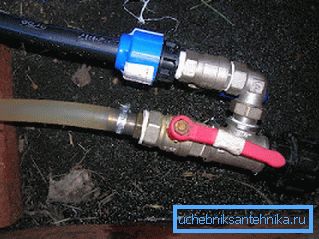
- We wind up one end of the hose into the caisson and connect it with the help of a knee and fittings with a lifting pipe;
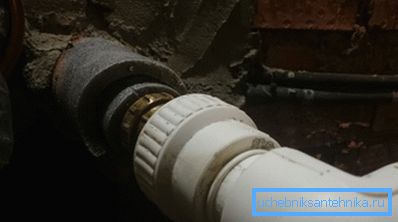
- We start the second end into a special hole in the foundation of the house or base, supply the entry point with a plastic sleeve and carefully seal it with silicone or other sealant;
- The pipe is covered with a layer of sand so that it is covered to a height of 15 cm, then the trench is covered with earth. Stones in the ground should not fall, ram backfill can not.
- In the lower part of the pipe it is better to provide a drain valve to drain water from the well in case of preservation of the site for the winter.
Note! If the pipeline is deepened below the level of soil freezing, then it should be insulated with a special foam polystyrene casing, into which it is better to insert a heating cable that is connected to the temperature switch. Also come with a plot of input, located on the surface or close to it.
Receiver connection
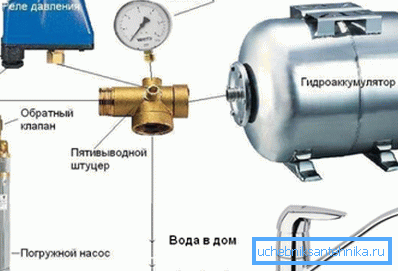
As we have already said, the water supply system should not only deliver water to the consumer, but also ensure pressure and performance acceptable for normal operation of sanitary equipment. The submersible pump is capable of creating a sufficiently high pressure, however it will be unstable, and with a sudden locking of the valve a hydraulic shock can occur.
In addition, if the pump is connected to the water supply directly, then every time the faucet is unlocked in any plumbing fixture (sink, sink, bathroom, toilet, etc.), the pump engine will turn on. This will adversely affect the service life of the engine, the mechanics of the pump, as well as the power-off points at the relay or starter.
Therefore, a hydroaccumulator is needed, which will accumulate water under pressure and supply it to the consumer. When the pressure in the tank of the device drops below a certain level, the pressure switch will activate, which will close the pump motor supply circuit, and it will pump the required volume of water. If the capacity of the tank is 100 liters or more, then for an average number of families, the number of pump starts will be small, and it will last a long time.
As a rule, the tank volume of the receiver is calculated on the basis of the ratio of 20 liters per faucet, including the toilet, watering plants and others.
We stopped to enter the pipe into the house. Go ahead:
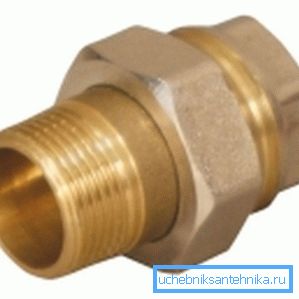
- Entering the pipe is connected through a coupling with a five-pin fitting. We wind the coupling on an inch hole through the nipple with a cap nut;
- At the inlet of the receiver we wind a corner bend, which we extend with a pipe segment of the desired length. If possible, instead of pipe and elbow, we use a flexible hose with a tap;
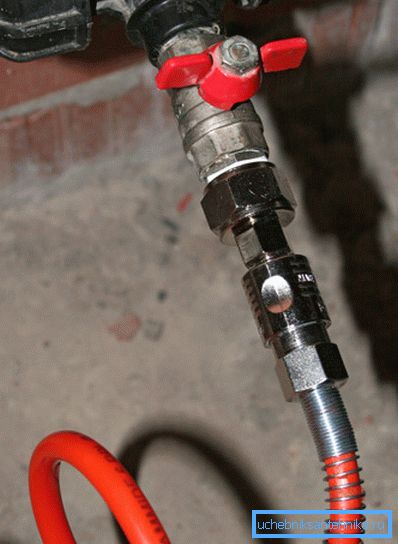
- The end of the receiver tube is connected through a ball valve with a cap nut with any free inch hole fitting. If a hose with a tap is used, then its end is simply screwed through an adapter (“American”) into the opening of the nozzle;
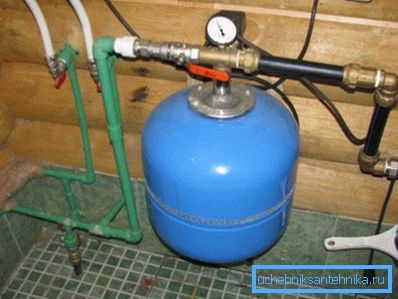
- To the hole? inches connect the pressure gauge;
- To an unoccupied hole? inch connect the pressure switch;
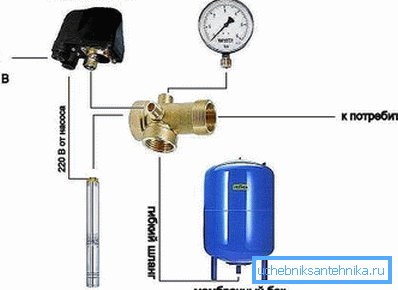
- The remaining unoccupied inch hole of the distribution coupling is connected through a valve with a cap nut to the water supply going to the consumer;
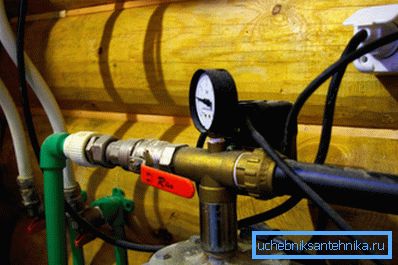
- We connect the power cable of the pump to the relay terminals that will start and shut down. The switching circuit is simple and described in the instructions for the relay. If a starter is required, then its coil is powered through a relay, and the pump is connected to the starter's terminals;

- Separately, we feed the pump cable through a manual switch, designed for the starting current of the engine with a double margin;

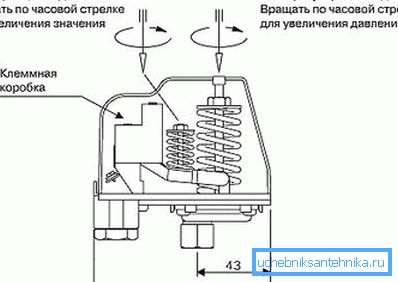
- Using the manual toggle switch, we start the pumping equipment and wait until the tank is full, and the system will automatically turn off the pump motor power. We notice the pressure off on the pressure gauge. Then we open several taps and let the water down until the system starts the pump again, also fix the pressure value;
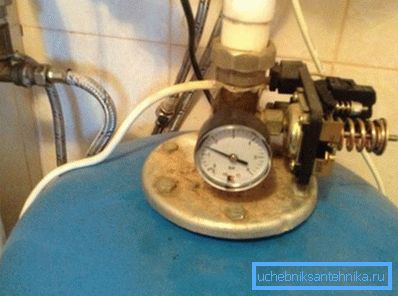
- We compare the obtained values with the passport characteristics of the receiver, and, if necessary, adjust the relay.
Conclusion
Installation of an autonomous water supply system is a very responsible task, consisting of many stages. Nevertheless, the whole complex of works can be performed independently by following the points in our manual (also learn how to get a pump from a well).
The video in this article shows the process more clearly.