How to install the faucet on the sink: an overview of
Assembling plumbing - a responsible matter. At a minimum, because improper installation here can lead not only to inconvenience of operation, but to serious material damage - after all, you can flood the neighbors from the bottom, if the mixer has leaks.
In this article we will talk about how to properly install the faucet on the sink with your own hands, what is important to consider in this matter and what rules and regulations should be followed.
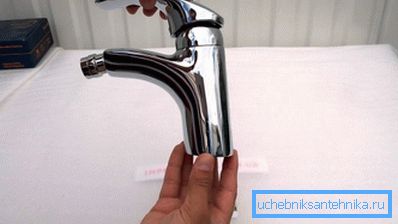
But before moving on to step-by-step instructions, it is probably worthwhile to deal with the key point.
How to choose a mixer
First of all, the mixers differ in the type of installation - there are standard appliances that are attached directly to the sink, and there are products that are mounted on the plane of the wall. Be sure to consider this point when choosing a product.
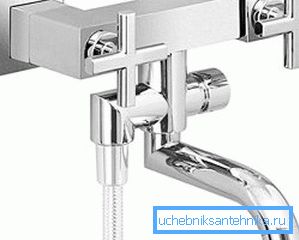
The first option is easier and cheaper to install, as for the second technology, you will need to hide the pipes inside the wall, as well as think over the fastener so that the crane is held as tightly as possible.
Further, it is possible to single out such a moment as the material of manufacture. Here you can confidently say that the best option is brass coated with chromium.
Cranes of this material have the following properties:
- Beautiful appearance.
- Chrome-plated coating is environmentally friendly, that is, the water flowing from such a mixer will be as safe as possible.
- This metal is not susceptible to corrosion and, accordingly, the service life of the product in this case is very high.
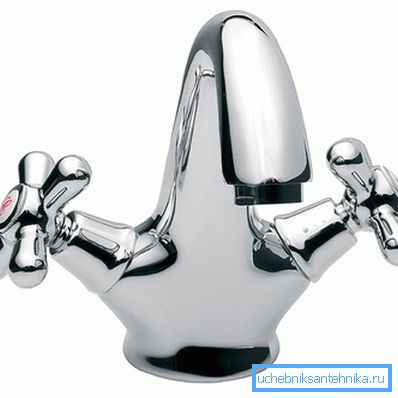
Note! Brass is a rather heavy material, which means that the mixer from it should be quite weighty. So if in the store or on the market you are “handed” a brass faucet with low weight, then this is definitely not brass - be careful!
Well, the rest of the selection criteria are in the peculiarities of the design itself - this is all we consider in the table below.
| Mixer Type: | Features: |
| Duplex | The device is controlled with the help of two taps - each handle here blocks or removes cold or hot water. |
| Single lever | The instruction, the essence of the work here is that both cold and hot water can be operated with one handle - a lever. This is a very convenient option, however, here you need to pretend to adjust the optimum temperature. |
| Thermostatic | The product continuously supplies a pre-set temperature until the set value changes. It is a very good decision in the situation when there are small children in the house - with such a tap they will definitely not be burned with hot water. |
| Contactless | In this case, the device is switched on without direct contact with it - as a rule, water begins to flow when the built-in photocell is triggered. Very comfortable taps, however, and the price is not the lowest, of course. |
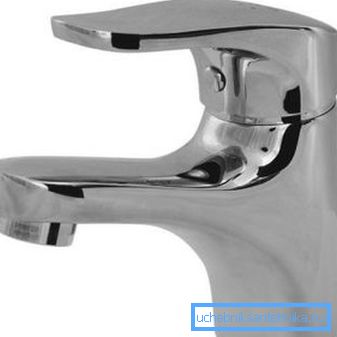
Here is such information on mixers. We hope that now it will be much easier to make a choice. Well, now you can go to the practical part of the article.
Self-installation step by step
Before you begin any work you need, of course, stock up on the necessary sanitary tools and consumables.
In particular, you need this:
- gas and adjustable wrench;

- pliers;
- various screwdrivers;
- silicone and tow.
This is a standard set of plumbing and you can start working with it. So, the first stage.
Dismantling of old plumbing
In some cases, if you perform repairs in the apartment of the secondary stock, then before you perform the assembly of new plumbing equipment, you have to remove old appliances.
There are no difficulties here in principle, since everything is done according to a completely standard scheme, but some nuances still need to be taken into account.
Let's consider everything in order - first, the disassembly instruction.
- Shut off the flow of hot and cold water. At the same time be sure to check whether the water has overlapped. The fact is that if the old Soviet valves are installed, they can turn, but not block the passage of water.
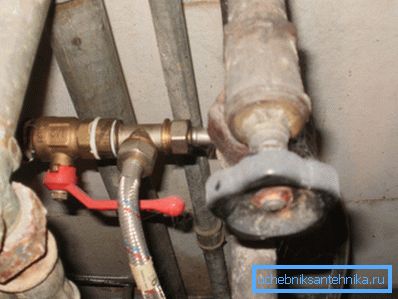
- Turn off the water supply hoses and disconnect them from the tap.
- Turn off the nut fixing the device to the sink - it is usually located at the bottom of the sink.
- Remove the product.
Now you can proceed to the assembly.
Installing a new crane
So, how to install the mixer on the sink - a step-by-step scheme of work:
- We take the product and fasten to it with the help of wrenches flexible hoses of cold and hot water. In standard situations, these hoses are screwed to the bottom of the mixer or even go a little inside it. While performing this work, it is usually not necessary to use silicone or tow to seal the joint, because between the elements, as a rule, there is a special sealing rubber gasket.

- The hoses of the liner are inserted into the hole of the shell from above and are drawn, as it were, to its lower part.
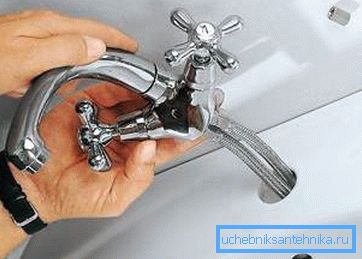
- The mixer is installed in the hole and mounted on the bowl with a special clamping nut.. At the same time, remember that the bowl is usually ceramic and may burst a nut from a very strong waist. However, now for the nuts not very strong metal is used, so there is more risk of damaging the nut itself and the stud threads than the bowl itself.
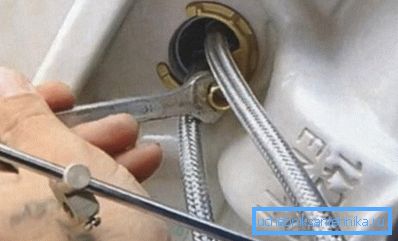
Note! After fixing the mixer should stand on the sink really durable! No rotations, rotation of the body are allowed here, because it can lead to weakening of the points of connection of the hoses and the crane and, accordingly, in this case there is a risk of leakage.
- Now you need to connect the adapter hoses to the hot and cold water supply pipes.. This is done in principle quite simply - the nuts at the end of the hoses are put on the pipe threads and with the help of wrenches are tightened.
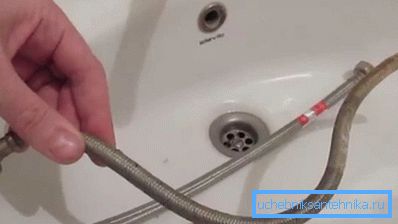
During the implementation of the last point, theoretically, tow or silicone may be needed, but this is strictly individual - if there is no sealing gasket, then additional sealants will be needed.
Also remember that too tight a nut can damage the integrity of the seal, so the effort here must be calculated very carefully. In general, it turns out that it is impossible to overtighten, and not to fail - in both cases there will be a leak, and the insidiousness is that it may not appear immediately, and then, after a while.
In fact, the only optimal way to correctly calculate the force is to have extensive experience in the installation of plumbing. In other cases, there is a risk of getting a poor-quality, leaky compound. So perhaps during work you will have to purchase more than one hose.
I would also like to note such a moment as the correct position of the hoses - it is categorically not allowed to bend them, even once (that is, with the subsequent alignment), as this will lead to the formation of microcracks. And microcracks are dangerous because they “expand” gradually and can leak at the most unexpected moment, that is, when you are not at home, for example.
In general, we figured out the most basic and important points of installation, now let's take a look at the finishing stage.
Check mounted system
Testing at first glance may seem like a simple matter.
In practice, it is important to pay attention to such moments:
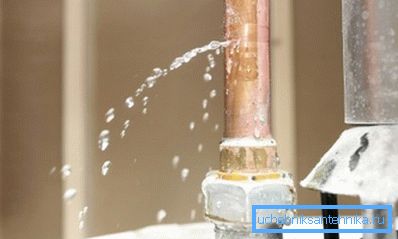
- For leaks at junctions and throughout the line. The last point is especially relevant if the pipeline in the apartment or house is old and rusty. After repair work, due to vibrations, tightness may be impaired in areas you have not touched.
- At the pressure of water. If before the installation of the new mixer, the head was excellent, and then suddenly became bad, then either the valve got defective, or the gasket moved in one of the connections. It also happens that the water passage channel is blocked by an excessive amount of silicone.
Such are the moments.
This completes our review of tips on choosing a mixer and on its installation. Now you can go to the results.
Conclusion
As you can see, the installation of a mixer of any type is quite simple, but here you need to be as careful and attentive as possible to prevent leaks and not to break the elements of the system during assembly.
We have explained how everything is done, but in order to “consolidate” the knowledge gained, we recommend also viewing the training video in this article.