How to make a shower: expert advice
Wherever a modern person is - in the forest, in the country, in his own house - he needs comfort. A shower or bath is an essential attribute of minimally comfortable conditions, and in this article we will talk about how to properly build a shower with your own hands.
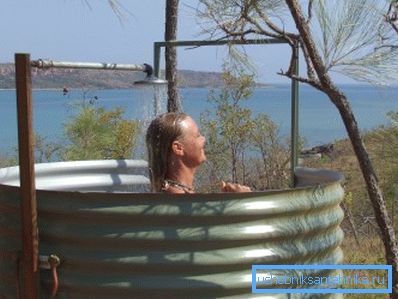
Shower at the dacha
Materials and structures
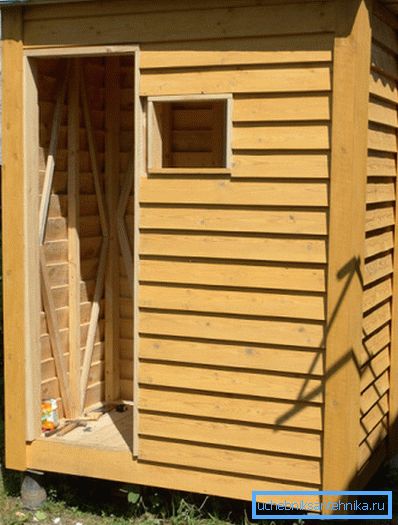
In a suburban area there are two options for the location of the bathroom for the shower: in the yard or in a private house. Consider the first option.
Note! The construction of a street shower is advisable in the event that the rest is designed for the summer season. Building a warmed bathroom in a separate building does not make any sense, since it is expensive, laborious, but you still have to dress and overcome, if not very long, but still passing through the open space with its cold.
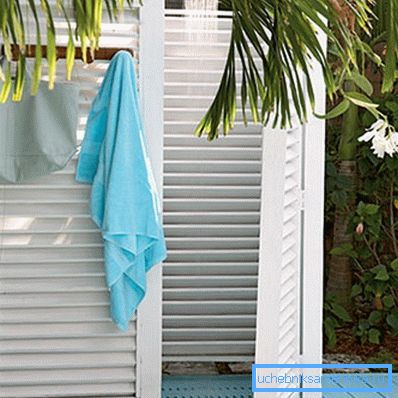
The first thing you need to decide is the design of the booth and the materials of which it will be composed. If we talk about the design, then these types are possible:
| Type of construction | Special features |
| Frame and shield | On a columnar or slab foundation, a frame is made of vertical posts, lower and upper trim, transverse and diagonal bolts. Then the frame is sheathed with boards, panels, sheets, etc. This is the most common and acceptable type of design for a summer shower. |
| Block | On the strip, column or slab foundation build walls by laying bricks or building blocks. Differs in reliability and comfort, however the price of works and materials is too high for light summer construction. |
| Monolithic | Formwork and concrete are poured on a concrete base. It is also possible to install ready-made concrete products or plastic or metal products. Reliable option, but badly fits into a country landscape and is rather expensive. |
Note! The most acceptable two types of structures: block and frame. At the same time frame is much cheaper and simpler in an independent structure.
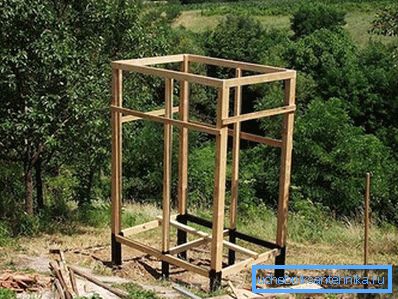
Now about the materials. In the case of building a block cabin, everything is clear: a brick or building blocks of foam concrete, shell rock, etc.
But in the case of frame structures such options are possible:
- The frame of the wooden beam on the column foundation, the lining of the clapboard or edged boards;
- The frame of the metal pipe on the columnar foundation, lining of the profile sheet;
- Wooden frame with cladding made of OSB, plywood, MDF;
- Metal or wooden frame with plastic siding, blockhouse, panels;
- Steel frame with paneling, clapboard, plywood.
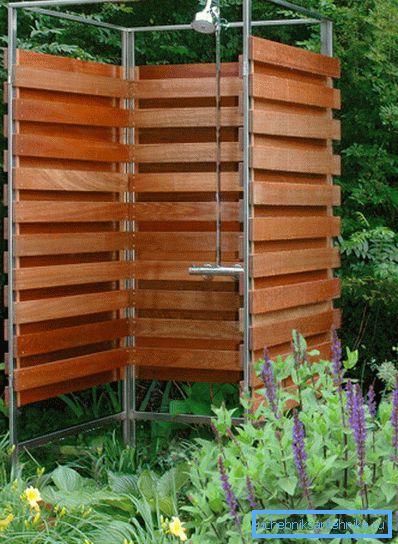
Note! For suburban areas, the most acceptable wooden structures or a combination of steel frame and wood paneling.
Stages of construction
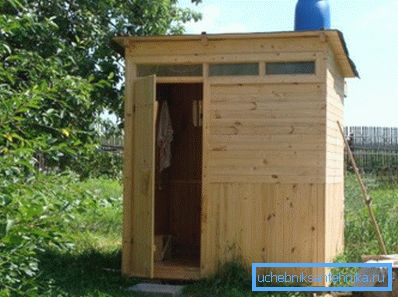
So, we came to the conclusion that for the construction of self-construction is best suited for frame construction with wood paneling. The base can be used slab or columnar foundation.
For example, we consider the stages of the construction of a shower from a steel frame sheathed with a cut board.
We start with the foundation:
- In the corners of the future structure, we dig four holes measuring 20x20 cm and 70 cm deep. We make the bedding with a sand-gravel mixture 15 cm thick;
- The bottom and walls of the pits are covered with construction polyethylene, preferably in two layers. This will protect the concrete during curing from water loss and will replace the waterproofing subsequently;
- Cut out rectangular pipe sections 50x25x3 mm, length 3 meters - 4 pieces. Bottom perpendicular to the pipe, weld the cross-to-cross fittings to the end, so that their ends do not reach the walls of the pits slightly, and install these stands in our wells in an upright position;
- Knead a mixture of cement, sand and gravel in the ratio of 1: 3: 5 and pour into the wells. Concrete compacted by vibration or abrasives;
- We cover the pits with plastic, protect from direct sunlight and wait 2 to 3 days until the mixture hardens.
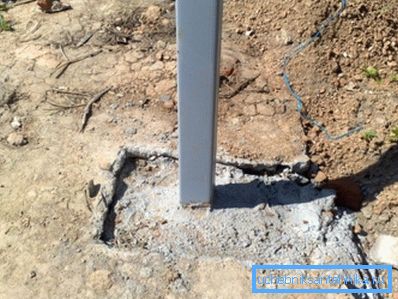
Note! Steel sections must be pre-coated with an anti-corrosion primer or painted with a waterproof paint for outdoor use.
Next, proceed to the formation of the frame.
To do this, it is enough to make the lower and upper trim racks:
- Cut 2 sets of three pieces of pipe 30x20x3 mm long, corresponding to the length of the sides of the rectangle (1 long and two short). We cut the cut-off area with a grinder with a wiper disk;
- At a distance of 30 cm from the ground level we weld pipe segments on three sides of our booth, so that they fit flush with the outside of the frame. Do the same at the top end of the racks;
- Weld the seams grinder with a stripping disc, primed and painted;
- On the side that does not have the strapping, we weld hinges for the doors to the posts..
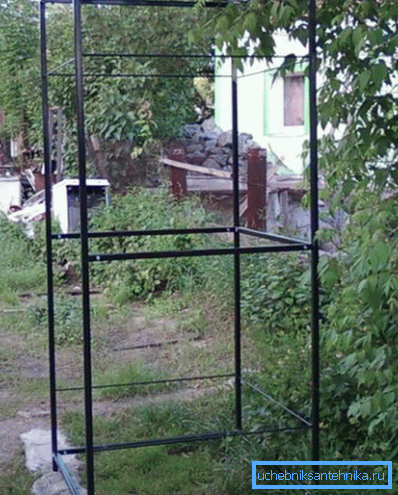
Next, proceed to the trim frame. To do this, we take a cut board 100x25 mm, grind, treat with an antiseptic, primer and coat it with a waterproof lacquer. Instead of varnish, you can use impregnation for decking or oil-wax.
We fix the boards with bolts or metal screws. Bolts are more reliable, but they require drilling holes in the racks, while the self-tapping screws enter the steel without it. Here you decide.
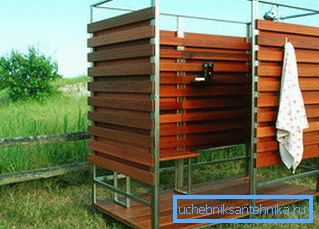
Note! You can sheathe the frame with a board on both sides, alternating the boards through one with a slight overlap so that there are no through-gaps. It looks very impressive.
Shower in the house
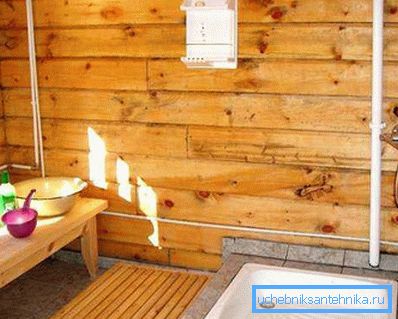
Those who are going to rest in the country during the cold season have to equip the shower inside the house. This will require free space and free time. Free finance is also useful.
The easiest way to isolate the future booth with two walls of brick, and inside to install a pan and shower faucet. You can also buy and put ready-made shower.
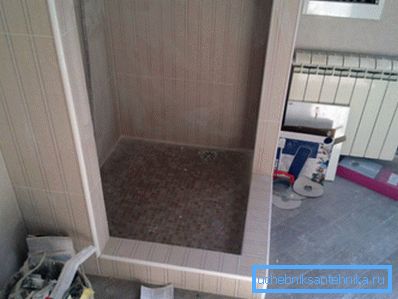
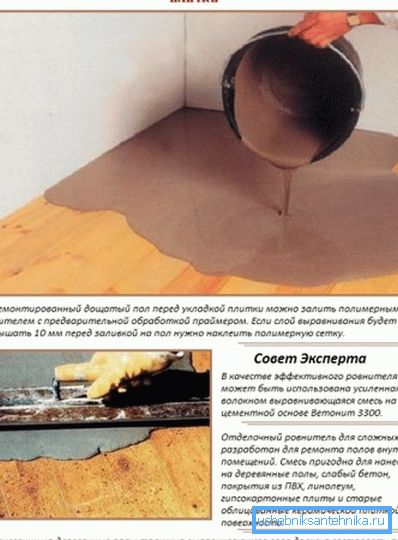
Often the question arises how to make a shower on a light ceiling. To do this, it is best to make an easy screed on the principle of "floating floor", which can then be revetted with ceramic tiles for the bathroom. The floor is sewn up with plywood, waterproofing is applied with an overlap on the walls, a damper tape is glued along the walls, and then a screed is made with a self-spreading mixture 10 mm thick.
Note! Before pouring the rover, it is necessary to lay a reinforcing mesh of fiberglass, even if the mixture includes reinforcing elements.
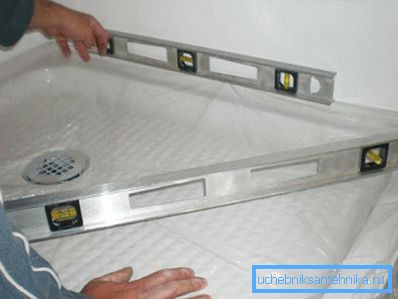
Then the floor is tiled. In the place of a shower, tiles are not laid, but they make a podium of brick, on which a ceramic, metal or acrylic tray is then installed. You can also purchase a pallet with an installation frame, in this case, the catwalk is not needed.
Water sockets are brought into the shower area, a mixer and a stand with a watering can are installed. A corrugation is connected to the siphon of the pallet, which is led to the sewer riser, which, in turn, communicates with a septic tank or sewer.
If you decide to give preference to the finished booth, then there will be less work. The device can be installed in any room where there is electricity, plumbing and sewage. It is important to remember where to make the outlet behind the shower: the distance from the device to the outlet should be at least 60 cm in accordance with GOST R 50571.11 and ПУЭ (Chapter 7.1).
Cabin is installed according to the manufacturer's instructions and is connected to the water supply and sewage. The connection is made using flexible hoses, which are best purchased separately according to the required length. It’s absolutely impossible to save on hoses, you should choose the best quality products.
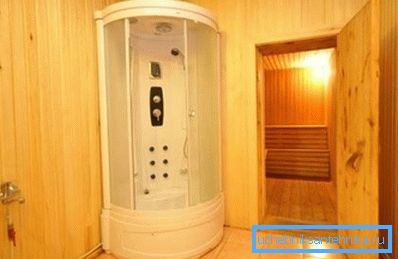
Note! Make sure in advance that the operating pressure of the device specified in the passport corresponds to the parameters of your water supply system.
Conclusion
You can make and equip the shower on your own. For this you need detailed instructions, desire and free time. The video in this article will help you better understand all the details of the process.