How to make plumbing in the garden of plastic pipes yourself
Recently, plastic pipes have become the most common material for the installation of water pipes in gardens and kitchen gardens. This is due to their low cost, excellent performance and ease of installation. Below we take a closer look at how to make plumbing from plastic pipes.
Types of water supply
First of all it should be said that the water supply for the garden can be of two types:
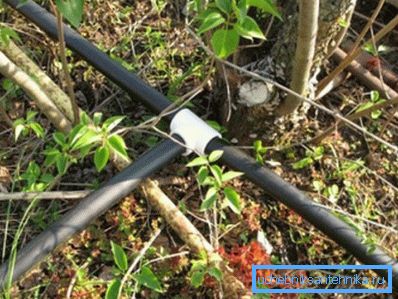
| Ground | In this case, the pipes can be located directly on the ground or slightly rise above it. |
| Dug into the ground | In this case, the pipeline fits into pre-prepared trenches, and only taps or sprays for irrigation are brought to the surface. |
Below we take a closer look at the features of each type of system.
Ground
The pipeline for this type of water has the following advantages:
- Much faster installation is carried out, moreover, it requires much less effort.
- In case of depressurization of the system, it is easy to find a leak and eliminate the fault.
Of course, along with the advantages, this option has quite a few disadvantages:
- There is the likelihood of theft;
- Located on the surface of the pipeline can visually spoil the appearance of the garden.
- Communications hinder movement.
- The materials of the system are exposed to the sun, resulting in reduced service life.
As we can see, the disadvantages of this method of laying are much more than advantages.
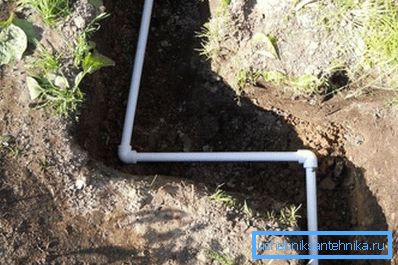
Underground
The pipeline located in the ground is free from all the drawbacks that are characteristic of the system described above, however, it also has some drawbacks:
- Installation of plumbing from plastic pipes is more laborious;
- It is more difficult to find a malfunction and repair.
Since there are few disadvantages of such a system, most often it is used in gardens and in summer cottages.
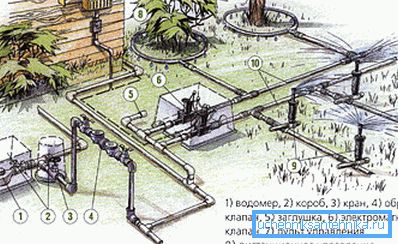
Procedure for laying water pipe
Scheme
Before you get to work, you need to chart the future of the pipeline on the garden plan.
This will solve several important tasks at once:
- Calculate the required amount of materials.
- Determine the most optimal location of irrigation points.
- Choose the most favorable location of the pipeline.
Once the scheme is ready, you can purchase all the necessary details and get to work.
Tip! As a material for the plastic pipeline, it is best to use polypropylene pipes, as they are at an affordable price and at the same time they have good performance properties.
Trench preparation
Begin laying the system with the preparation of trenches. Since the pipeline for water in the garden is used only in the warm season, it is not necessary to dig trenches to a depth below the freezing of the soil, as is done with the construction of ordinary water supply. Therefore, the depth of 20-30 cm will be quite enough.
The procedure is as follows:
- First of all, in accordance with the scheme, you need to install pegs and tighten the threads to mark the location of the trenches.
- Then you need to dig trenches to the desired depth with a slight bias towards the drain valve located near the source of water supply. A slope will drain the system from the system to the winter to prevent it from freezing.
- After this, the bottom of the trenches should be leveled and tamped carefully.
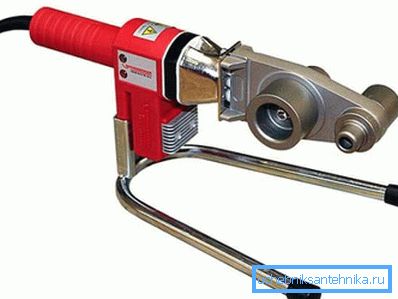
Assembly
Assembling plumbing from plastic pipes can be done in different ways, depending on the type of material. As an example, consider the installation of a polypropylene pipeline. To do this, you need a special welding machine, which is popularly called a soldering iron.
So, the installation of the system is carried out in accordance with the scheme.
Instructions for connecting parts looks like this:
- First of all, you need to turn on the device in the socket, so that the nozzles are warmed up to the working temperature.. This will be indicated by a special green indicator.
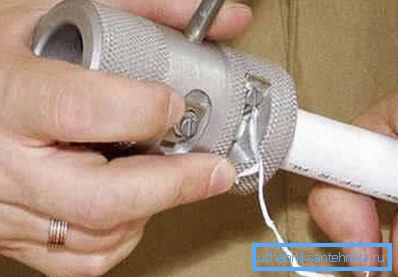
- If reinforced polypropylene pipes are used for plumbing, cleaning should be done before connecting them to the fittings.. To do this, use a special tool that is put on the tip of the part and rotates several times.
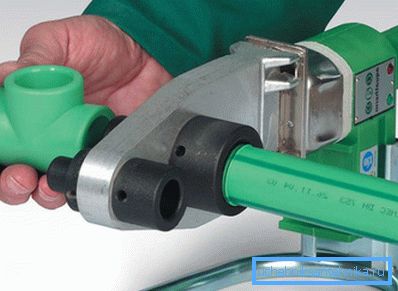
- Then the parts to be joined are inserted into the heated nozzles.. Keep them in this position should be until the plastic surface is softened. Usually there is a table in the soldering iron kit that shows the heating time for parts of different diameters.
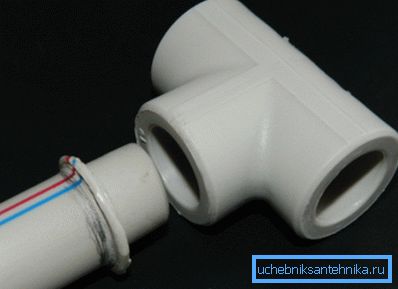
- After warming up the plastic, the parts should be connected. To solder plastic pipes for plumbing was of high quality, after joining they should not be moved until the plastic cools.
- When the system is fully assembled, it must be connected to a water source, for example, a highway that goes to the garden house.
- Next, the system is required to test for leaks.
- If during the verification process no problems are found, the trenches can be filled with soil.
Tip! Before proceeding to the assembly of the pipeline, you should practice on scraps of pipes and cheap fittings.
At this process of installation of plastic plumbing completed. If all actions are performed according to the above scheme, such a system will be able to serve for many years.
Conclusion
To make the plumbing of plastic pipes with their own hands, as we found out, every summer resident or gardener can do it. The main thing is to plan the layout correctly and carefully connect the pipes.
From the video in this article, you can find more information on the topic described.