How to put a faucet in the bathroom: the correct sequence of
Now the market offers a great variety of types and models of mixing devices for baths. They have a different design and shape, however, they all have the same principle of disassembly and installation. This article is about how to change the faucet in the bathroom.
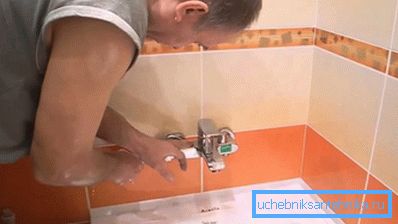
Preliminary actions
To work you need the following.
Tools and materials
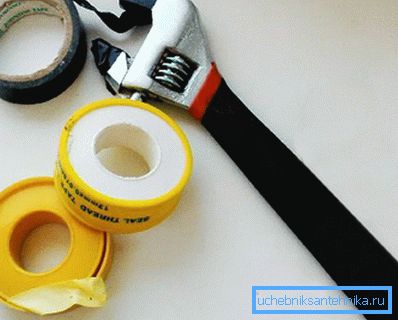
- Gas key number 1.
- Adjustable wrench.
- Spanners №№ 14 and 17.
- Fum-tape, flax tow or other sealing material.
- New mixing device.
In most cases, bathroom faucets are made of two types of alloys - brass and silumin (saluminium).
The latter material is much easier than brass counterparts. But this alloy of silicon and aluminum is unreliable. Therefore, there are frequent problem situations with him: the faucet fell off the faucet in the bathroom, the handle broke off, the clamping nut broke.
Although the models of silumin and short-lived, but quite popular, because their price is low.
Note! Devices made of brass are more expensive and massive, have a high viscosity of copper and zinc alloy. Therefore, they are more durable and reliable.
Dismantling the old mixer
- Turn off the hot and cold water supply first by means of shut-off valves. Drain the remaining water in the pipes by opening the mixer taps / lever.
- Often, the old shut-off valves do not completely block the water.
- Then you can do this: before disassembling the faucet in the bathroom, open any valves (toilet, sink in the kitchen, etc.) located below the outlets of the faucet pipes. Water will flow through this faucet and you can work in peace.
- If this option does not help, ask mechanics from the housing department to block cold and hot water risers in the basement of the house.
- Next, in turn, unscrew the cap nuts securing the mixer to the hot and cold water pipes with a wrench. Turn the fastener counterclockwise.
- After disassembling the single-lever tap in the bathroom you succeed, you can begin to install a new one.
Installing a new device
If you carry out pipe laying to the mixer with your own hands, consider such factors.
Pipe liner
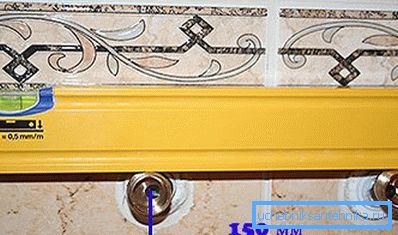
- The gap between the central axes of the input corners of hot and cold water should be 15 cm.
- Cold water pipe should be on the right, for hot water - on the left.
- The optimum installation height of the faucet above the bathroom (its side) is 15/20 cm, from the level of the floors is about 90 cm
- Entrance corners on the pipes should be submerged into the wall, so that after laying the wall cladding, their ends are flush with the coating. So you will be able to disguise the connection areas of the tap with decorative cups.
Note! It is advisable to make plumbing with modern plastic pipes. They do not rust, and they can be joined by welding, which guarantees 100% sealing of pipe joints.
Mixer installation
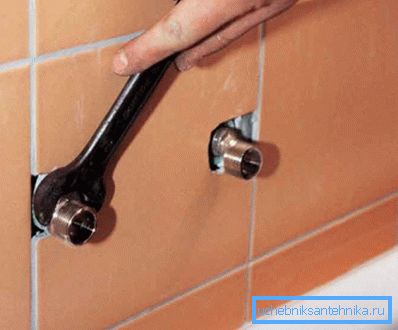
Further on how to install the faucet in the bathroom with their own hands.
- First you need to screw the eccentrics. If the positioning of the entrance corners was not carried out accurately enough, it will be difficult to maintain the required center line of 15 cm. Eccentrics will help correct this error.
- Wind the fum-tape on the threads of the elements and screw them into the inlet corners of the pipes in hot and cold water.
- Rotating the eccentrics with the key, achieve a perfect center distance between the entrances of 15 cm.. Next, check the horizontal level of the installation with a bubble level.
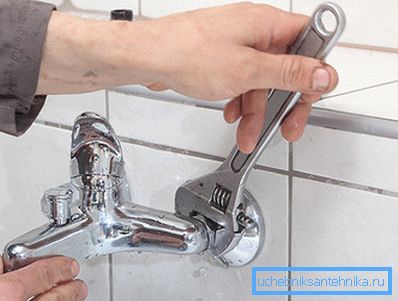
- Then bait the mixer body and also check its horizontal position.. At the same time, the fixing nuts should be easily screwed with their hands to the stop, to their full thread. When the nuts are tightly turned, a fine adjustment of the eccentrics should be carried out, slightly turning them.
- Next, fasten decorative cups, masking areas connecting the mixer to the eccentrics.
- Before assembling the faucet in the bathroom, insert the sealing gaskets and finally fix the instrument body in place.
- Tighten the locking nuts with the gas wrench. Put a cloth under his sponge. Otherwise, you damage the chrome-plating of the nuts; it will not look aesthetically pleasing.
Note! Do not tighten fasteners too much. The joint is sealed with rubber or silicone gaskets. With a strong clamp, they will collapse and the connection will flow. For insurance, turn on the water and make sure that there is no leak. If it is, slightly tighten the nuts to eliminate it.
- Now you can put the gander mixer. First, get his nut hands. Next, tighten it with a wrench (also through a protective cloth material).
- Screw the shower hose to the appliance body.. Before this, do not forget to insert the gasket.
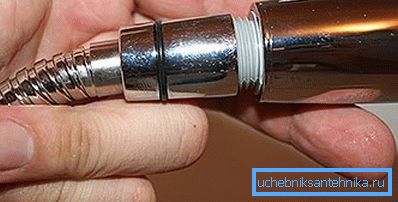
- Screw a watering can to the hose, having previously put a rubber or silicone gasket on the joint.
- Select the location of the shower holder and mark the points for its attachment..
- Drill holes in the wall, insert plastic dowels into them.. Then fix the bracket bracket with self-tapping screws.
- Turn on the water and test the device. in different modes of operation.
Conclusion
Before you disassemble the faucet in the bathroom or assemble it, you should familiarize yourself with its device and some simple rules of work. Modern devices are easy to install, so you should have no problems. (See also the article How to install a faucet on the sink: features.)
The video in this article will help you to install.