How to repair a mixer tap: an overview of solutions and
Very often, in a situation when you need to repair the faucet with your own hands, a lot of questions arise. As a rule, this happens because today there are many models of plumbing and in addition each brand may have some design features.
And here it’s not that inexperienced people — many masters will not find a solution like this right away either. Therefore, in this article we will try to understand the most frequent problems associated with the repair of modern mixers.
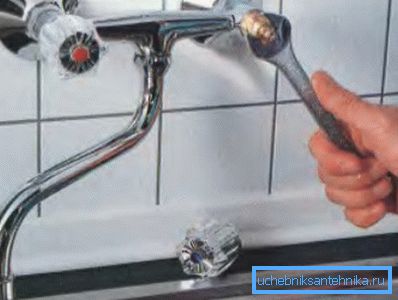
But there is a moment - in order to solve the breakdown, it is necessary to objectively understand the structure of the mixer tap. In this question, in brief, we will first understand.
The principle of the most popular solutions
If we do not consider “advanced” models like sensory and thermostatically designed products, then we can distinguish two main types of structures:
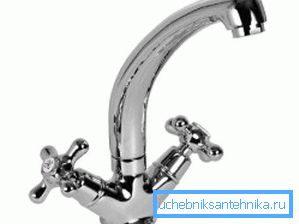
- Two-valve devices.
- Single lever devices.
The design of the faucet mixer of each type is discussed in the table below.
| Product Type: | Features of the device: |
| With two valves. | The model consists of a spout into which fluid is supplied from two valves - hot water flows from one valve and cold water from the other. So inside the device, on the side of each valve there is a mechanism with bolt boxes and gaskets. And if your water flows badly or the connection is leaking, then it’s 99% that it’s time to change the seals. |
| With a lever. | In this case, the instruction to adjust the water is very simple - the higher the handle is raised, the greater the pressure of the water goes. And the temperature is regulated by movements to the sides. The peculiarity is that the ball mechanism acts here, which is presented in the form of a removable cartridge. Most often, if a faucet of this type is leaking, the reason is the wear of any elements of the cartridge. |
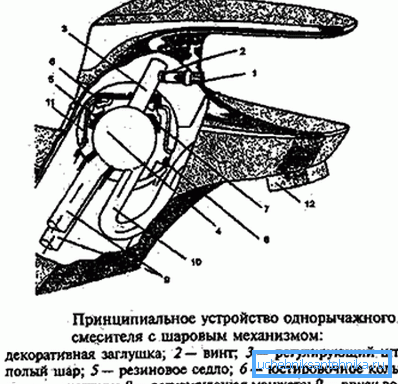
This we reviewed the general points. Now let's take a look at more specific actions.
Self repair
We will act according to a very simple scheme - let's take a specific type of device and figure out how to repair the faucet in case of a breakdown. Let's start with the most popular modification now.
Repair of single lever device
The first problem is the appearance of a crack on the case. Unfortunately, this can happen on brass products, since it is not steel after all. Therefore, if you find that the device is leaking, then do not rush to disassemble it, but first inspect - if the matter is really in a crack, then a temporary and relatively easy repair of the faucet and faucet will be needed.
“Easy” - because you just need to cover the crack with a sealant, and “temporary” - because, in general, this will not solve the problems and over time you will have to buy a new device.
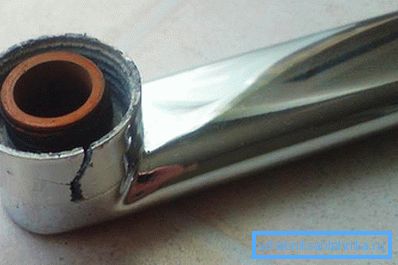
If there is no crack, then a complete disassembly of the mixer tap will be required.
You need to act according to the following scheme:
- Shut off the water supply.
- Turn off the screw, which presses the lever.
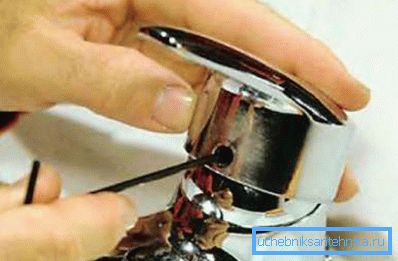
- With a little effort, loosen the lever, try to lift it up. In theory, after such an impact, it should be easily removed.
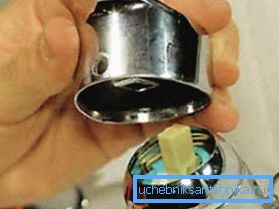
- Unscrew the thread that was under the handle.
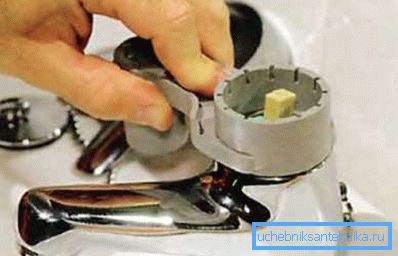
- We remove the cap and inspect the gaskets - if there is a deposit on the surface, then it should be cleaned off. If the gasket is cracked, then it must be replaced with a new one. Replacing such a part is both easy and affordable, as the price of the gaskets is literally penny.
- Next, you need to get the ball - if it is free of defects, then we leave it, and if obvious damage is visible, then this element should be replaced.
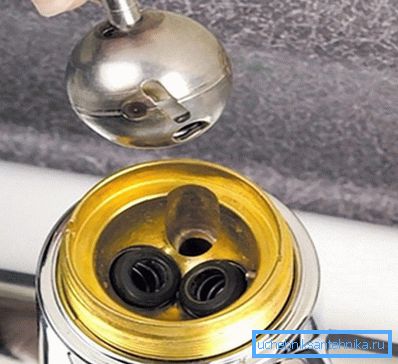
Note! Inspect also the seals that hold the ball - it is possible that they require replacement or cleaning.
Well, after this cleaning of taps and mixers is done (or parts have been replaced), you need to assemble the device, acting as if in the reverse order according to the instructions above. In theory, there should be no more leaks.
If all the above work has been done, and the leakage is still left, then it means that you have to change the cartridge. As a rule, in this case the leakage is due to the fact that the mechanism is damaged by small debris, which is usually a lot in the water.
Tip: to reduce the likelihood of such damage - install a filter with a fine mesh on the main in front of the sink or sink.
The cartridge changes quite simply:
- Shut off the water.
- We disassemble the device.
- We take out the element and put in its place a new cartridge.

Well, you can select another common problem - a weak stream of water. Most likely - this is a blockage of the aerator. The aerator is a fine mesh that is installed on the tip of the spout - unscrew and clean it, if it does not help, it means that the pipes or flexible hoses of water supply are clogged.
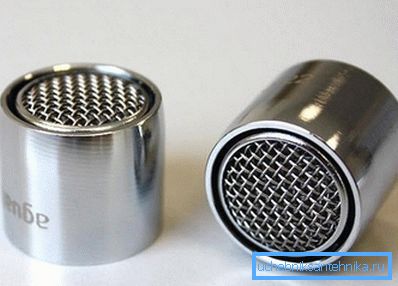
That's about how to repair single lever faucet mixer. We now turn to a more classical model.
Fixing a two-button product
One of the most typical damage is the tearing off of one of the valves. The first thing to check here is the presence of locking cogs - perhaps they just need to be tightened up.
Also, if the faucet fell off the mixer, then it may be that the screw head just simply broke off. If so, then try to unscrew the thread with the help of pliers - in theory there will be something to “hook” the pliers.
The second common defect is leakage. The solutions here are simple - replacing gaskets. But the fact is that the plumbing constructions of this type can be different, and also the gaskets themselves can flow in different places.
The gaskets on the valves directly change according to the following scheme:
- Twist the knobs and boxes. Usually they twist counterclockwise.
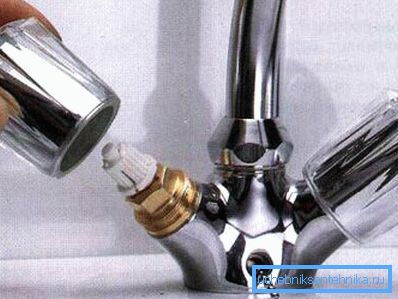
- Remove spacers and change them to new ones..
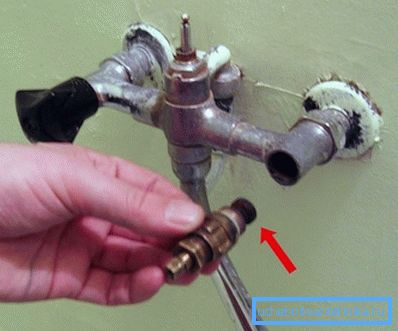
- Spin all back.
In principle, everything is simple, but keep in mind that in some cases you may need additional sealing from fumlenta.
If we are talking about the device with the presence of the soul, then often there is such a problem as the constant dripping of water near the shift knob.
The reasons for this phenomenon may be as follows:
- Unscrew the switch itself. That is, the output here is very primitive - just screw the element more tightly.
- Damaged sealing gaskets. As you understand, the only option here is to replace them.
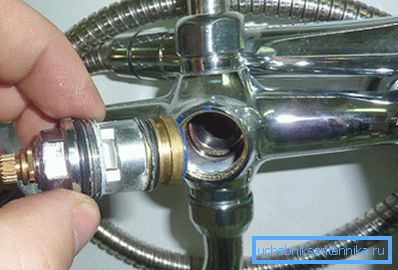
Tip: if it is not possible to purchase gaskets of a suitable diameter (this happens, for example, in the case of using old Soviet devices), then they can be completely cut out of leather or rubber.
And, of course, gaskets can deteriorate in the area of the base of the spout itself. Usually at this point there is a nut, after loosening of which the mechanism of the mixer itself is visible. That's somewhere there should be a gasket that needs to be replaced.
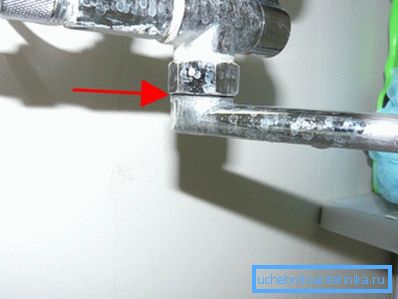
It is worth considering another common situation - when the valves seem to be screwed on, nothing leaks anywhere, and liquid drips from the nozzle anyway. Such a problem means that the crankcase is not functioning properly.
This may be due to the following reasons:
- Perhaps they are screwed loosely.
- Rubber seals are damaged or absent.
- If the faucet is purchased cheap, then it is quite likely that the crane-axle box itself is of poor quality, that is, it contains microcracks through which water seeps.
Tip: if you have a faucet on the mixer scrolling, it is likely that the edges on the valve or on the head of the rotary stem “licked”. The easiest way to fix a problem is, of course, replacing the elements.
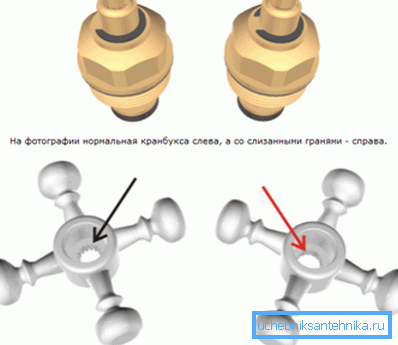
And the last thing I want to note is that the quality and composition of the water passing through the main line is of great importance. If it is tough, with debris or contains a large amount of salt, then the plumber is likely to break quite often. Just because its elements will be exposed to a more aggressive chemical attack than the manufacturer originally planned.
Therefore, the best solution in such a situation is to purchase a truly high-quality product and install a filter system before supplying water to the “finish” units. That is, an integrated approach is the key to success.
In principle, on this our review can be completed and go to the time of summing up.
Conclusion
We briefly reviewed the device of a water tap and a mixer and how to fix the main breakdowns. We hope that the instructions provided to you are more or less clear and will be useful in practice. If you want more details, then turn your attention to the video in this article.