How to repair the faucet in the bathroom: the elimination of
Every day we use the mixer in the bathroom several times. Such a load periodically leads to breakdowns that require immediate repair. In this case, it is possible to do without calling a plumber, the price of which is sometimes quite substantial.
This article presents typical faults and methods for their elimination.
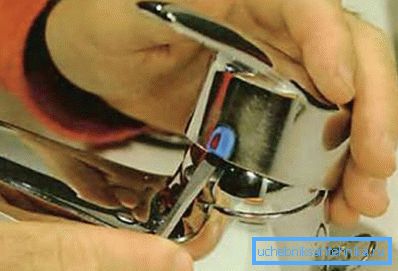
Structure
First of all, let's answer the question of what the faucet consists of? It should be borne in mind that there are two options:
Mixer with two valves
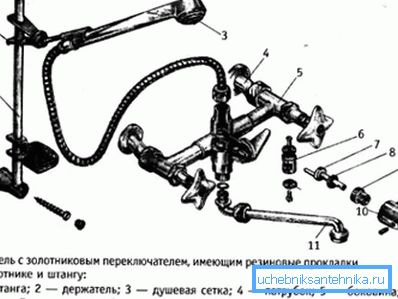
| Designation in the figure | Title |
| one | Barbell |
| 2 | Holder |
| 3 | Shower mesh |
| four | Nipple |
| five | Sidewall |
| 6 | Spool |
| 7 | Crank |
| eight | Yarn seal |
| 9 | Special screw |
| ten | Lever |
| eleven | Spout |
A distinctive feature of this design is the ability to fine tune the mixing of hot and cold water.
Single lever mixer
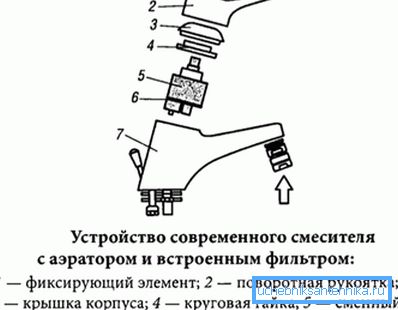
| Designation in the figure | Title |
| one | External plug |
| 2 | Mounting bolt |
| 3 | Connecting rod |
| four | Shut-off ball |
| five | Rubber saddle |
| 6 | Adjustment ring |
| 7 | Steam cuff |
| eight | Regulating cuff |
| 9 | Fluid influx |
| ten | Mixed liquid outlet |
| eleven | Ball sleeve |
| 12 | Aerorat |
The way the faucet in the bathroom with one lever works simplifies its operation, because you just have to turn the lever in order to pour the liquid of the desired head and temperature.
Repair work
Before you remove the faucet in the bathroom, you should first understand the type of damage, because such drastic actions are rarely required. The most typical malfunctions consist in the appearance of a leak, and with them we will begin:
Fault # 1: a leak appears from under the goose's pressure nut
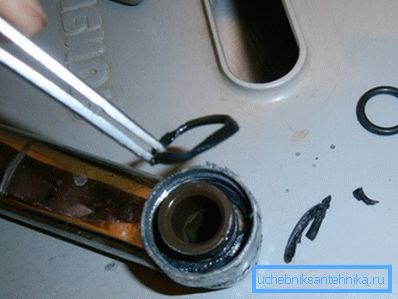
A very common problem found in both designs. Occurs usually due to failure of gaskets. To replace it, you will need: a pipe wrench, a FUM tape and a new gasket in the form of a ring, the cross section of which? in.
Tip: it is recommended to choose a new ring from paronite that will last you as long as possible.
The replacement instruction looks like this:
- Unscrew the gander fixing nut.
- carefully remove the gander.
- We take out the leaky sealing ring from the hull.
- We insert a new ring.
- On the threaded connection reel tape FUM to improve sealing.

- Install the gander into place and tighten the locking nut.
Fault # 2: Leakage

As can be seen from the name of the breakdown, it concerns models with one lever and is in the malfunction of the internal cartridge. To solve the problem, you will need a new cartridge, pliers and a screwdriver (see also the article What to do if the faucet flows: fix the problem).
Tip: when buying a new cartridge, it is recommended to have an old sample with you for comparison, since there are a lot of varieties of them and it’s very difficult to determine by eye.

The course of work is as follows:
- We remove from the lever the decorative part.
- Turn off the bolt.
- Dismantle the lever itself.
- We take out the cartridge, previously unscrewing.
- Insert the purchased item.
- We collect the device again.
Fault # 3: Leak from under the water switch from gander to shower
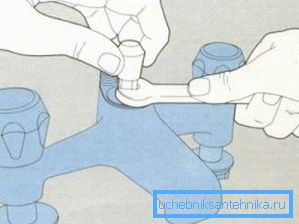
This breakdown occurs again as a result of the wear of the gasket, only that which stands between the lever for switching the operating modes of the gander and the shower and the body of the mixer.
Replace with:
- Turn off the screw fastening the lever.
- Remove this item.
- Replace unfit old gasket with a new paronite diameter? in.
- Install the lever in place.
Fault # 4: leak from under one of the valves
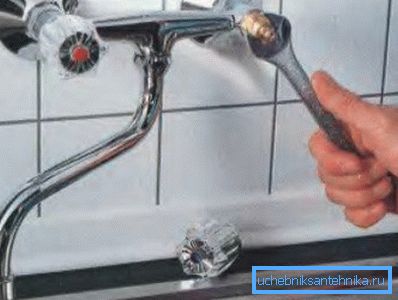
In the event of a break in the cock-box or wear of the sealing ring, water starts leaking from the valve.
In any case, you need to get to the failed part:
- Remove the cap from the valve.
- Turn off the fastening screw.
- Dismantle the valve itself.
- We unscrew and remove the crane-box, determining the cause of the breakdown.
- Install a new part.
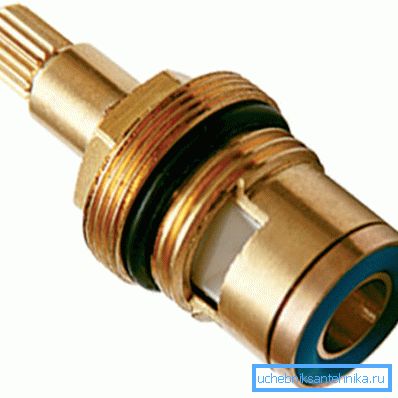
- We mount the valve in place.
- Twist the fastening screw and put in place a decorative cap.
Fault # 5: Leak out of the shower nut
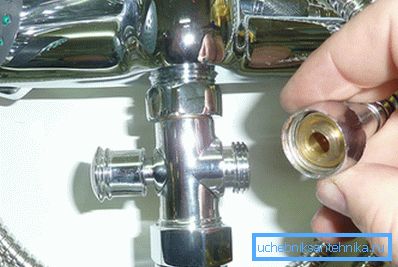
The reason for such a breakdown is the wear of the gasket between the shower hose and the mixer, which is also solved by replacing it:
- By unscrewing the clamping nut.
Tip: it is recommended to put a piece of rags under the pliers. This will avoid scratching the nut itself.
- Remove the spoiled gasket and install a new one in its place.
- We reel on a threaded connection a small amount of FUM tape.
- Twist the clamping nut back.
Fault # 6: Electric Shocks
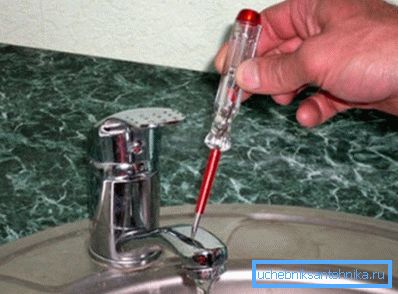
This is somewhat beyond the usual breakdowns, which are the appearance of a leak.
Let's first understand why the faucet in the bathroom beats:
- Stealing electricity from neighbors. Some people may, in order to save money when performing work that requires high power consumption, connect to the network, bypassing the electric meter. In this case, the zero wire is usually just pounced on the battery, which provokes the appearance of electrical discharges in your bathroom. As a solution to this problem, only a conversation with the attackers or a complaint about them to the competent authorities remains.
- Improper grounding of wiring or plumbing fixtures in the bathroom. In this case, you should carefully check all outlets, washing machine and other possible sources of this problem.
Conclusion
Most of the breakdowns associated with the operation of the faucet in the bathroom, due to the appearance of leaks in its various nodes. All of them are eliminated by replacing a worn-out part, which can be fully implemented independently, without resorting to the help of a professional plumber (see also the article Installing a Crane: Installation Rules and Step-by-Step Guide).

The video in this article will introduce you to additional materials. Be careful when doing repairs.