Installation of the crane: installation rules and
Installing a faucet in the kitchen with your own hands is a common task that almost every man faces at least once in his life. The installation rules for ball valves are not particularly difficult, however, you should know the procedure and treat your work responsibly.
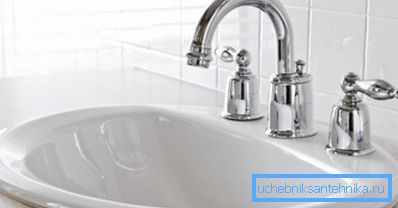
We decided to help you understand this issue and made a detailed instruction.
What you need to know before installing
A set of tools and consumables

Before proceeding with the installation of the mixer, it is necessary to resolve the issue of having all the necessary tools and consumables. To work you need a small set of them, however, it is also necessary to provide.
Some sets of faucets are equipped with flexible water supply hoses, but they do not always have a satisfactory quality and the desired length. The most unsuccessful are products from silumin.
To determine its presence, it is enough to hold the hose in a fist and stretch it through the palm with some effort: if a gray mark remains on the skin, then it is a silumin hose - it is better to replace it with a better one.
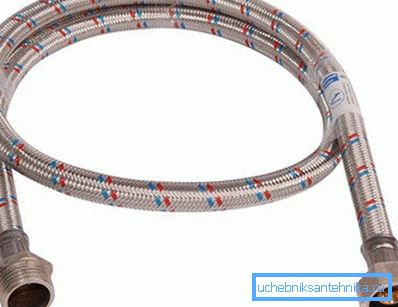
Note! It is better to measure the distance from the mixer to the water pipes in advance. The length of flexible hoses should be slightly longer than this distance so that they freely reach the pipes and be mounted without stretching.
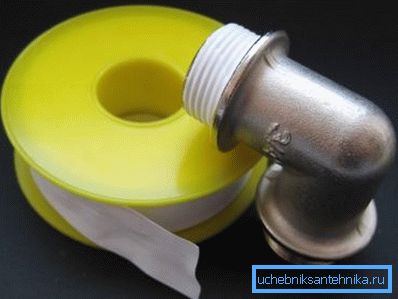
In addition to the hoses, we need FUM sealing tape or tow. This is necessary to seal the threaded connections when connecting hoses to pipes to avoid leaks.
Installing a ball valve with your own hands will require the availability of such a tool:
- Adjustable plumbing wrench. You can replace a set of keys of different caliber. If the installation will be carried out on a sink mounted in the countertop, then it is more convenient to use flare keys or tubular keys, if the sink is not yet installed - you can do with the rocking keys;
- For some models of mixers, a hexagon and a screwdriver may be needed, in addition, it is convenient to carry out some procedures with a screwdriver, for example, to lay sealing gaskets in the corresponding grooves;
- Pliers, files, a hammer and other standard tools also will not interfere, but will most likely help you in your work.
Note! To seal the tow, it is better to use a special sanitary paste, especially since its price is penny. You should not put oil paint on the joint, as then there will be problems when replacing or repairing the crane.
Types of faucets
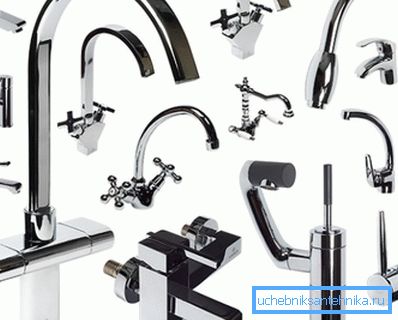
When choosing a mixer should be aware of what the main types of these devices exist and what are their differences.
There are three main groups:
- Cranes with worm locking mechanisms and rubber seals;
- Cranes with ceramic crane boxes;
- Single lever taps with ceramic cartridge.
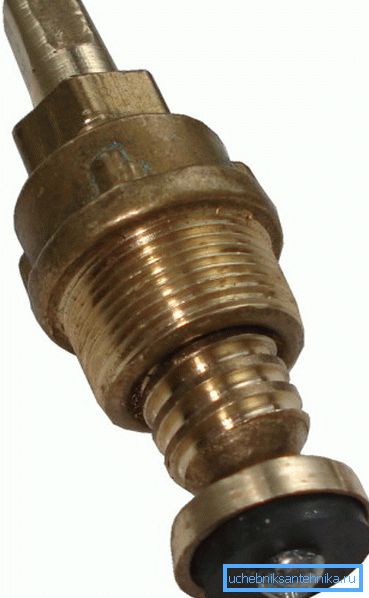
The first ones are the most traditional and familiar for the older generation models in which the valve is locked using a thread.
The main difference is that for locking it is necessary to make several turns of the flywheel. Such products are best adapted to poor quality water, but they often make noise and flow.
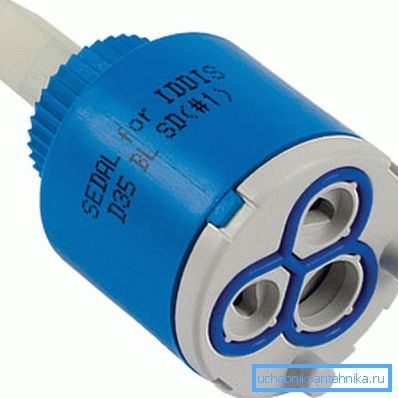
Models with faucet-boxes made of ceramics differ by a half-turn flywheel, they are more reliable and convenient. At the same time, this class of plumbing equipment is more exacting about the quality of water, therefore for their operation a filter is required at the entrance to the apartment.

Single lever faucets are of the highest quality and durable. They are easy to use, completely silent and reliable enough. The only problem that may arise is the discrepancy between the water supply pressure and the manufacturer’s design requirements.
Note! Although the estimate of the installation of a ball valve is small, it is still better to do the work with your own hands, so you will be confident in the quality of installation and in the event of a breakdown you can quickly determine how to fix it.
Installation of the faucet on the sink
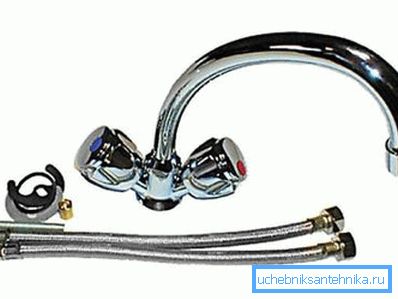
Now let's talk about how to install a faucet in the kitchen.
For convenience, we have compiled a step-by-step instruction:
- Turning off the water supply, get the mixer out of the box, read the manufacturer's instructions and attach the gander to the body. On the back side we twist the flexible hoses into the corresponding holes;
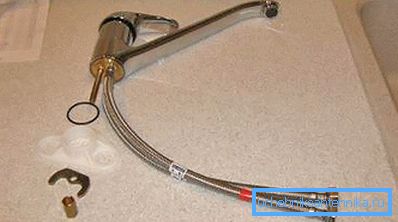
- Put the rubber sealing ring on the hoses and insert it into the groove on the base of the mixer, where it will be flush with the sink;
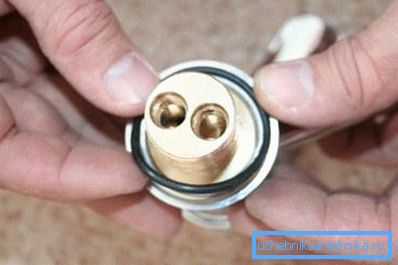
- Pull the hoses into the hole in the housing and put the faucet in the mounting position, closing the hole in the sink with its base. Take the threaded pin (there may be 2 of them) and screw it into the hole on the base of the mixer;
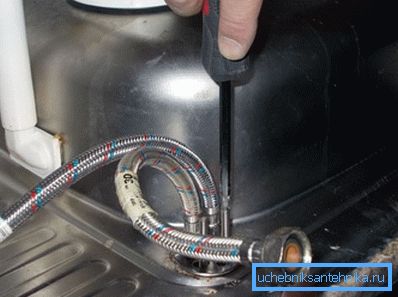
- Install the gasket, then take the mounting bracket, put on the pin and tighten the nut. Tightening should be so that the tap is firmly held on the sink and not wobbling, but also should not overtighten;
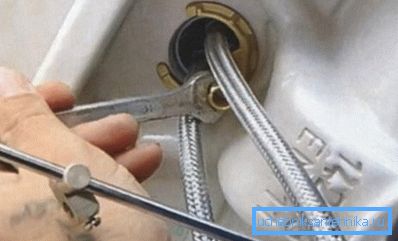
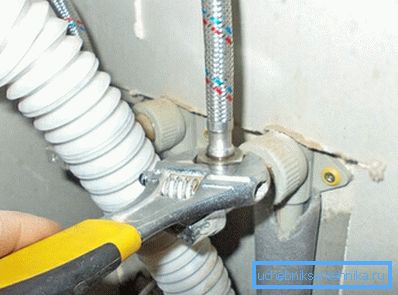
- If the sink is not installed, install it.. Then we wind FUM tape over the couplings of water pipes and wind the ends of flexible hoses. Tightening a wrench.
- We connect the sewer drain, turn on the water supply and check the operation of the crane.
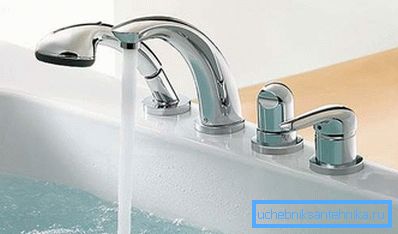
Note! Do not confuse when installing hot and cold water hoses. They must be connected in accordance with the markings on the sheepskin instrument.
Conclusion
Installing a mixer to the sink is a fairly simple, but still crucial task that requires performing a certain set of actions. The outlined rules will help you to avoid common mistakes, and the video in this article will simplify the understanding of the instructions.