Mosaic shower - an original solution for your home
Very often, when working independently on the repair and improvement of bathrooms, you have to choose the material with which the partitions or other structures will be faced. Mosaic for a shower stall is a very interesting option, which is used much less frequently than tiles; meanwhile, this solution has a number of advantages, which we will consider in our article. We will also look at how work is being done on laying the facing material.
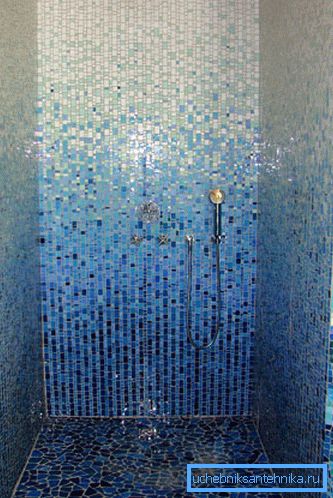
The main advantages of the mosaic
If you have never encountered this type of facing materials, then this chapter will help you to get to know its basic properties and characteristics better:
| Reliability and durability | The service life of such a lining is at least several decades, provided that the installation instructions have been followed and high-quality adhesives have been used. The surfaces are resistant to deformation, which can also be considered an undoubted advantage |
| Different types of materials | You can choose products from natural stone, ceramics or glass. All of them have their pros and cons and are used for different purposes, for example, the price of natural options is high, but they are very durable, and the glass looks very original on the walls and costs much less |
| Resistance to adverse effects | Ready-made surfaces are absolutely not afraid of moisture and are excellent in resisting temperature changes, which is very important when a mosaic shower tray is made, because it is constantly subjected to a variety of negative influences. |
| Variety of colors and patterns | You can purchase a version of almost any shade, in addition, you can embody a wide variety of ideas and make almost any patterns and ornaments on the walls and floor |
| Convenience in work | Of course, do-it-yourself tiling is somewhat more difficult, if you look at the process as a whole, but you can trim the surfaces of any shape and easily revet shelves and niches if present. |
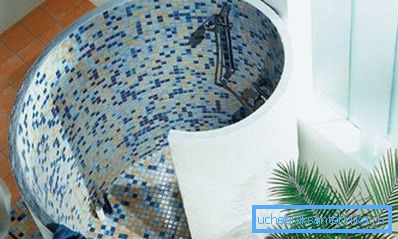
Note! Another factor to keep in mind is the compatibility of the cladding with all types of bases: from concrete and brick to gas silicate, wood and even metal.
How the work is done
In order to make the mosaic shower stall look attractive and serve as long as possible, the installation process should be followed. At the same time, both the main stage and the preparation are important, so we will consider each of the stages separately.
Preparatory activities
As part of this phase, the following work must be carried out:
- First of all, stock up with all the necessary materials: mosaic (which is sold in sheets on a grid or paper, so you do not have to glue a piece) and adhesive composition, which can be different, if the standard version is used for ceramics and natural stone, then glass is used special composition with high adhesion and a certain color.
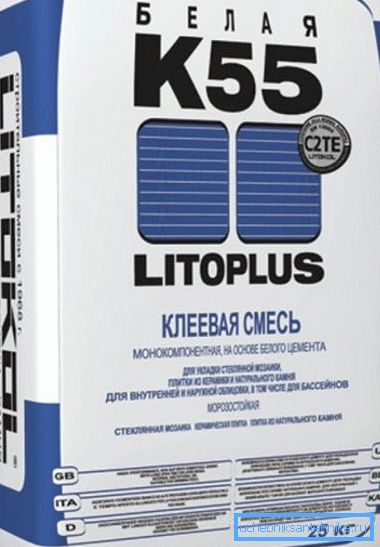
- Then all the required tools are prepared: a mortar mixing tank, a drill or a perforator with a nozzle for mixing glue, a spatula with teeth 4 mm high, a pencil, a tape measure and level, a construction knife, a grinder with a disc over stone and a rubber spatula to seal the seams afterwards.
- Next, you need to do the alignment of the surface, it is important to remember one simple truth: the smoother the base, the easier it is to carry out further work and the better the facing will lie. It is worth plastering the surface very carefully, especially if the shower tray is being tiled with mosaic, since it is important to draw slopes perfectly.
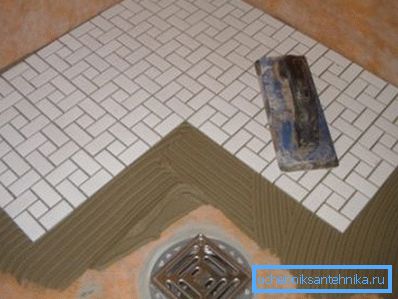
- After finishing, it is necessary to withstand the required time for the solution to set the optimum characteristics. Further, the base is thoroughly treated with a primer, it is better to use a variant with hydrophobic additives, such a solution not only strengthens the surface, but also significantly increases its resistance to moisture. (See also the article Waterproofing the soul: features.)
Main stage
Work should be carried out carefully to prevent marriage, as it is very clearly visible later.
In general, the process is as follows:
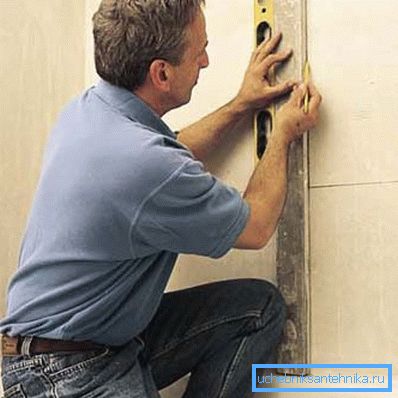
- First, the future layout of mosaic sheets is marked, a tape measure, a level and a pencil are used for this.. As a rule, the first three sheets are applied to the surface and a line is drawn, usually 9 sheets are marked this way, that is, a kind of rectangle or rum is obtained. And do not forget that the mosaic for the floor in the shower should be resistant to abrasion.
- Next, you should proceed to the preparation of adhesive solution., its quantity should be such that you can easily spend it in an hour, since then it can start to clutch and have to be thrown away. The composition is prepared using a drill and a special nozzle, so the process is easy and high quality work is achieved.
- Glue is applied with a notched trowel with a neat even layer on the base as well as on the sheets themselves.. After that, the fragment is gently pressed to the base and smoothed using a rubber spatula or a roller for wallpaper - it also provides high-quality alignment.
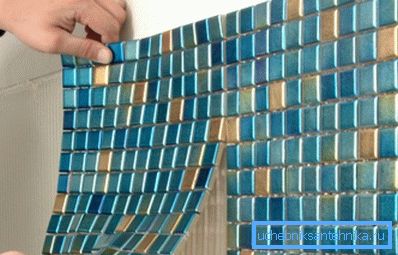
Note! Remember that the mosaic on the grid is glued to the base with a grid, and the version on paper is placed on the contrary - with paper outside. After gluing several sheets, the paper is moistened with a sponge and after wetting it is carefully removed, then, if necessary, the position of the sheets is adjusted.
- If an ornament is laid out on the walls, you should not forget to alternate sheets of different colors. You can cut a piece of a sheet using a simple construction knife, and if you need to cut the fragments themselves, then a small Bulgarian is used.
- In cases where complex structures are being revetted, for example, a mosaic shower tray is made, make sure that the thickness of the sides and the depth of the niches correspond to the size of the mosaic in advance., so as not to cut the elements.
- Do not forget to remove excess glue and monitor the width of the seams., if they are minimal, then the surface will be uniform. Mosaic shower
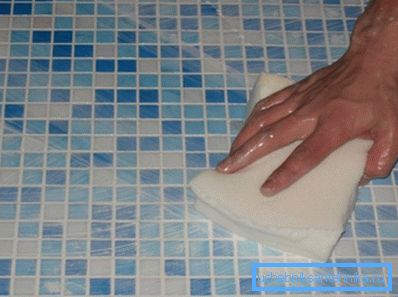
- After the glue dries, you can begin to seal the seams., for this, they are thoroughly cleaned (you can use a vacuum cleaner) and moistened immediately before work. Due to the large number of seams, the fugovka becomes a long process, the composition is distributed with a rubber spatula, after which the remnants are removed with a soft cloth. (See also the article Semicircular showers: features.)
Conclusion
The video in this article will help to even better understand this process, which has some difficulties and requires a careful and scrupulous approach. It is important to do everything in accordance with the technology and use only high-quality materials.