Plumbing in the apartment: how to change the pipes yourself
It is possible to equip a water supply system in an apartment with your own hands in a relatively short period of time, and with moderate financial expenses. Naturally, this will be possible only if we first think over all aspects of the upcoming task, draw up a plan of work and strictly adhere to it.
In our article we will give an algorithm of actions for the installation of a water supply system, and also give a number of recommendations for performing the most complex operations.
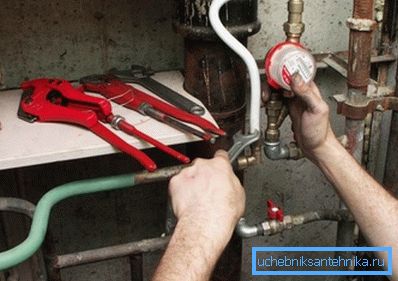
What you need for laying plumbing
Pipes for communications
To completely change the plumbing in the room, we need to purchase a complete set of parts to complete the replacement. And first of all you should pay attention to the pipe.
First you need to know what the pressure of water in the water supply of an apartment building is working exactly in your case. As a rule, this value ranges from 2.5 to 4.5 atmospheres, which ensures uninterrupted operation of all household appliances.
This water pressure is relatively small, because for the construction of communications, you can use almost any pipe.
And yet, some varieties of experts prefer:
- Metal products - strong enough and durable, in addition, they are resistant to thermal deformation. The disadvantages include the high price of the pipes themselves, as well as the fittings that are used to connect them.
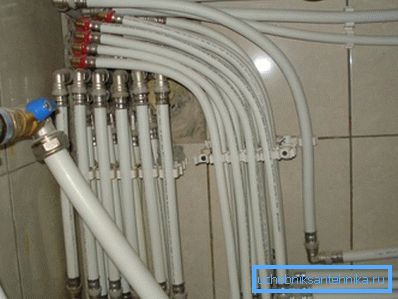
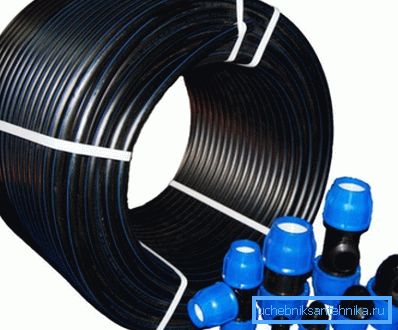
- Polyethylene pipes are elastic, which in some cases makes it possible to lay them by bending along a large radius (the savings on fittings will be substantial). At the same time, the material is resistant to corrosion, and therefore it can serve for several decades.
- Polypropylene pipes are also excellent for installation of indoor plumbing. In terms of chemical resistance, they are almost equivalent to polyethylene, in addition, the material perfectly combines by welding. The last argument is often decisive for those masters who want to ensure maximum tightness to all circuits.
Note! Steel structures are used as risers in most houses of the old construction. They can also be changed to more modern ones, but this should be done simultaneously in the whole house, which is quite expensive and not always possible.
Optional equipment
In addition to the pipes themselves, we will need:
- Fittings for their connection - for soldering, pressing or clamping, depending on which pipe material we choose.
- The collector for the plumbing in the apartment - a special pipe with several conclusions, which allows you to combine individual kennels and attach them to the riser.
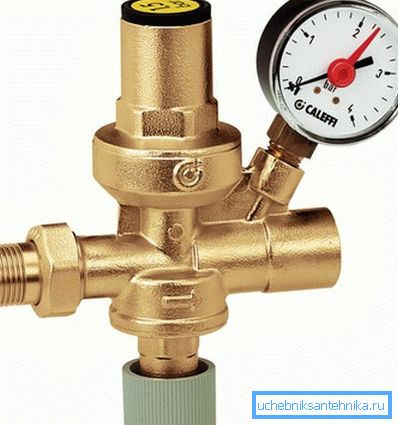
- Manometers, allowing to control how much pressure in the water supply in the apartment is established at the current moment.
- Filters for drinking water.
- Shutoff valves.
Note! Deciding which faucet is best for the plumbing in the apartment, experts prefer ball models as the most durable. However, this concerns mainly technical units, as cartridge mixers and devices with faucet boxes are suitable for domestic use.
Mounting technology
Room preparation
Replacing the plumbing with their own hands in the apartment is usually carried out in the process of major repairs, since it is rather difficult to keep the whole decoration intact during the work.
The preparatory cycle is carried out according to the following algorithm:
- To begin with, we block the water either in the riser (if the taps at the entrance to the apartment are in a satisfactory condition) or in the basement. In the second case, you should warn the neighbors in advance and do the work as quickly as possible.
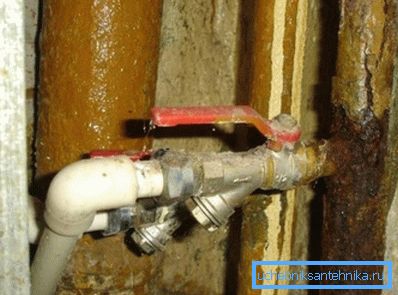
- We disconnect the old pipes from the riser and valves at the points of consumption (mixers, washing pipes and dishwashers, toilet bowls), and then dismantle them. If necessary, sawing steel pipes grinder or autogenous.
Note! The dismantling process is accompanied by the ingress of large amounts of dirty water with rust. So if you want to save tile, laminate or linoleum, pre-cover the coating with dense polyethylene.
- Then, using a tape measure and level, we apply a markup on the walls, along which a new pipeline will be laid. By marking set fastening brackets.
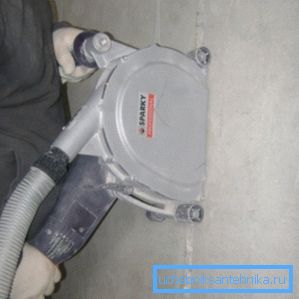
- Sometimes the project of a water supply system involves a hidden installation. In this case, we make shafts on the markup, into which we install elements for fixing the contours.
- At the end of each groove, you can install an adapter for connecting a sanitary device. This is done in order to fix the output point in the desired position. It is especially important to observe the dimensions when installing wall mixers, in which the distance between the pipes should be 150 mm.
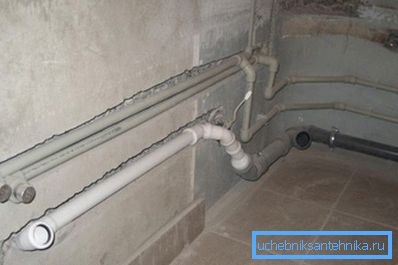
- At the stage of laying the strobe, it is also necessary to make through holes in the walls through which the pipelines will wind up to the neighboring rooms. To avoid deformation, a hole of a cast iron or steel pipe of a large diameter can be laid in the hole.
After performing all these operations, you can proceed directly to the laying of pipelines.
System installation
Replacing pipes in a residential area is usually facilitated by the small size of the system. As a rule, it is enough for us to make one tap connecting the stand with the kitchen, one with the mixer in the bathroom, and one more with the toilet cistern. In some cases, you can add a washing machine and dishwasher.

Such a configuration allows not to save material, but to lay a separate circuit for each point of water consumption. That is why, at the very first stage, we fix it on the wall and connect a collector with the required number of leads to the riser.
Further our actions are determined by the configuration of the pipeline:
- By connecting the collector to the pins cut in the size of the pipe.
- To them with the help of soldering (for polypropylene) or special fittings (for polyethylene and metal-plastic) we attach the following part.
- Consistently connecting the fragments of the circuit, we mount all the pipe layout.
- If this is necessary, then we will lay a sewer pipeline in parallel, through which drains from water consumption points will flow into the riser.
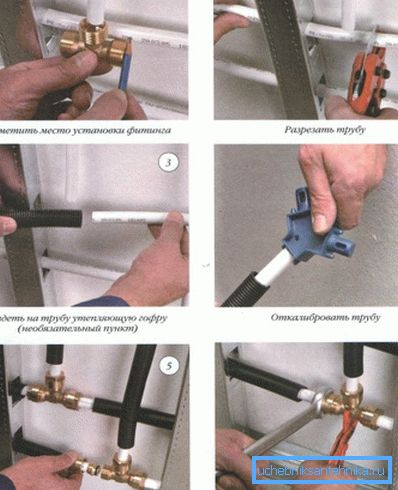
- After securing the pipes in the grooves with the help of brackets, we gloss over the grooves with mortar, then carefully level the surface of the walls.
Tip! The instruction recommends performing a pressure test of the pipes before fitting the gateways. Otherwise, the leakage can be detected after finishing, and in order to repair the plumbing in the apartment, you will have to knock down the tiles and destroy part of the wall.
Further work can be carried out after finishing:
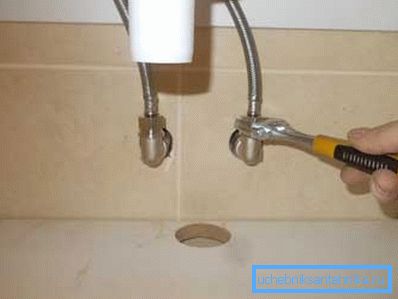
- We connect faucets or taps to connect household appliances to the end pipes of water pipes fixed on the walls.
- Open the valves on the riser, giving pressure to the system.
- We check the tightness of all connections, and in the absence of leaks, we begin to use the water supply system in the normal mode.
Conclusion
Replacing the plumbing in the apartment is a rather time-consuming task. Everyone can cope with it, but in order for the new system to turn out to be of high quality and durable, all work must be carried out according to the recommendations given in the text and on the video in this article.