Shower drain: 2 main options of implementation
Draining is an integral part of any shower, and is designed to eliminate used water. You can equip it in one of two ways: build it directly into the floor or install a tray with a ready-made drain hole. In this article we will examine both options in more detail.
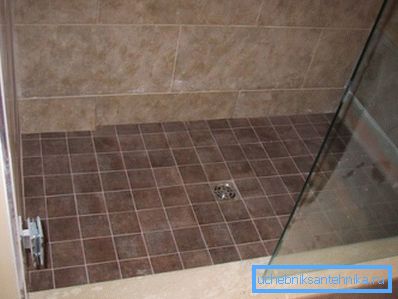
General provisions
When asked which plum is better for the shower, the answer is not so simple. But it is worth noting some of their main differences:
| Type of drain hole | Characteristics |
| Floor drain in the shower room |
|
| One piece pallet with a side |
|
Thus, the choice is worth making, giving answers to the following questions:
- Do pensioners or disabled people live in the house?
- What are the possibilities of your family budget?
- Do you have free time and skills in plumbing installation?
Also, of course, it is worth considering just your own preferences.
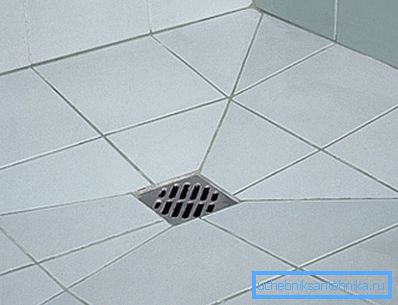
Option number 1: arrangement of the drain in the floor shower
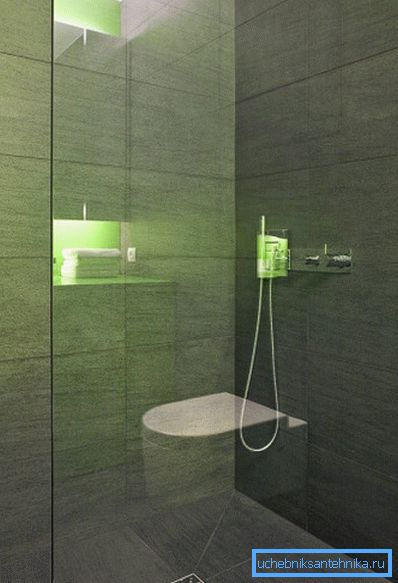
Let's start with a more time consuming, but at the same time economical method, involving the creation of a drain hole directly in the sexual structure.
Required equipment
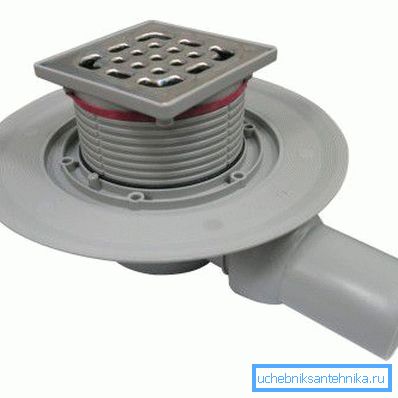
Before starting work, it is necessary to acquire directly the ladder itself, in a complete set, which will later perform the discharge functions, and also some other building materials:
| Title | Purpose |
| Cement-sand mixture | Screed |
| Styrofoam at least five centimeters thick | Warming |
| Roofing material or polyethylene membrane | Waterproofing |
| Tile adhesive | Ceramic Fixing |
| Tile | Decorative layer |
| Polypropylene Lighthouses | Respecting the tilt of the screed |

Tip: if your house is located on wet ground, then it is recommended to use extruded polystyrene foam as an insulation material, as it has greater moisture resistance.
Depending on how you want to realize the design, you can install a shower tray for draining, rather than a classic floor drain. This design has a greater reception area.

You will also need a specific tool:
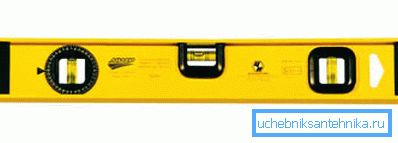
- Water level to control the slope of the floor surface.
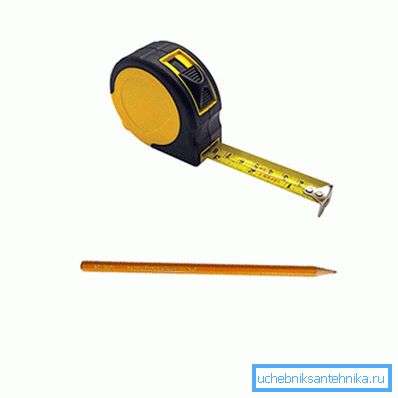
- Roulette with a pencil for drawing a marking.
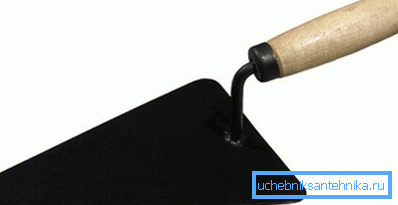
- A trowel with a shovel will help to carry out the mixing and pouring of the DSP.
- Rule and grater for leveling and subsequent mashing of the cement coating.
- Capacity for a batch of construction solutions.
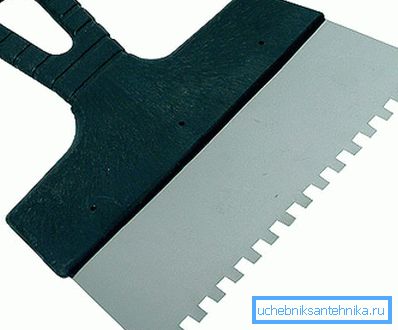
- Notched trowel for applying tile glue.
Assembly work
Now consider how to make the floor in the shower with a sink:
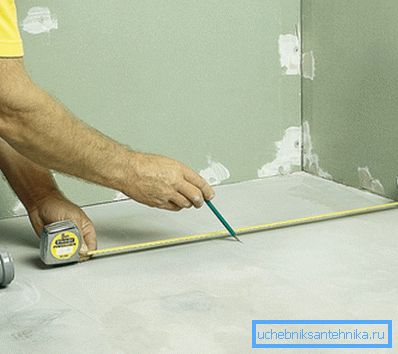
- Apply the markup of the place of connection of the drain to the sewer pipe and its location. This can be either the middle of the room or its angle, depending on your preferences and the location of the entrance to the sewer system.
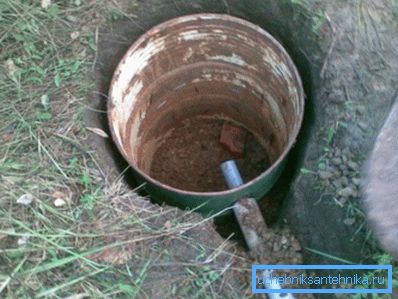
Here the question may immediately arise: where to pour water from the shower in the country? In this case, equip near the shower with a primitive drainage, which is quite enough to collect shower drains.
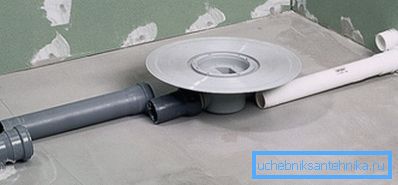
- Install drain equipment and connect it to the sewer.
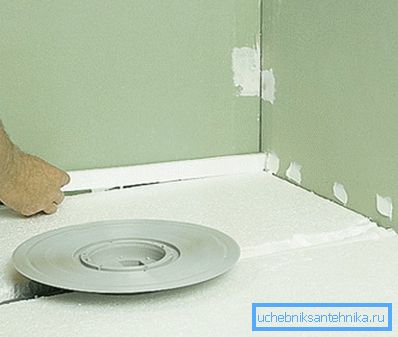
- Laying polystyrene foam so that he went under the ladder flange.
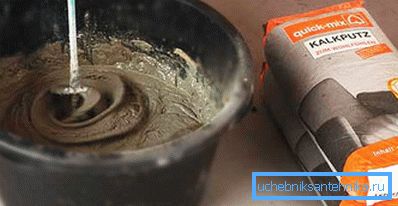
- Knead the cement-sand mixture with water until smooth in suitable container.
Tip: for mixing, it is recommended to use a construction mixer with a special whisk. Such equipment will simplify the task and allow for maximum homogeneity.
- Apply and compact the resulting mixture on polystyrene foam so as to fill all the voids around the body of the ramp and under its flange.
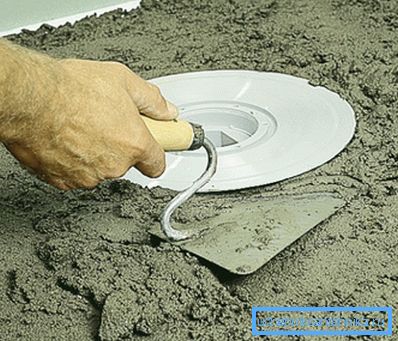
- Rule align the surface of the screed.
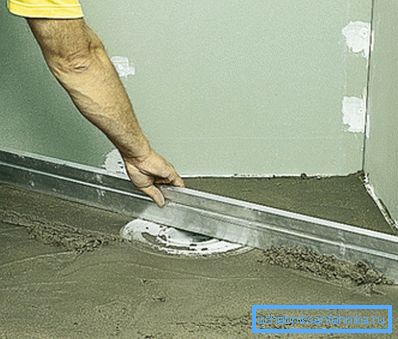
- Cut a hole equal to the dimensions of the flange of the ladder in the waterproofing material.
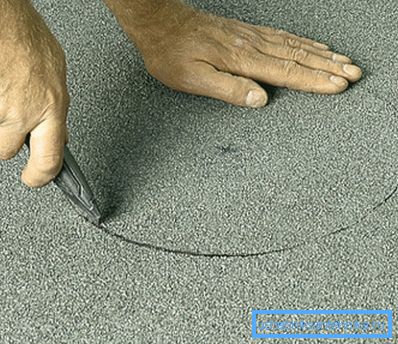
- We lay waterproofing covering for a shower.
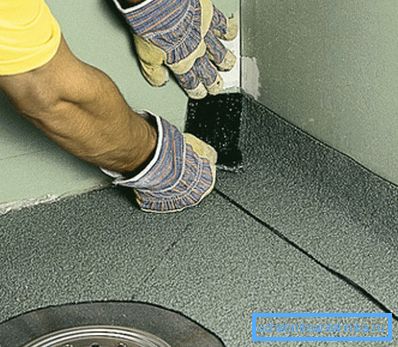
- We mount the siphon with a grate in the return part of the ladder.
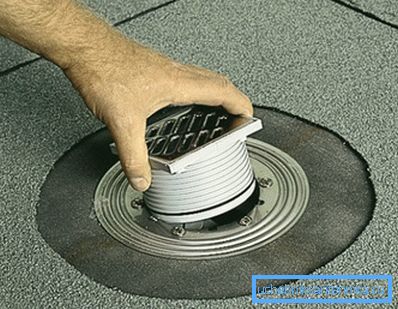
- We expose the beacons in such a way that the slope in the direction of the drain grid is observed not less than one centimeter per meter.
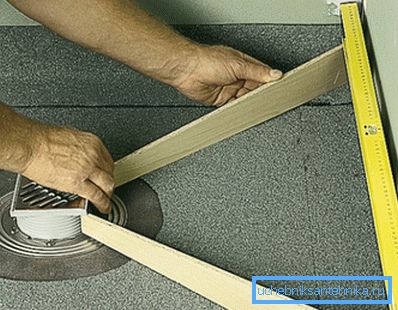
- Knead the cement mortar again..
Tip: the grille should be closed with something to avoid cement.
- Lay the mortar between the guides.
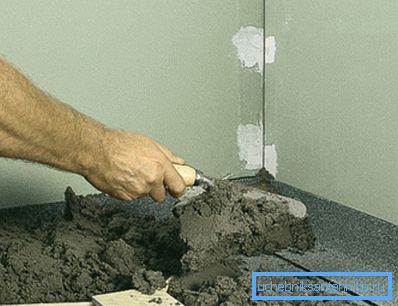
- We derive the coupler at the beacons, observing the slope of the surface.
- Overwrite cement coating.
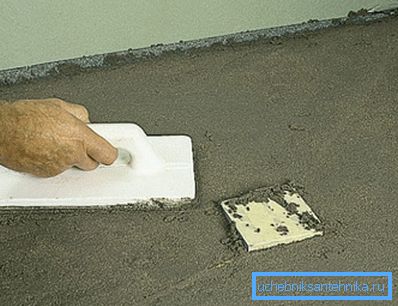
- Waiting for cement to set.
Tip: It is recommended to pour it with water during the setting of the screed. This will allow her to gain maximum strength.
- Knead tile adhesive.
- With a notched trowel we put it on the tile, then put the product in the right place. With the help of a spirit level and a rubber hammer, we set its position.
Tip: it is desirable to begin the installation of ceramic tiles from the ladder. Then, if you have to cut it, then it will be less noticeable near the walls.
Option number 2: ready pallet
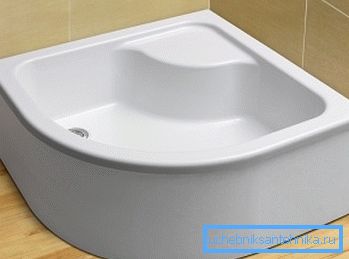
Installation of the purchased pallet is much easier, since all the necessary slopes in it have already been observed:
- We fix in the place of installation the special legs that are included in the kit.
- Grind the surface of the groove to avoid the presence of sharp fragments.
- With the help of the level we check the presence or absence of irregularities.
- Drain pipe set exactly under the drain hole of the pallet.
- Adjusting the legs, horizontally expose the design.
Conclusion
You can go two ways for the realization of the drain in the shower. More simple is the installation of the finished pallet, more economical and convenient for the elderly - this hole in the floor.
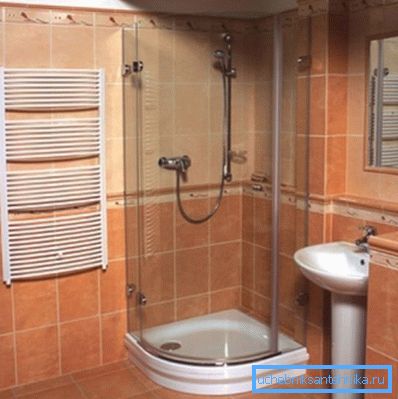
The video in this article will introduce you to additional materials. Stop your choice on the most optimal option for you.