Shower drain: types of designs
When arranging a shower, special attention should be paid to the design of the drain, since its operation will depend on the normal operation of the bathroom. There are several types of shower designs, respectively, plums are also different. We will talk about the features of various types of plumbing, as well as consider how to make a drain for a summer shower with your own hands.
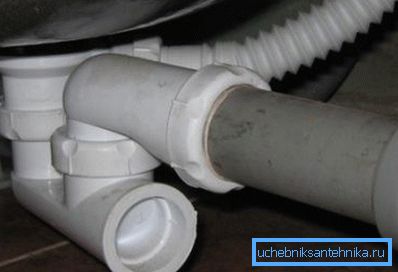
Different types of showerheads
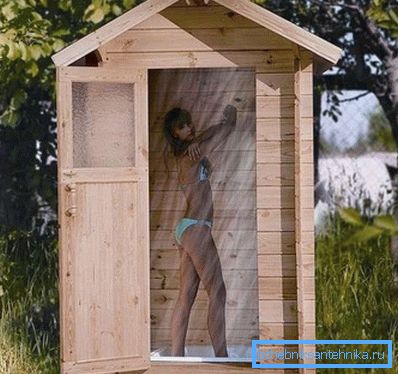
To give at least a complete description of the shower drain, it is necessary to consider the various types of shower enclosures and sanitary facilities used in modern houses and apartments. In addition, many of our readers are interested in the construction of summer booths for country plots and acceptable methods of water disposal in street conditions.
Since plumbing manufacturers supply an incredible array of designs for this purpose, we decided to limit our description to the most relevant and popular varieties. The table describes the main types of showers and the corresponding types of fittings for the discharge of water:
| Type of shower | Drain design |
| Watering can | It does not need a separate water drainage system, a standard siphon with a corrugated bath is used |
| Cabin with pallet | Depending on the depth of the bowl and the height of its installation, a special siphon with a corrugation or a corrugation with an S-shaped hydraulic lock is used. |
| Cabin without pallet | There are two options here:
|
| Summer shower to give | May have no drain, may be equipped with a primitive septic tank under the floor, may have a drain pan and a drain pipe connected to a septic tank or pit |
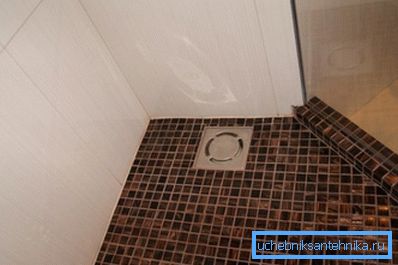
Note! We deliberately did not include shower boxes in this list, as they already have all the necessary fittings installed, and all you have to do is connect it to the sewer riser.
Varieties of drain fittings
Shower with tray
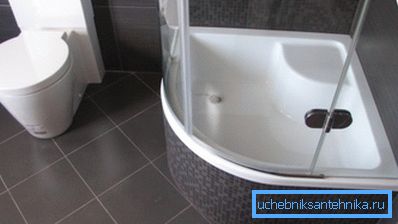
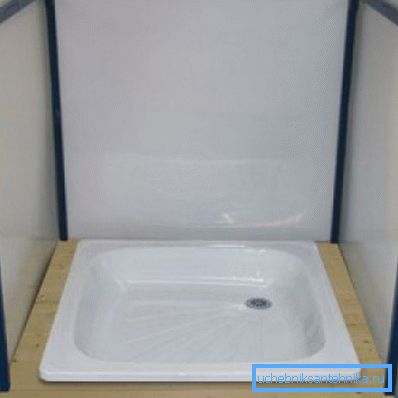
To date, the most popular type of shower is a cabin with a pallet. It can be a monoblock or a box, and in this case all the necessary fittings are already installed, or it can be a home-made podium or a modular cabin, and then the drain structure is assembled with your own hands.
Usually a simple siphon without overflow is used for pallets, however deep models can be completed with overflow.
The choice of a particular model depends on the height of installation of the pallet, which, in turn, depends on three main parameters:
- The height of the entry point in the sewer riser. According to the rules and regulations of the SNiP, the drain cannot be located below or at the same level as the tie-in point in the riser;
- Mounting height of the podium or frame;
- The length of the connecting pipe or corrugation, which diverts water into the riser. The fact is that the height difference is 1–1.5 cm per meter of pipe length, respectively, the longer it is, the higher the bowl should be installed.
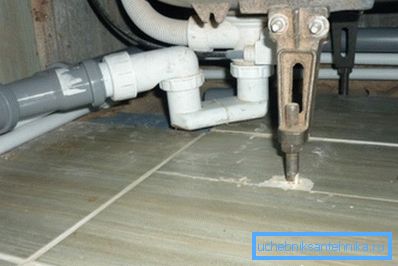
In addition, the drainage parameters should correspond to the characteristics of the equipment used in the shower. The capacity of the drain must ensure timely removal of water entering the bowl. This is especially true for hydromassage systems, installations such as "tropical shower", etc.
The diameter of the valve should be selected in strict accordance with the width of the drain hole in the pan, so it will achieve the greatest tightness and reliability of the connection. This diameter can vary from 50 to 90 mm. In the case of small-diameter fittings, it is necessary to provide access to its parts for repair and cleaning, while the drain with a diameter of 90 mm can be cleaned through the upper opening.
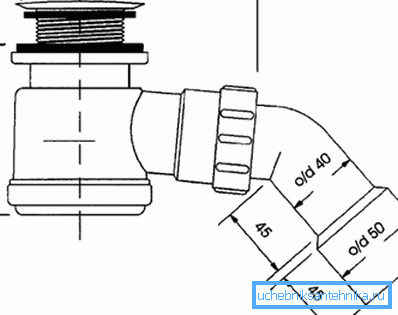
Note! When installing hydromassage systems, be sure to select drain fittings according to their flow capacity in accordance with the water consumption of the system. It must be specified in the product specification or voiced by the seller at your request. The water flow rate of the hydromassage unit is also necessarily indicated in the data sheet to the product.
Installation of the fittings is very simple: a drain grid is installed in the hole of the pan, which is pressed from the bottom by a special nut. A siphon is screwed to the nozzle, at the exit of which a corrugation is put on. The second end of the corrugations connect with the riser.
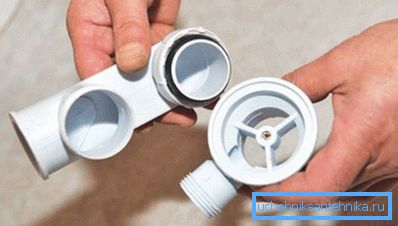
Note! Threaded connections are better sealed with FUM tape, and the joints of the corrugations with the nozzle and the entrance to the riser are sealed with silicone sealant.
Shower without tray
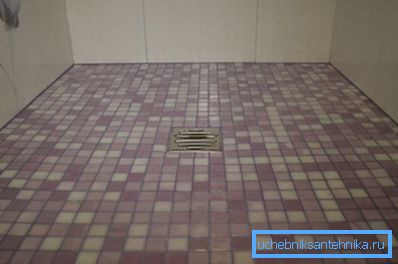
The increasingly popular non-pallet shower has the most sophisticated drain design. The difficulty lies in the fact that the installation of reinforcement is made in the floor screed, and this imposes a number of serious requirements:
- A high degree and quality of waterproofing of all layers of the screed, all joints, corners and walls in the shower area is required;
- The reliability of the assembly of the drain fittings should be very high, since in the event of an accident or leakage, its repair will be associated with the dismantling of the tile and screed, and the cost of restoring the floor will be high;
- It is necessary to accurately calculate the capacity of the siphon and the maximum water flow, otherwise in case of insufficient discharge of liquid, the water will spill over the entire bathroom, and then flood the apartment.
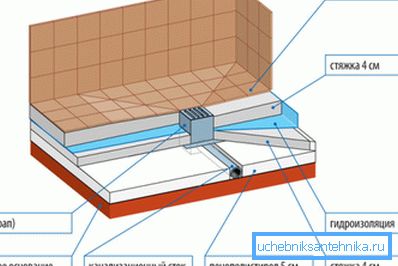
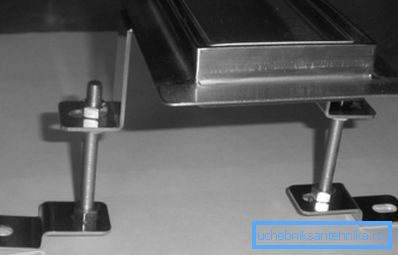
In strict accordance with the carrying capacity as well as the thickness of the tie, a ladder with the required diameter and mounting height is selected. Then it is installed on the floor slab, fixed with dowels to the concrete, put up to level, connected with a pipe (with a slope of 1 - 1.5 cm per meter) with a tie-in point into the sewer riser.
After that, laying of the cement-sand mortar is made, which is aligned with the formation of slopes to the drain grid. Waterproofing is done at all stages of work, all connections are compacted with a FUM tape and silicone sealant.
Note! For the construction of high-quality outdoor shower will require basic construction skills, as well as knowledge of the principles of waterproofing and plumbing work.
Installation of a drain for a summer shower
Before you build a shower in the country with their own hands, you should consider all the nuances, first of all - the system of drainage of waste water. In practice, there are three main options:
- Raise the floor, make it permeable to water, and the waste liquid goes into the ground. The least acceptable option, as there will be a puddle under the booth, later it will turn into a permanent swamp with mosquitoes and watering for various small living creatures;
- Also raise the permeable floor, but under it arrange a drainage hole. The walls of the pit are made waterproof and filled with sand and gravel for drainage and filtration of the liquid. This is better than nothing, but it will still be damp in a booth; besides, unpleasant smells can rise from the pit;
- A drain pan is installed in the cabin, from which a pipe is led to the sewer septic tank. Sometimes they make an inclined concrete base, the water from which flows into a nearby septic tank or drainage tray. This is the best option.
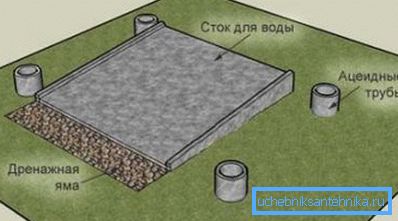
The first method is suitable only as temporary, the second - with very small loads on the bathroom. If you have a large family or you like to invite guests to the cottage, then the only acceptable option is to arrange a pan with water drainage in a septic tank.
To do this, the cab design includes a frame for installing the pallet at a certain height above the ground. In extreme cases, you can dig a little earth under it.
Next, mount a standard siphon of any diameter, as the water flow in the summer shower is minimal. The siphon is connected to a plastic pipe, which is diverted to the side, and at a distance of several meters (the farther the better) they dig a pit for the septic tank.
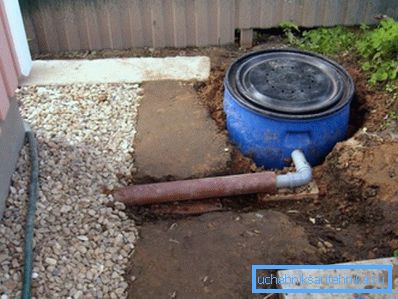
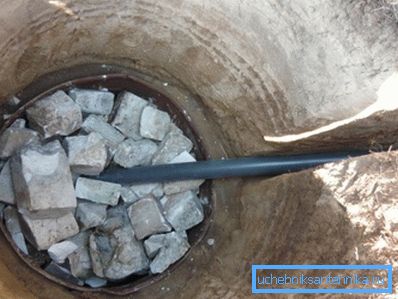
The depth of the pit should be about 1.5 meters. The easiest way is to install a metal or plastic barrel with holes in the bottom into it, first pour a layer of sand of 20–30 cm into the barrel, then a layer of fine gravel with a layer of about 30 cm, and fill the rest with coarse rubble. This will provide the necessary water purification before entering the ground in your area.
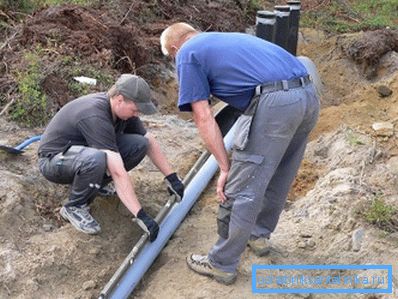
The joints of the bowl of the pallet with the walls of the booth are sealed with silicone and closed with corners (baseboards) so that the liquid does not flow past the bowl. The pipe is laid with observance of a slope of at least 1.5 - 2 cm per meter length.
Note! The septic tank should be closed with a lid; plastic barrels with a lid on the thread are most acceptable. Instead of a barrel, you can use a concrete ring, a section of a pipe of a large diameter, or any other vessel of suitable size.
Conclusion
The design of any bathroom presupposes the existence of an effective system for the discharge of waste water. From its quality will depend on the possibility of comfortable operation of plumbing, so the selection and installation of drain fittings should be approached responsibly. The video in this article will help you avoid common mistakes.