Shower fixture is a necessary and important element of the
Nowadays there are a lot of various designs on the market, which differ from each other in a number of factors. The shower holder is a trifle that many people do not pay attention to, but any problems with this knot cause a number of inconveniences, so we will look at this type of product in more detail and find out what options are and what should be considered when choosing.
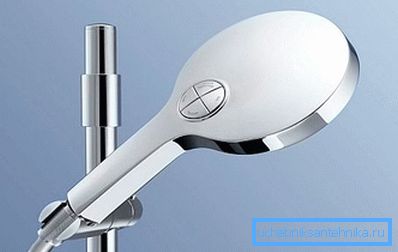
Types of installation of shower heads
Today on the market you can find several basic designs, we consider the most common ones:
| Manual option | The simplest solution is when the rain is installed directly above the mixer, for which a special holder was originally made there, which is most often combined with the shower hose outlet. The system is simple: if you need a shower, you simply remove the node from the holder and use it at your discretion. |
| Wall mount | A very common and popular option due to its practicality: you can stand in the rain or remove it if necessary. Most often, the holder is attached with two small dowels, but there are options that are held on the suction cup. |
| Ceiling mount | This option involves the installation of structures from above, it is non-removable, so it is important to choose the optimal height and location of the structure. The system is convenient because you do not need to take a watering can in your hands, and the fact that adjustments are made on the mixer and no additional actions are required. |
| Barbell use | This decision appeared not so long ago, but has already gained great popularity among buyers. The main advantages include the possibility of mounting the rod to the existing holes by adjusting the racks, and the holder is located on the rod and can be fixed on any part of it, which is why the system is called semi-adjustable. |
Tip! Choose a specific option should be based on the characteristics of your premises and used plumbing. Sometimes only one option is suitable. Therefore, you only need to choose the optimal modification.
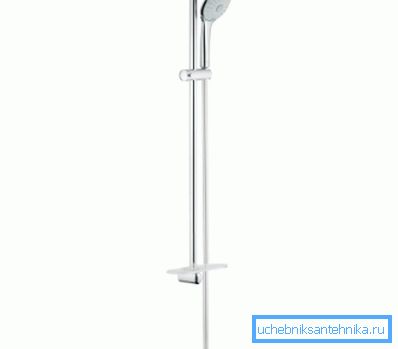
Bracket options and installation features
Immediately, we note that fasteners of this kind are most often used in the wall arrangement of the structure, since with a ceiling watering can it is rigidly fixed, and with the manual version, the holder is initially present in the structure. Again, there are fixtures for showers, but they are also originally in the set, although sometimes you have to choose the location yourself.
Design features
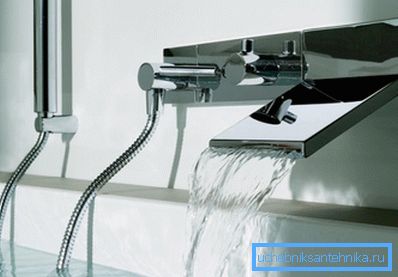
If, for any reason, the holder was missing or the staff unit was broken or lost, you will have to choose this node separately, and the recommendations listed below will help you choose the best option:
- Manufacturing material. There may be several options: plastic, which, despite all its advantages, is still not very reliable, powder metal, which is more reliable, but there are still questions about quality, brass - this material is not afraid of moisture and is very strong, and steel - reliable metal, but when damaged, the coating corrodes.
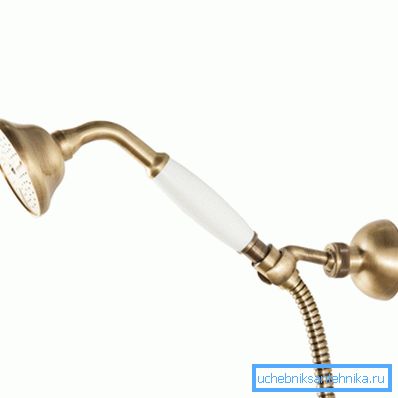
- Mount type. There are two main options: the classic one, in which the knot consists of two parts, one of which is attached directly to the wall using dowels of the appropriate size (surface drilling is necessary). The second method is a sucker, it differs by simple installation, because you do not need to drill the wall, and you can change the location of the holder, if you initially placed it not very well.
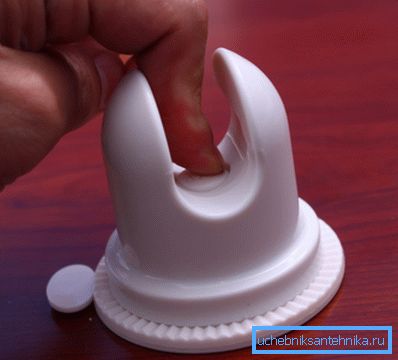
- Fastening on the wall can be fixed, but it can also have a turning mechanism, it also increases the comfort of use. The system is simple and reliable, but it is worth noting one nuance - the price of such nodes is much higher than that of the classic ones.
Installation recommendations
Now we will look at how to properly fix the bracket so that it holds as securely as possible:
- First of all, you should study all the recommendations prescribed by the installation manual. There must be all the necessary schemes or procedures for the correct work and a list of the instrument required for the work. Most often you need a screwdriver and a power drill with a drill on the tile and on the concrete.
Tip! If you do not want to spoil the tile, select the option on the suction cup. In a pinch, you can always buy the classic version.
- When working with your own hands, it is very important to carry out careful planning and not to be mistaken with the place where the holes are drilled, as you are unlikely to seal them. After marking, it is necessary first to drill the ceramics with a corresponding drill, after which to put the drill on the concrete and drill a hole to the depth of the dowel plus half a centimeter-centimeter of margin.
- Next, the first part of the holder is attached to the wall, which is most often connected by a thread and fixed by using dowels, either supplied or purchased separately.
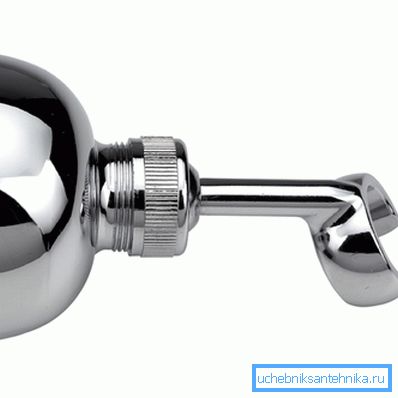
- At last, the holder itself is attached - the system is ready for use.
If you are worried that you can mix up fasteners when assembling a shower cabin, then do not worry: firstly, everything is described in detail in the diagrams, and secondly, it is impossible to confuse the mount for the shower tray or for doors with knots for a shower head.
Conclusion
The video in this article will tell you about some of the features of the products in question in more detail and help you understand some of the important nuances even better.