Shower grid: how to make it yourself
The traditional device that provides safe reception of water procedures, is a grating on the floor of the shower. It is a decorative insert, which is located on top of the drain system or pan.
Grilles are made of different materials and in different styles. The shape and size of their drain holes or slots are dependent on the slope of the floor of the shower stall (room), length and hydraulic qualities of the tray (for example, throughput capacity).
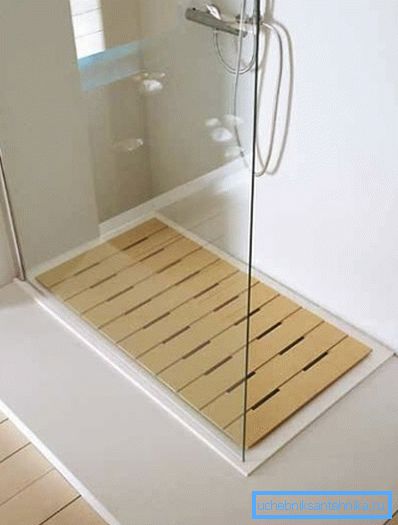
Functions and material of manufacture
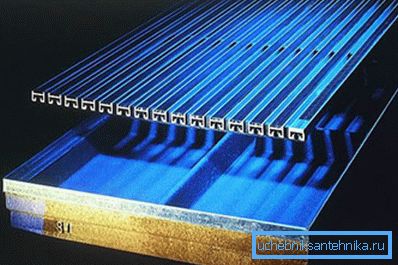
You can choose color, an ornament and material of adaptation to the taste.
At the moment, the most common such lattices:
- Products made from plastic. As a rule, it is polyvinyl chloride (PVC) or acrylonitrile butadiene styrene (ABC).
Note! The latter is a technical plastic, now widespread due to its ideal qualities. Such a plastic lattice has good deformation resistance with temperature drops, increased hardness and resistance to mechanical stress.
- Austenitic stainless steel It has excellent corrosion resistance. Products from it are widely used where there are high hygienic and decorative requirements.
- Wood - This is a traditional material for shower screens. It is eco-friendly, has a beautiful appearance, warm to the touch; its price is relatively low.
What is the grid for
- The device protects the user's feet from contact with cold or overheated floor of the shower.
- Prevents slippage on the wet surface and falls due to it.
- Floors / shower tray is an ideal breeding ground for harmful microorganisms. Cleaning and disinfecting them is quite difficult, but the grille can be easily removed. After treatment with an antiseptic and drying device simply installed in its place.
How to make a device of wood

The wooden lattice is easy enough to do it yourself.
The best option is to use for it boards of solid wood with a high content of oils. It can be tick, mahogany, nyato. (See also the article Niche shower: features.)
Due to the increased content of resins and oils, they become moisture-resistant material. The best option for use in our country is an aspen or linden tree. They have a high resistance to decay.
Another tree species that has a legendary resistance to destruction under the influence of moisture and is common in the Russian Federation is larch.
- To make a grid, buy 2 - 3 edged boards from the above types of wood. The gratings should be 25 mm thick and long enough for installation inside the shower cabin.
- You will also need support bars with a cross section of at least 50 × 50 mm.
- Self-tapping screws must be galvanized or protected by any other method against corrosion. The use of nails for the shower lattice is highly undesirable.
Preparation for work
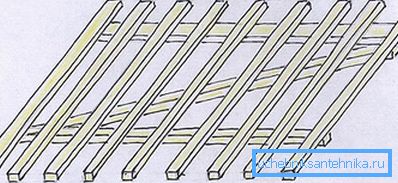
- Secure the board with a clamp. We take the size of the device equal to 60? 60 cm.
- Cutting hard wood is difficult. When using a hand saw on a tree, pull it back, so you get straight cuts.
- Saw the bar to fit. Reaching the end of the cut, support the plank. Otherwise, it may split.
- Prepare three more similar strips of 60 centimeters.
- Next, cut two bars for poles that are 55 cm long.
- Then place the slats on the support bars. At the same time, the two extreme planks should hang one centimeter above the lower bars on both sides (in length). In width, they should be 5 cm longer.
- Suppose that the width of solid boards is 14.5 cm.
- Attach to the workpiece tape. Departing from its edge 1 cm, set aside 14.5 cm. Repeat the operation on the other side of the future lattice.
- From the finished tags, retreat another 15.2 cm to the middle of the product and mark the areas. So you define the pitch (and the size of the slots) between the grating bars - it should be 6 - 7 mm.
How to assemble the product
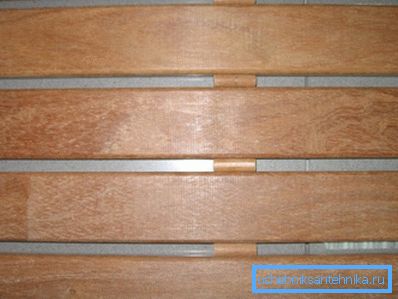
Before fixing the slats, take measurements to determine at which points the screws should be screwed. It is necessary to have them in a checkerboard pattern. So you increase the rigidity of the device. (See also the article Tropical Shower: Features.)
With the dimensions of parts chosen by us, the best option is to use screws and a drill with a diameter of 4 mm. Of course, only boards are drilled. This will give the opportunity to bury the screws and firmly fix the grill strips.
The instruction advises to choose fasteners of such length that he entered the supporting bars by half.
- Having made holes for all four plates in one support, use it as a template. Drill holes in all other dies.
- Then you can fix the details.
Note! Before you make a wooden lattice for the shower, do not be lazy to polish the upper side of the boards. Splinters are clearly useless.
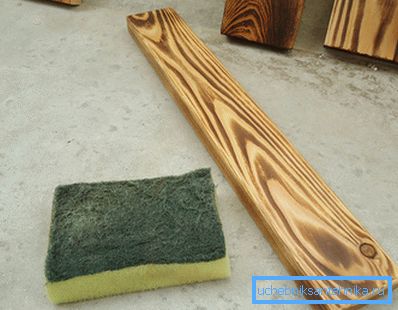
- Secure the first die with screws. Do the same with the rest. During the work, make sure that all the details are at the right angle.
Lattice processing
When the wooden lattice in the shower will be ready, it is desirable to equip it with rubber feet. They will not allow the device to slip and scratch the pallet.
Sand the edges of the product, then cover it with parquet oil or varnish. This coating will protect the wood from the action of water, as well as hygiene products.
Conclusion
Assembling a shower grate on your own is a snap. This device will make taking water procedures more convenient and safer. The video in this article will continue to inform you on this topic.