Shower hose: the main types, structural features and methods
From time to time, the connection of the watering can and the faucet in the bathroom loses its original tightness, and leaks appear. So the moment came when you need to buy a hose for the shower 3 meters. Despite the fact that the flexible tube connecting the watering can and the mixer can be purchased at any store selling sanitary ware, the choice of this accessory deserves a special approach.
The fact is that the combination of a watering can and a faucet is the weakest link in equipping the entire bathroom. During operation, the shower hose moves from side to side, twists and spins dozens of times. No wonder that the resource of a low-quality product can be as little as a month.
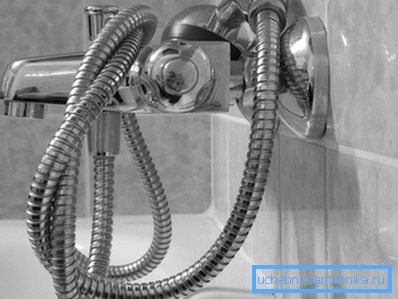
Important: It depends on how correctly the hose is chosen how long you will use the shower without having to do the plumbing yourself.
Construction features
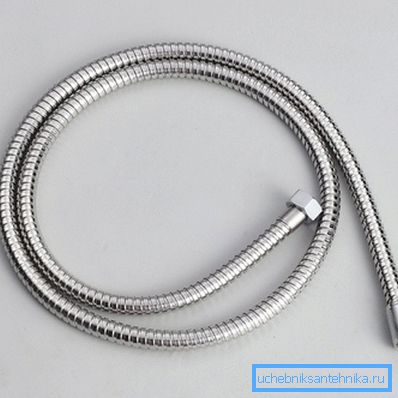
The most common shower hose connection is a flexible polymer or rubber tube encased in a metal sheath.
In order for the tube in a metal sleeve to be bent from side to side, the shell is a spiral made of steel tape. The tape on special machines is deformed in a special way and assembled into a special sleeve that bends well and at the same time protects the rubber tube from possible damage.
End fittings are installed on both sides of the connector, which, on the one hand, are screwed onto the mixer and, on the other hand, onto the watering can.
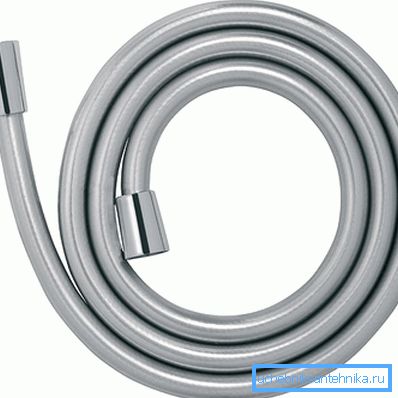
A less common modification, the price of which is less high, is a fully rubber hose without external reinforcement. To ensure the required strength in the thickness of the rubber tube nylon or metal threads are arranged. Like the previous modification, this type of hoses is equipped with end fittings.
Regardless of the design features, after a certain period of continuous use, the connectors become unsuitable for subsequent use. As a result, a shower hose repair is necessary. But, before repairing anything, consider the main causes of leaks.
Causes leakage
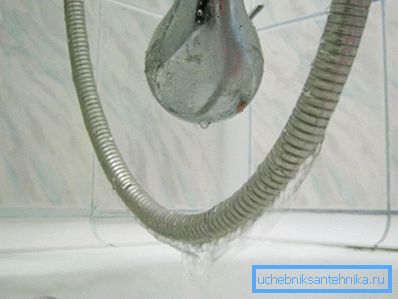
Before disassembling the mixer and disconnecting the flexible hose, we will determine the reasons for the leakage.
Among the main reasons, we note the following:
- incorrect installation of the hose;
- natural wear of the tube due to prolonged use;
- natural wear of the gasket or cap nut end fittings;
- initially low quality products.
Elimination of leakage in case of incorrect installation
If the installation was originally performed incorrectly and the fittings were not tightened or the gasket was not installed, the leakage manifests itself in the very first days of the shower operation.
In this case, the troubleshooting instruction is simple:
- Remove the watering can and disconnect the hose from the mixer.
- Check for gaskets. In some cases, the gasket must be turned over so that it fits tightly into its seat.
- Next, tighten the fittings to their original position and check for leaks. If there are none, troubleshooting can be considered completed.
Repair in case of wear of the inner tube
On average, a modern low-cost shower with a hose until the first leakage works for 2-3 seasons. After that you can see how water is leaking from under the metal sheath.
Such damage is characteristic of cheap products that are part of the budget shower sets. The essence of wear is that in the cold season the temperature of the water in the plumbing system is no more than + 5 ° С.
The rubber tube hardens at this temperature. As a result, when we move the watering can from side to side, for example, when we wash a bath or a tray, microcracks appear on the surface of the tube.
In the course of subsequent exploitation, the microcracks expand, and the moment comes when water begins to ooze out of them and leakage occurs from under the containment shell.
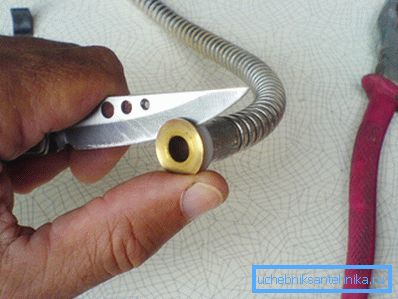
Instructions for repair in this case are as follows:
- Dismantle the hose.
- From the end where we noticed the leak, move the flare nut so that a gasket and a metal or plastic sleeve appear.
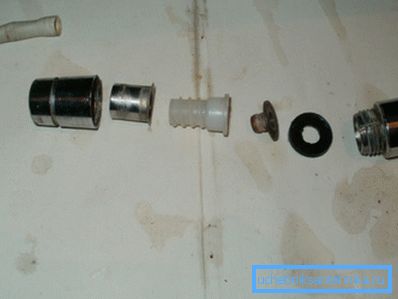
- Next, we shift the outer shell and stretch the tube.
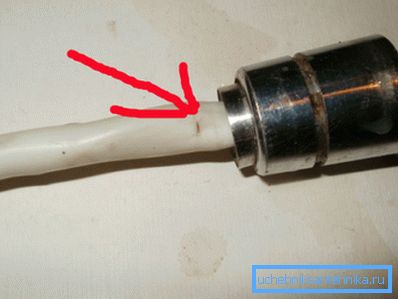
- If the crack at the fitting itself we hook with a knife or a screwdriver sleeve with a gasket.
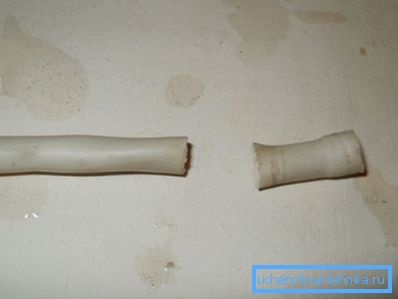
- The damaged section of the tube is cut so that the edges of the cut are even.
- With some effort, insert the sleeve and gasket into the trimmed tube.
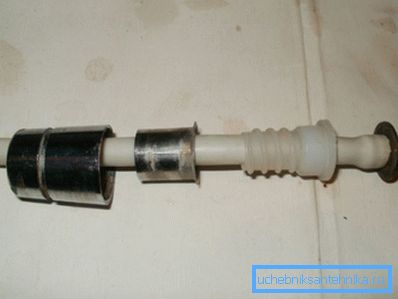
- After that, we install the hose to the original place and check for leaks.. If not, repair is over.
- If the leakage is not at the fitting itself, but, for example, in the middle of the hose, you will have to replace the inner tube. To do this, disconnect the sleeves with the gasket from both sides and completely remove the old tube.
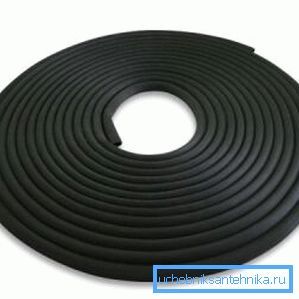
Further, in the market we get a similar rubber product, the corresponding diameter and length. We push the new tube into the metal braid, insert the sleeves with gaskets at both ends and attach it to the watering can and to the mixer.
At the final stage, we check for leaks. If there are none, the repair can be considered completed.
Full replacement
So, we figured out how to fix the hose from the shower, it remains to learn how to completely replace it.
Important: In some cases, it does not make sense to repair the budget hoses, as many cracks form throughout the cheap tube during operation. If such a product is restored, it is likely that after some time you will find new leaks.
Not sure how to change the hose in the shower?
The technology is simple:
- unscrew the connector from the mixer;
- from the other end we remove the watering can;
- we go to the plumbing shop, where we purchase a similarly sized product of a higher price category;
- returning from the store collect the entire system in reverse order;
- after assembly, check for leaks.
Conclusion
Now that we know how to repair the shower hose, we can perform the planned plumbing repairs on our own without the involvement of qualified professionals.
There are questions that need clarification? More useful information can be found by watching the video in this article.