Shower in a wooden house: the complexity of arranging
Arranging a shower room in a wooden house is a task, simple only at first glance. In its implementation, we will have to solve a number of problems associated primarily with the properties of wood. However, with the necessary knowledge, the solution can be found in almost any situation.
Possible options and their features
Before you make a shower in a wooden house, we need to decide whether we will acquire a ready-made booth or spend time and effort, but we will equip a corner for hygienic procedures on our own. Each of these options has both pros and cons.
| Option | Benefits | disadvantages |
| Ready booth |
|
|
| Shower arrangement |
|
|
As you can see, the shower device in a wooden house has its own characteristics both in the first and in the second version. The choice here is entirely yours, and below we consider an approximate algorithm of actions in both cases.
Installation of the finished cabin
If we bought a ready-made shower stall, then it can be mounted pretty quickly. As a rule, complete with the product is quite detailed instructions, because for the successful completion of work it will be enough just to follow its recommendations.
Installation work is performed as follows:
- To begin, prepare the room. We supply water and drain pipes to the installation site, and we treat all wooden parts with a moisture-proofing compound.
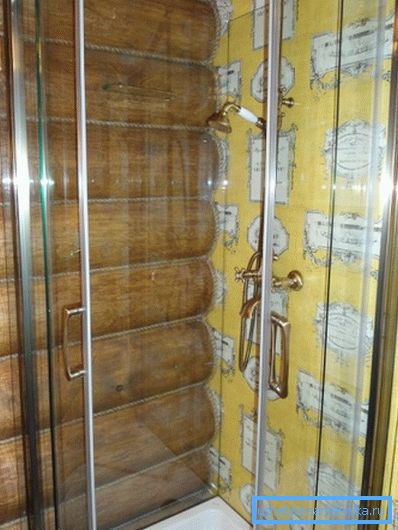
Note! Some corner models are available without rear curtains: the calculation is that the design will stand close to the wall. In this case, the wood paneling must be protected by tiling or installing screens for the shower of glass or polycarbonate.
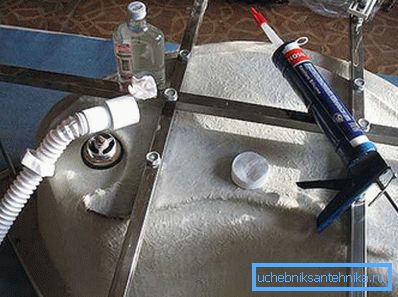
- Attach legs to the stall. Install the pallet on a wooden floor and set it horizontally by turning the adjusting screws.
- Bottom we attach the sewer pipe to the drain hole. If the booth is located in the immediate vicinity of the riser, you can use a flexible corrugation.
- On the pallet fasten the lower guides for doors and fixed blinds. Fix the guides with screws, then seal the junction with silicone.
- Fix the rear panel on the wall, then connect the sanitary equipment: faucet and shower head.
- If it is necessary - we connect the power supply wires. (they are commonly used to operate a radio, fan, or a standalone heater).
Note! All wiring in the bathroom is laid in a hidden way. And since the work is carried out in a wooden house, the wires must be laid in closed cable channels of non-combustible material.
- After this, we fix the vertical supports and glazing. (or polycarbonate panels).
- At the final stage, we hang doors on hinges or install sliding panels. on the guides.
- We seal all joints, after which we leave the cabin open for at least a day.

As you can see, the design is quite airtight, so that the toilet and shower can be placed in a room covered with wood.
It is much harder to make a booth "from scratch", and we will tell about it in the next section.
Construction of shower
Laying communications
Shower in the construction performance in a wooden house - the design is quite complicated. Ideally, it is necessary to begin work on its arrangement at the stage of finishing the room itself.
What we need:
- Under the floor in the place where the shower stall will be located, we install additional supports. If the finishing floor is kept on the logs, then we lay here a number of racks that will prevent the deflection of wooden boards.
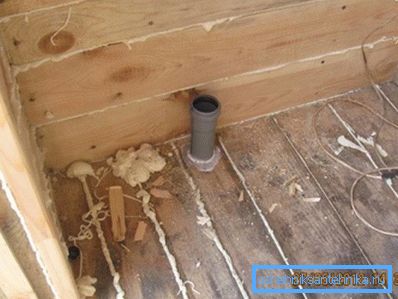
- Also pre-lay the sewer. We wind up one of its ends into the room, pass the second through a hole in the foundation or plinth.
- The next point is ventilation. It must be sufficiently effective, because otherwise a high level of humidity will cause the damage of wood with mold fungi, premature release of supporting structures and decoration.
Note! Natural draft air is usually not enough, so that an exhaust fan is built into the ventilation duct. At the same time, the inflow is provided either by the operation of the wall valve (rarely used, since it contributes to the ingress of cold air), or by a gap in the lower part of the door.
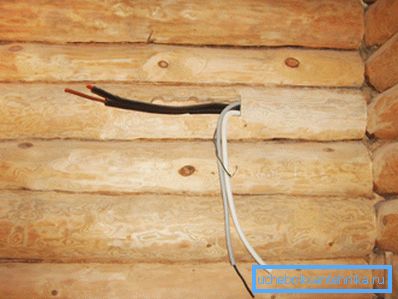
- Under the wall cladding we lay water supply pipes and wires for the water heater and the fan. As we noted above, the wiring should be laid in non-combustible covers.
Foundation preparation
To make a shower area with your own hands in a wooden house, you need to spend enough time and money to protect the base from moisture.
We proceed as follows:
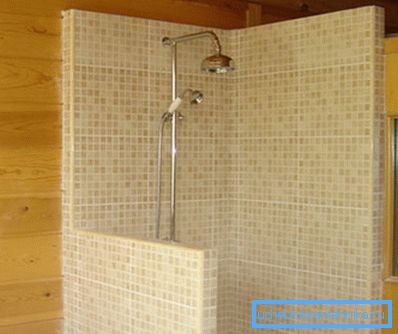
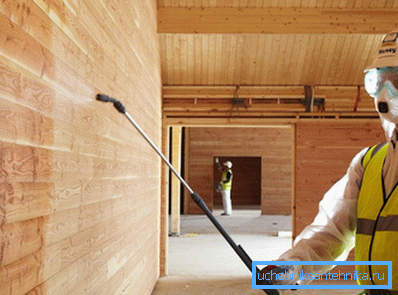
- All wooden parts are treated with hydrophobic and antibacterial impregnations.
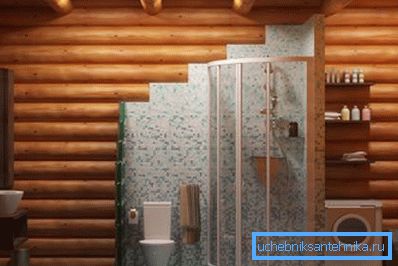
- The walls of the castle are carefully leveled, and then revetted with ceramic tiles. We rub the joints between the tiles with a silicone-based compound, which will allow us to prevent liquid from seeping to the wooden base.
- The area of the floor directly in front of the shower is also tiled. If the pallet is used on supports, then the tile is laid under it.
- When installing the pallet on a flat base beneath it, carefully level the floor. For leveling, we use cement-sand mortar, which we pour onto a wooden base with a laid moisture-proof membrane.
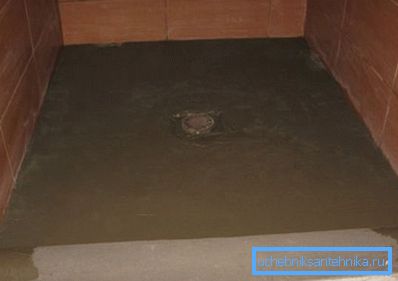
- If the drain will be done simply in the floor, then we form a drain from inclined planes. At the bottom of the drain there should be a drain hole, which is protected by a grate. Planes are tiled with abrasive particles that prevent sliding.
Tip! In this case, it is worth making a small bridge between the room and the shower itself, laying bricks on the floor and reveting them with tiles. The presence of such a nut will reliably protect the floor from moisture.
Completion of work
The shower room in a wooden house is simply equipped with its own hands:
- If the design provides for this, then we install a pallet on the lined area of the floor, which we attach to the drain pipe.
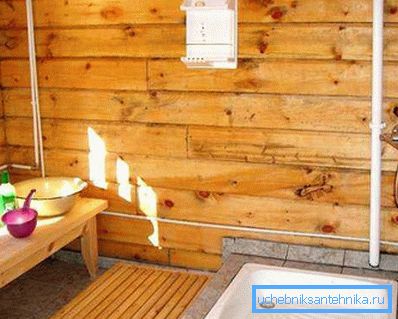
- If the pallet is not provided, then you can put a lattice of sanded racks on the floor - it will not be more pleasant to step on it than on the tile.
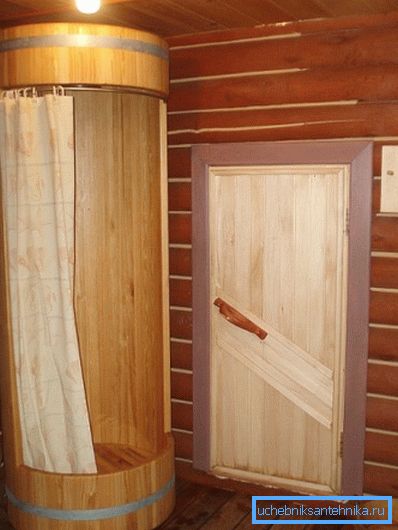
- To the conclusions of the water pipes fixed in the wall, we connect the mixer and the shower.
- On the sides we install vertical posts, to which we fasten the side walls of polycarbonate, translucent plastic or tempered glass.
- Inside the wall fasten shelf for soap and other hygiene items.
- On the front of the set door or hang a curtain of thick polyethylene.
Conclusion
A shower in a wooden house with its own hands may well be made with an acceptable investment of time and money. The main thing here is the reliable protection of wood from moisture, so that without special impregnations, tiles and well-working ventilation just can not do. The video in this article will help to understand the nuances, so carefully study it before taking up the tool.