Street shower: a simple and technological solution for those
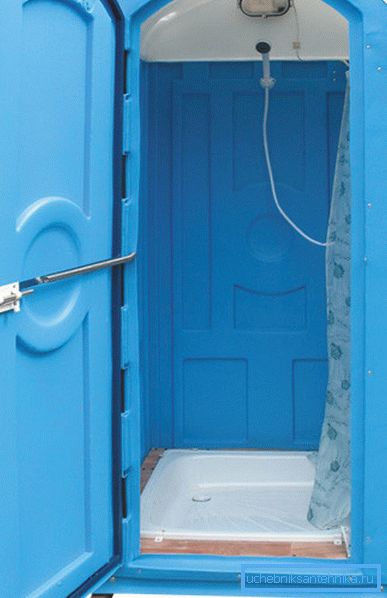
Plastic outdoor showers for giving, which today can be found, perhaps, in any building supermarket, are quite popular. It is enough to bring such a cabin to the site, install it and fix it securely in the chosen place, connect the water - and you can proceed to hygienic procedures.
However, these cabins have a significant drawback - not a small price. So many of our compatriots construct such structures independently. How this can be done with minimal effort, time and money, we will tell in our article.
Place for shower on the plot
The first thing to do when designing a summer shower stall at a cottage or plot near a country house is to choose a suitable place for it.
The following considerations should be taken into account:
- First of all, SanPiN norms require that the shower drain should be located no closer than 8 meters from the water intake sources (well, well), as well as from residential buildings. Of course, on the territory that is in your property, it is unlikely that anyone will control the observance of this standard, but it is still worth adhering to it for sanitation reasons.
- Secondly, shower should not be located near the beds. The fact is that detergents that fall into the soil, with a high probability will lead to its pollution. As a result, either yields will decrease, or vegetables and berries will contain undesirable substances.
- Thirdly, the place you need to choose protected from the wind. The reason is quite prosaic here: even in the heat of the summer after a person’s procedures, a person becomes very vulnerable to drafts, so you can catch a cold in July.
- If you do not plan to purchase a special shower for a heated cottage using an electric heating element, then it is desirable that the construction be installed on the sunny side of the site. Then the water in the tank will heat up faster, and you can wash with much greater comfort.
Of course, this instruction for choosing a place to accommodate a summer shower is only advisory. On the other hand, all the councils have quite rational justifications for themselves, so it is better to listen to them.
Soul erection
Drainage system
Street showers for giving with their own hands are built in just a few days. And the most time-consuming and costly stage is just the arrangement of the wastewater collection system: we will have quite a lot of dirty water, and we simply cannot pour it on the ground in any case.
The situation is simplified if there is a septic tank or cesspool on the plot. In this case, it is enough to connect them with the underground shower pipe, laid under a slope. If there is no septic tank or pit, or they are located at a considerable distance, it is worthwhile to construct a separate tank for drainage.
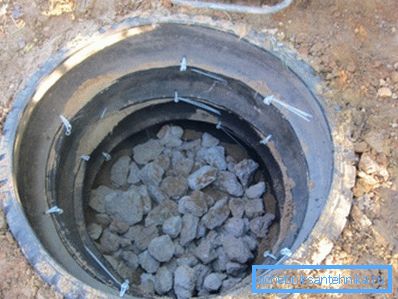
It is done quite simply:
- On the chosen place we dig out a hole of a round and square form. The area of the pit should be about 1m2, and the depth - 1.2 - 1.5m.
Note! The more people constantly live in the country and the more often you plan to use a shower, the greater should be the volume of the drainage pit.
- It is desirable to strengthen the walls with masonry of old bricks (we use only ceramic), concrete rings or tires from heavy vehicles.
- At the bottom of the pit we fall asleep drainage - large pebbles or gravel. The thickness of the drainage layer should be at least 40-50 cm.
- We reinforce the sides of the pit either with wooden bars (wood must be impregnated with moisture-proofing compounds) or with brick paving. It is also possible to use a frame from a steel corner, but the metal quickly rusts under the influence of moisture, so that the life of such a support will be small.
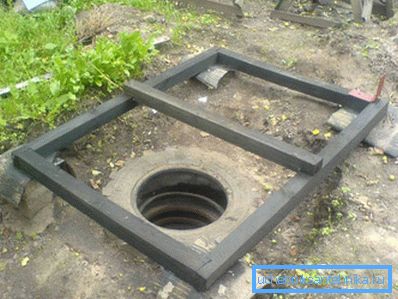
- In some cases, the base area of the shower stall is made smaller than the pit area. At the same time, the overlapping of thick planks is laid on top, and in the center there is a sufficiently large opening for draining. Overlap concreted, and so that the concrete surface was inclined towards the drain.
Putting the frame
When the pit for draining drains ready, you can begin to build the booth itself.
If we are not going to buy the finished product, then we can construct it with our own hands in a few days:
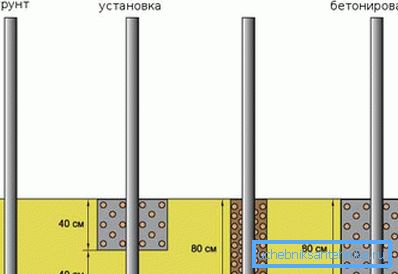
- To begin with, along the perimeter of the pit we drill holes with a depth of up to 50 cm and a diameter of about 100 mm. At the bottom of each hole we fall asleep about 10 cm of gravel.
- In the drilled nests we install profile pipes with a section of 40x40 mm and a length of about 2.5 m. Thus, the height of the booth will be equal to 2.10 - 2.20 m.
Tip! To extend the life of the structure, the underground part of the metal supports is treated with an anti-corrosive composition.
- Carefully level the racks, then fill the holes with concrete. For the preparation of concrete, we use cement grade not lower than M200, sand and gravel.
- Again, we check the verticality of the concreted supports, after which we fix them with wire braces or struts from old boards. Next, you must wait at least a week for the solution to gain strength.

After the break (the longer it will be, the more secure the racks will be fixed), we proceed to the installation of other frame elements:
- At the bottom of the welded cross jumper of pipes and corners. They lay the boardwalk.
Note! Floor boards must be laid with a gap of at least 5 mm. So we will ensure the smooth disposal of wastewater.
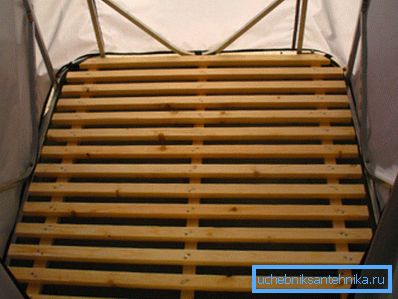
- From above we weld a binding on which the roof will be placed. Also in the upper part we install support beams that will support the tank with water.
- So that the walls of the shower are not deformed under the load from the filled tank, we strengthen them with crossbars at a height of about 1.1 -1.2 m.
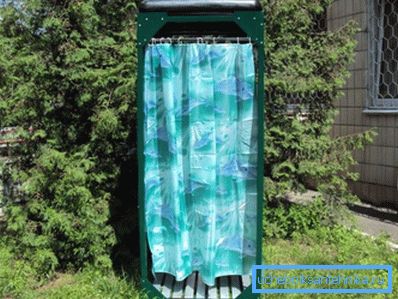
- At the front of the weld hinges for hanging the door. As an alternative to the door, you can use a thick curtain, then for it we install a horizontal railing of stainless pipe.
Tip! It is better to make the railing removable - then it will be much more convenient to put on and remove the curtain.
We equip shower
Next, we need to figure out how to make the water source itself as convenient as possible to use:
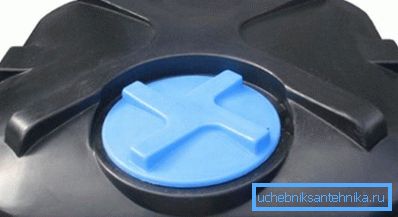
- We install a water tank with a capacity of up to 200 liters on the roof (the maximum volume is determined by the strength of the frame). For faster heating of the liquid in the sun, it is advisable to paint the tank in a dark color.
- Capacity securely fastened to the roof to avoid its displacement under the action of the wind. We attach a hose length of about 2 m to the lid. So we can fill the tank without using a ladder: it will be enough just to attach a garden hose connected to the water supply system or well pump to this segment.
Note! Stationary structures can be provided with hot water. To do this, we either draw a hose from the house’s hot water supply system to the shower, or install a flow-through electric heater. In the second case, of course, you should consider laying the power cable.
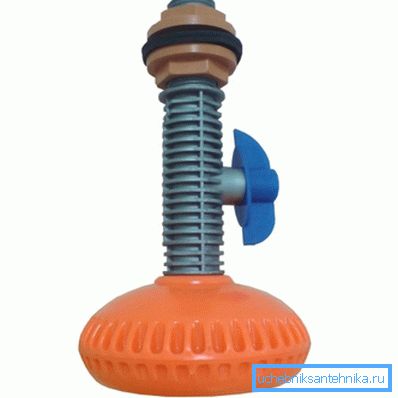
- Inside the booth we start a short pipe to which a tap and a watering can join for a street shower. These devices we will use to regulate the flow of water.
Cabin finish
In principle, the shower can already be used.
But if we want to build a modern, comfortable and in some way even a fashionable summer shower, then you should pay attention to the finishing:
- We sheathe walls with wooden or plastic clapboard. If wood is used, it must be treated with water-proof compounds - otherwise the boards will begin to rot and mold within a few weeks.
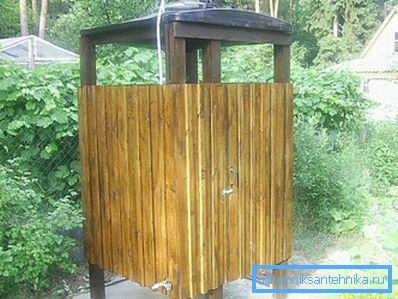
- On the hinges we hang the door, in the lower part of which we must make a ventilation hole.
- Inside install a shelf for soap and other bath accessories.
- If the cabin turned out to be quite spacious, then part of it can be fenced off with a polyethylene curtain. In this dry corner, we place several hooks for towels and clothes on the wall: then you can change clothes right in the shower.
Conclusion
Outdoor shower is a fairly simple design. For its manufacture, we will not need sophisticated skills, except that at a certain stage we will have to perform several welds.
The rest of the work can be done fairly quickly, and the costs will be quite acceptable. More details on the design and construction of shower cabins can be found by viewing the video in this article.