The distance between sewer wells - we build correctly
One of the important stages in the arrangement of the sewer system in a country house is the installation of sewer wells. It is possible to carry out these activities with their own hands, without resorting to the help of specialists, the main thing is to stick to this sequence.
It is important to correctly calculate the maximum distance between the sewer wells.

Types of sewer wells
The system of drains at their summer cottage has undergone great changes. The cesspools have now replaced the sewer network, which provides for septic tanks. Drainage water that leaves the house enters underground pipes.
They, in turn, require regular monitoring, because they are equipped with wells, which are divided into the following types:
- Inspections must be present in the system. They are designed to exercise regular control over the system. Install it at the entrance of the yard sewage, as well as in the cumulative septic tank.
- Rotary mounted in places of sharp turns of pipes. As a rule, it is here that blockages occur.
- Nodal (photo) is mounted in the nodes and locations of pipe wiring.
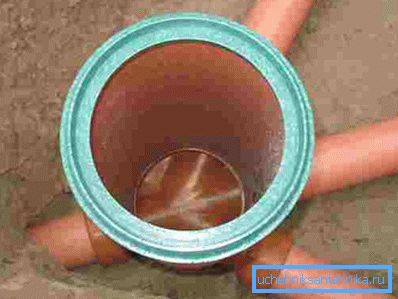
- Falling drops are designed to reduce the current flow of water, which helps protect pipes from water hammer and eliminate possible noise. Established in areas with differences in pipe levels.
- Cumulative designed to collect and clean drain water.
To ensure the normal operation of the system, its control and care, it is necessary to correctly determine the distance between the wells, which will help the following recommendations.
How far should the wells be located
First of all, it is necessary to determine the distance between the sewer wells by SNiP depending on their type.
- When arranging manholes, it is necessary to maintain a distance of no more than fifteen meters between them. If the system is represented by a single straight pipe, this gap can be extended up to fifty meters. This is due to the low probability of blockages and this distance will be enough to monitor the system and eliminate blockages.
- Pivot wells play the same role as the viewing wells. The difference is only in their places of installation. In this case, the distance between the wells should be determined by specialists who carry out the pipe-laying work. Since it is they who decide in what places a network bend will be formed.
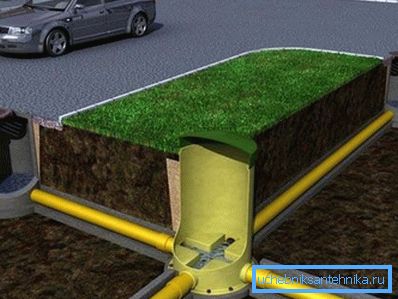
- Differential septic tanks are installed when laying pipes in places with slopes. If possible, it is necessary to maintain the minimum distance between them, since the resulting step-drops can cause problems in the operation of the system, manifested in turbulent flows. Therefore, the gap between the wells must be at least two meters.
The sequence of installation of the sewer well
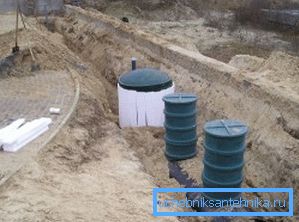
We will understand how to install the well yourself, and what requirements must be followed.
The following instructions will help you figure it out.
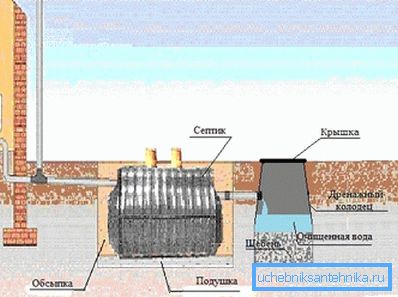
- At the planning stage of the water discharge system, a scheme should be developed, which will indicate the locations of the wells. When it is compiled, it is important to know that the optimal place will be a platform located below the base of the house. It is also important to take into account the sanitary requirements for the location of pits relative to residential buildings.
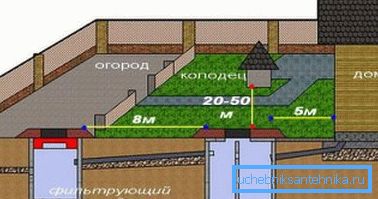
Note! The distance from the house to the sewer well should not exceed 12 meters. According to the requirements of the building regulations, there must be a drain well not less than five meters from the foundation of the house. It is also important to ensure its remoteness from the water source. For areas with predominantly sandy soils, this distance is 50 m, and with loamy soils - 25 m.
- At the next stage, they proceed to the development of a budget in which all the required materials and equipment will be included. Drawing up a detailed list of necessary things will significantly reduce costs.
At this step, it is necessary to decide whether you will resort to using special equipment and call in specialists. In case you are not completely sure that you will cope with all the work yourself, then it is better to ask for help, since the assumption of any error can damage the entire system.
- Then you can start the main work, which begins with the digging of the pit. The depth and diameter of the pit will depend on the type of destination of the well and the amount of wastewater.
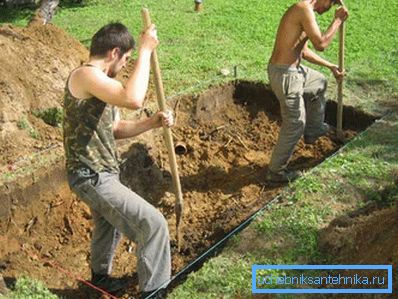
At arrangement of accumulative and cleaning septic tanks it will be necessary to carry out rather deep hole. So for a family of four you need a well with a volume of about 4 cubic meters and a depth of three meters. It is not recommended to dig a pit of greater depth, as this will make it difficult to clean the well.
Tip! When installing the inspection-type pit, one should also not dig too deeply, since they are not intended for collecting drainage water.
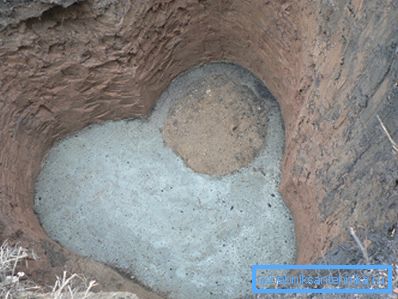
- After digging the pit, go to the installation of the base, which will also depend on what will be the well. So, when installing the cumulative well, a gravel layer of 15 cm thick is laid on the bottom of the pit and the foundation is poured with cement. It is necessary to try to make a slope in the direction of the hatch located.
- If the filtration well is settled down, then it is necessary to leave the bottom not concreted for drainage. Here the bottom is covered with gravel or pebbles, then the drainage material is covered with a layer up to 1 m.
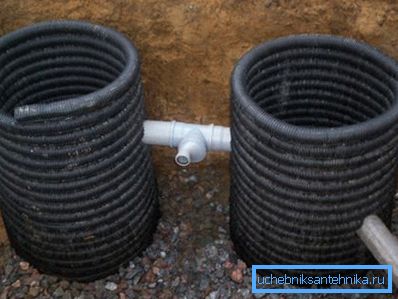
- In the next step, walling is performed. They can be lined with brick, concrete or RC rings. In addition, use ready-made plastic containers. It is also possible that you will find other available materials that are suitable for decorating walls. It may be wood or tires. However, it should be understood that the durability of such a structure will be short, while achieving the required tightness will be difficult.
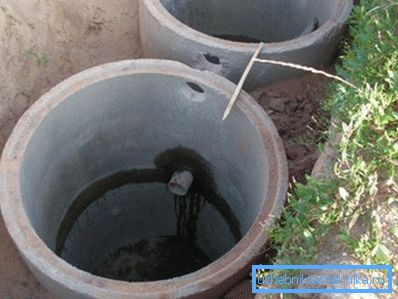
- Special attention should be paid to the tightness of wells. Therefore, when using reinforced concrete rings, it is necessary to carefully seal all joints with cement, and encase the case itself with bitumen. Tightness does not play an important role in the installation of a filtration well. The walls are best made of brick and specifically leave small gaps to ensure better absorption of water.
- The next step is to install a drain pipe through which water will flow into the storage well. Filtration and collection wells are connected to each other using an overflow pipe. Installation additionally under a non-drainage board prevents drainage erosion.
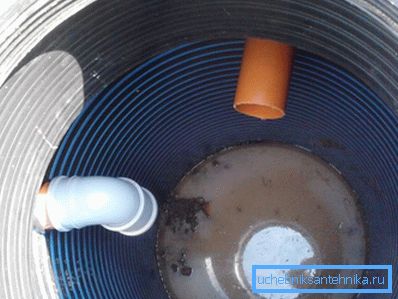
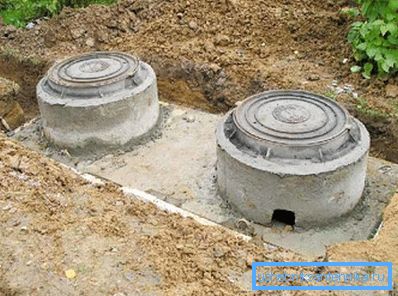
- From above, the pit is covered with a concrete slab, in which it is necessary to make a hole in advance for the hatch and the ventilation duct.
Conclusion
Before starting work, it is necessary to develop a scheme of the entire sewer system. It is developed either independently, or you can use a ready-made standard project.
Having a ready plan allows you to reduce the cost of work and materials. As a result, the total price of the system decreases. Even with the purchase of building materials with a margin, spending on them, according to the prepared estimates, will be significantly lower.
Also, before starting work we recommend to watch the video in this article.