We build a shower in the country with our own hands: the
Building a shower in the country with their own hands is for everyone who wants to ensure for themselves and their loved ones a normal comfortable rest with a minimum set of basic amenities. In this article we want to show how the construction of a shower is made in the country and what is necessary for this to know and be able to.
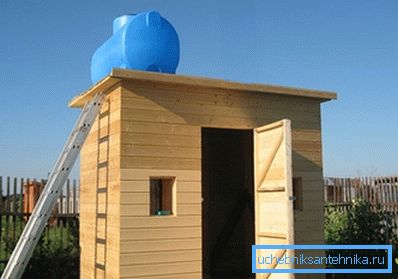
Independent construction of a summer shower
Special features
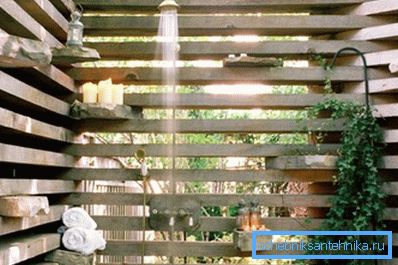
So, we build a shower in the country, which means that it will differ from the usual traditional forms that are characteristic of urban bathrooms.
Let us immediately identify these differences so that the features of the work to be done are clear to all and we will not return to them again:
- The lack of water supply in the urban area implies the use of alternative sources of water supply. Most often, this is a water tank installed above the shower cabin so that the fluid can flow into the watering can under the action of gravity;
- The lack of a centralized sewage system requires the arrangement of an autonomous drainage system. The most appropriate way is to install a separate septic tank or filter pit, into which used dirty water is directed through a pipe or inclined pan;
- At the cottage there is not only cold, but also hot water supply, so you will have to heat the water yourself. There are two acceptable options: heating from solar heat or the use of heating elements in the tank. Both methods are most commonly used;
- The cottage is designed for summer holidays, so we will build an unheated shower for seasonal use. Houses built for year-round living are usually equipped with a bathroom.
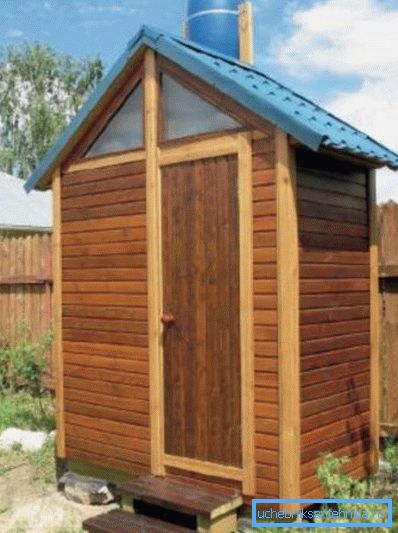
Note! Many people believe that buying a finished shower stall solves all problems at once and eliminates the need to work with your hands. However, it should be understood that the quality and comfort characteristic of factory-made plastic models do not withstand any comparison with the construction of their own.
Materials
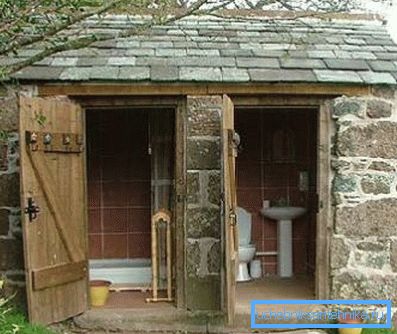
It is advisable to decide in advance on the material from which you will build a shower. From this will depend on the design, cost and features of the construction of buildings.
Here are the following options:
| Material | Special features |
| Wood | Affordable and easy-to-work material that harmonizes perfectly with the suburban aesthetics and fits into the landscape of the site. Usually build a frame, which is then sheathed with board, plywood or siding |
| Metal | Not less available and common material that is highly durable. Metal frame sheathed with profiled sheet or sandwich panels |
| A rock | Building a summer shower made of brick, stone or concrete blocks does not look entirely rational, but the building is distinguished by reliability, durability and ease of use. |
| Combined | Often the booth frame is made of wood or metal, which is then sheathed with polycarbonate, plastic siding or a blockhouse, plywood and other materials. |
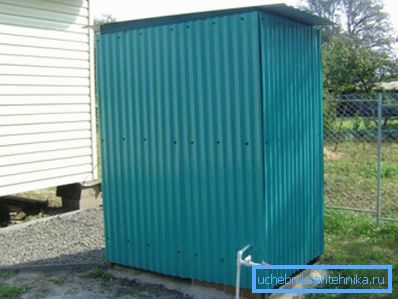
Note! The most acceptable from the point of view of price / quality ratio is the construction of a shower made of wood or composite materials. Looks good metal frame, sheathed board or wooden siding.
Stages of construction
Foundation
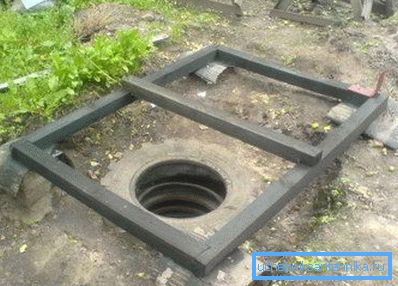
First of all, it is necessary to provide a reliable base on which our booth will stand. Given its small weight and size, the foundation will be light and shallow.
Note! In the vast majority of cases, columnar foundations are used. However, this does not mean that it is enough for you to simply dig in pillars from a bar or a metal pipe.
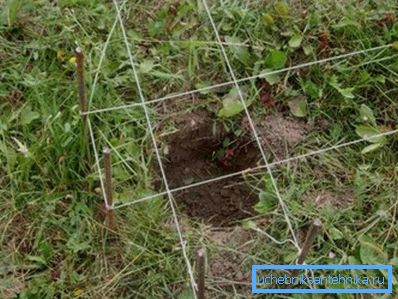
We will need to carry out the marking and transfer the boundaries of the future structure to the ground, which has been previously cleared of the fertile soil layer and tamped down.
Then you can start building, and this will help you instruction:
- In the corners of the site we dig four holes 40 × 40 cm in size and 0.7 meters deep. To the bottom we pour a layer of sand-gravel mixture with a thickness of 20-30 cm at the rammer;
- We make a formwork 30x30 cm in size from plywood so that it rises 30 cm above the ground level;
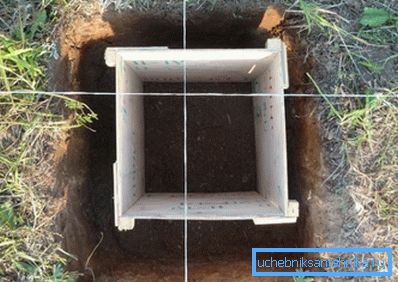
- The bottom and walls of the pits are covered with a layer of construction polyethylene. Prepare a concrete mix of cement M400, sand and gravel in a ratio of 1: 3: 5;

- Using the water level, we mark the border of filling the formwork so that the posts are 20-25 cm above ground level and lie in the same horizontal plane. Fill in the concrete mix and compact it with vibration or splicing;
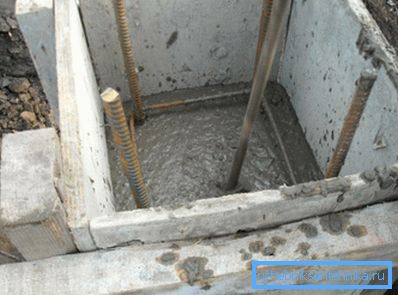
- We embed in fresh concrete anchor with a thread with a diameter of 10 mm and a height of 10 cm above the post;
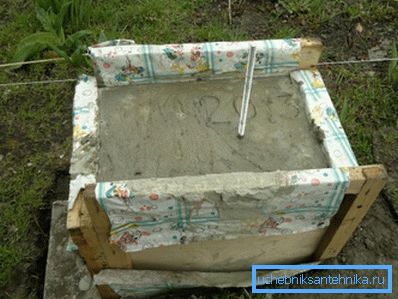
- After 2 - 3 days we dismantle the formwork and cover the pillars with bitumen mastic from all sides, including the butt. After the mastic has hardened, we fill the fossa with clay.
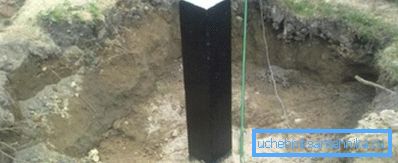
Note! The minimum amount of water should be added to the concrete mix, not more than 0.7 of the amount of cement. If the mixture is too hard, you can add a little liquid soap or white glue.
Frame and trim
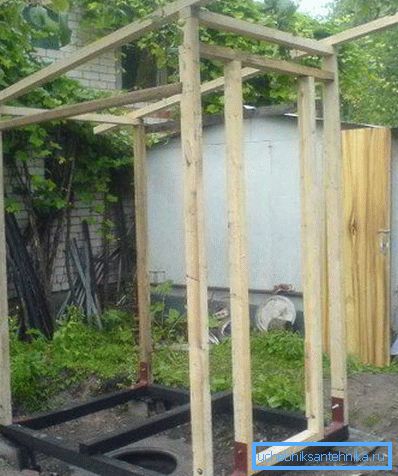
The construction of the frame looks quite simple. At the beginning, the lower pillars are made with a bar of 100x100 mm. To do this, a double layer of roofing material is laid on the ends of the pillars, then horizontal pieces of timber.
Dock bars should be in half-wood. To do this, make the appropriate cutting, as well as drill holes for anchors with countersinking on the exit side of the anchor from above. When the harness is laid, it is checked using a horizontal level, and then fixed with nuts and threads on the anchors, the nuts are sunk into the zenki, and the protruding ends of the anchors are cut flush with the bar.
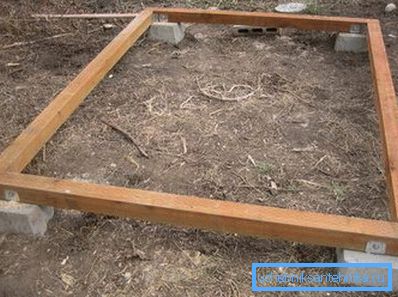
After that, in the corners install vertical posts from a 100x100 mm timber, 2.5 meters high. For this bars pre-pruned strictly under 90? and put in the installation position. Fixed with galvanized mounting bracket on both sides.
The top trim is made similar to the bottom, only for it you can use a bar 100x50 mm. It can be fastened with corners or in half-wood and with nails to the end of the rack.
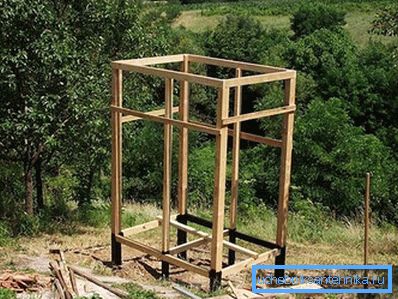
At the end, cross bars are made at a height of about 1.5 meters from a 100x25 mm board or a bar. Additional racks indicate the frame of the doorway.
Cladding is performed with a cut board, clapboard, siding or a blockhouse. You can use plastic panels or metal, but this finish will look much worse.
On the upper trim bars, they make a platform for the installation of a water tank, or use a pre-selected flat tank, which becomes a trim and replaces the roof.
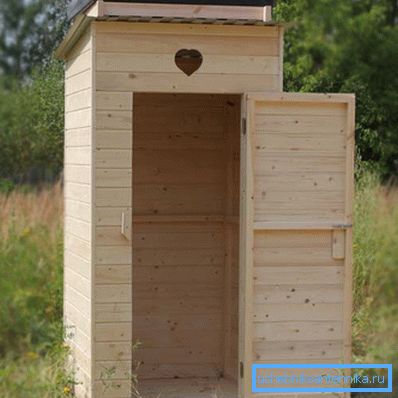
Completing the arrangement of the soul in the country installing the pallet and the conclusion of the sewer pipe in a septic tank. Read about the features of the dacha sewage in previously published articles on our website.
Conclusion
For a comfortable stay in the country you need to build a summer shower. This can be done independently with the help of good instructions and videos in this article.