We create a shower in the house with our own hands from
How to make a shower in the house with your own hands using affordable building materials and relatively inexpensive plumbing? Such a question arises before many compatriots who are planning a major overhaul of the bathroom.
Considering that the price of services of professional plumbers is high, the theme of doing a bathroom repair with your own hands is of particular interest. Therefore, we consider the technology of construction work that everyone can handle.

Bath or shower
Choosing how to equip a bathroom you need to decide that it is more suitable shower or bath.
For owners of apartments with a small or combined bathroom, this issue has long been resolved, since the shower stall takes up an order of magnitude less than a bathtub, and besides, not so much water is spent when bathing, which has a positive effect on utility bills.
Again, the bath is more expensive than the shower tray, which is mounted before installing the cabin. And finally, a homemade shower with your own hands can be made from a small amount of building materials, whereas a bath can only be purchased.
So, we decided that the pan with a cabin is more accessible and more profitable to use, it remains to determine how to make a shower at home.
Plumbing selection
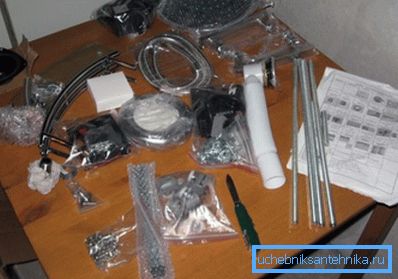
No matter what you decide to build, a shower cabin for the dacha or a full-fledged washbasin in the apartment cannot be done without acquiring a number of plumbing fixtures.
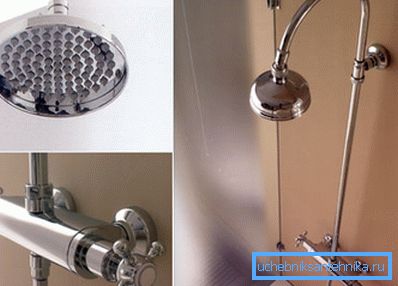
To build a shower in the house in the country we need the following:
- Shower panel or stand with integrated faucet and watering can included. All these devices can be bought separately, but in this case, their price will be slightly higher.
- Siphon to drain (ladder).
- Pipes for water supply and drainage of sewage.
- The flowing or accumulative heater if the centralized supply of hot water is not provided.
Important: If you can save money when choosing building materials, then when choosing plumbing equipment you should not save. Faucets and other expensive components purchased at suspiciously low prices are likely to be of poor quality, and therefore will not last long and will need to be replaced after a short period of time.
Selection of building materials
Despite the fact that a house for a shower to the country house can be made of improvised means and planks left over from the construction of a fence, the equipment of a bathroom in a residential house requires a slightly different approach.
The easiest way is to buy a ready-made cabin with an acrylic tray, but since we decided to do everything with the lowest material costs, we will try to assemble the tray from bricks, concrete and ceramic tiles.
It is better to prepare a brick ceramic full-bodied. As a masonry mortar, you can use tile glue or a less expensive mixture of cement and sand at the rate of 1 part of cement to 3 parts of sand.
In addition, you will need concrete to fill the internal volume of the pallet. Concrete can be prepared with your own hands, since the production instruction is simple: 1 part of cement is mixed with 2.5 parts of sand, after which 3 parts of fine crushed stone are added to the mixture.
The mixture prepared in this way is mixed with water and thoroughly mixed until a uniform consistency is formed.
So, after we have decided on the selection of basic building materials, we will consider how to make a shower at home. As an example, consider the construction of a simple angular shower.
Construction works
Instruction for the construction of a multi-stage:
- At the initial stage, we plan how the shower room will be arranged for a country house, namely, where the plumbing equipment will be located, where the pan will be, what its configuration will be, etc.
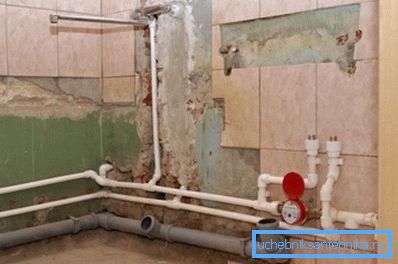
- Once we have decided on the size and configuration, we supply all the necessary communications, namely, water supply pipes and pipes for discharge of drains.
Important: For more information on how to install polypropylene or metal-plastic pipes, you can find in the relevant articles on our portal.
- Prepare the base of the floor and the adjacent wall. We remove old finishing materials from the floor and walls, assess the condition of the surfaces and, if necessary, strengthen them.
Strengthening of surfaces is carried out by applying deep penetration impregnations, such as concrete contact, for example. After drying the impregnation, you can proceed to leveling the surface of the cement-sand mixture or tile glue.
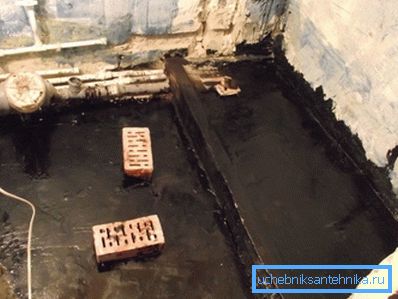
- Once the surfaces are reinforced, they must be waterproofed.. For this we use bitumen mastic, which is applied with a thin layer with a brush.
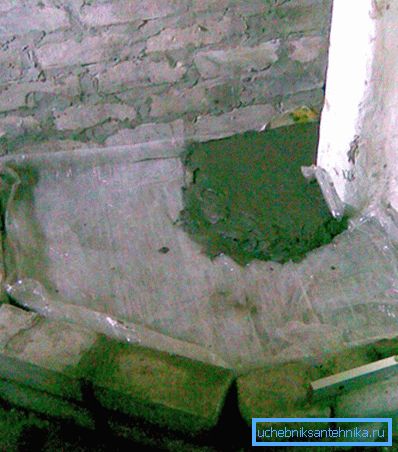
- Further along the perimeter of the future pallet we lay out a side in two bricks.
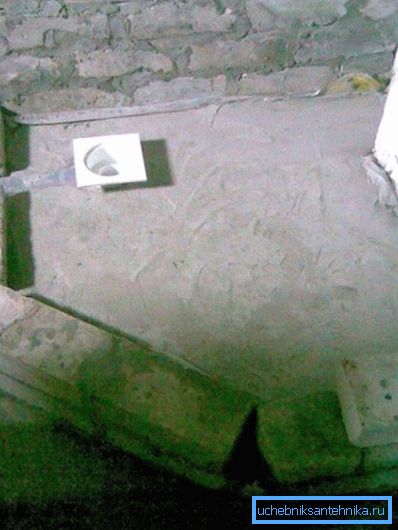
- After the laying dries, we put on the served siphon (ladder) on a sewer pipe.
- We reinforce the internal volume of the pallet between the sides with wire mesh and fill it with concrete. We do this with the expectation that we get a slight slope, and that the water goes by gravity.
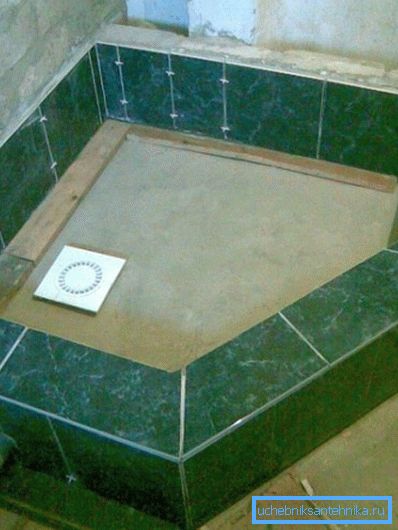
- Wall and adjacent pallet revetted with tiles.
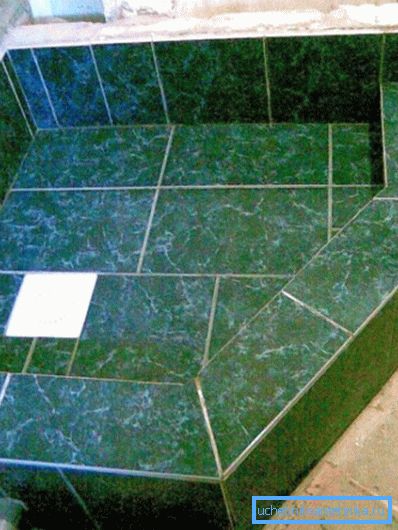
Important: For walls we use thin wall tiles, and for facing the pallet we use thicker rough (non-slip) floor tiles.
- We connect a prepared shower panel or a rack to the water supply. Check for leaks at the junction, if there are no leaks, go to the next step.
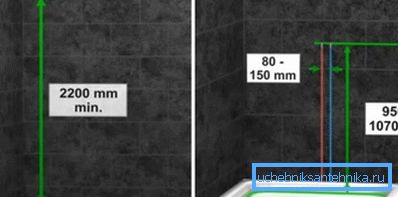
- Fixed plumbing fixtures to the wall.
- After the pallet is built and the shower equipment is installed, it's time to take care of the fence.
Factory cabins are completed with glass or polycarbonate doors. But, since we are doing everything with our own hands, let us focus on the acquisition of a special curtain.

A special bracket made of stainless steel can be purchased both on the market and in specialized stores of bathroom furniture.
The bracket is fixed on adjacent walls and perfectly withstands lightweight polyethylene curtains.
Conclusion
Now that we know how to make a shower in a country house or apartment, it's time to get the necessary materials and get to work.
Have any questions? More useful information can be found by watching the video in this article.