Well in the country with their own hands: tips on drilling
Can a well be drilled at the cottage with your own hands? Where is it better to place it? What equipment is needed for drilling? How to prevent shedding walls? We will try to answer these and many other questions in the article.
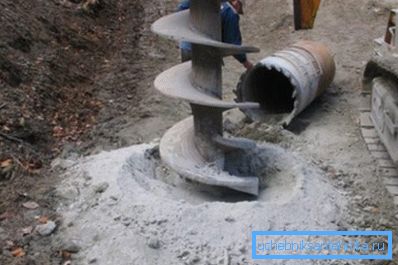
Opportunity
To begin with, we will find out whether it is possible in our case to set up a well in the country with our own hands.
Let's start with a number of general comments.
- There are two types of well drilling - on sand (that is, up to the upper aquifer) and on limestone (artesian wells). There is no clear boundary separating one type from another - it all depends on the structure of the layers of soil under your feet. Without the involvement of heavy equipment, it is realistic to drill only a well of the first type - if the aquifer is located no deeper than 20–25 meters.
Tip: you can find out the availability of water and its depth by interviewing its neighbors. Surely among them there is at least one owner of a well or a deep well. The alternative is to conduct vertical electrical sounding (VES), which allows, without drilling, with high accuracy to find out the composition of the soil layers.
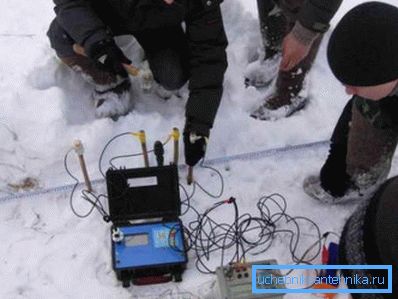
- The only insurmountable obstacle in drilling is a thick rock layer. To overcome it without attracting heavy machinery is unrealistic. There is no need to be afraid of clayey soils on the surface: the first aquifer is usually found below them at a relatively small depth.
Location
Where to locate the well?
If geological studies have not been carried out, then the most reasonable place for the location of the well is at the lowest point of your site. The instruction is connected with simple logic: if the aquifer in the lowland is horizontal, it is closer to the surface.
On a horizontal stretch you can proceed:
- For reasons of personal convenience, placing a well 3-5 meters from the house. Input is usually laid below the level of soil freezing; we are not interested in digging a deep and long trench.
- For reasons of maximum purity of water. The drilling point should be as far as possible from the sources of contamination of the soil: compost and cesspools, street toilets and filter septic tanks.
Drilling
How to make a well with your hands at the cottage after you have decided on its location?
Pit
Let's start with the arrangement of the pit - the deepening in the wellhead, performing several functions at once.
- The top layer of soil is the most loose and will tend to crumble with each excavation of the drill. Removing it and strengthening the walls of the pit, we completely get rid of this problem.
- The pit will allow, if necessary, to raise the pump, despite the input, laid in the ground below the freezing point.
- Finally, it provides the wellhead warming, preventing the freezing of vapor.
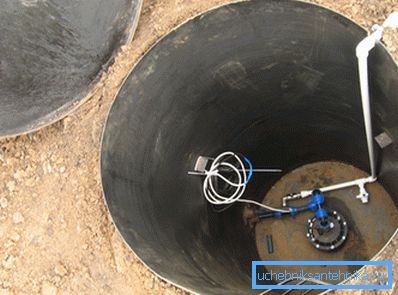
How to do this job?
- Digging the pit. Its horizontal dimensions should ideally allow a person to descend into it; depth - slightly below the level of soil freezing. Form - at your discretion: both round and square pitches are being constructed.
- Along the perimeter of the excavation, a 10–15 centimeter cavity is dug, in which an annular bedding of rubble or sand is formed. The filling is as compact as possible.
Tip: sand for maximum shrinkage enough to pour plenty of water.
- A concrete cushion is laid on the bedding, on which walls are laid in half-brick. Used red ceramic bricks. The alternative is the construction of formwork and the pouring of reinforced concrete walls.
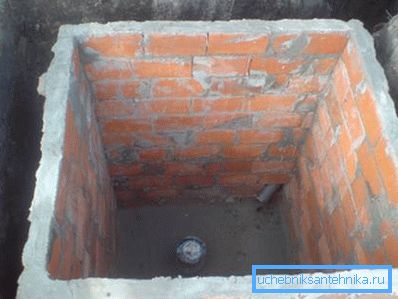
After the completion of drilling and installation of the entire piping, the bottom of the pit around the casing is sealed with clay (a clay lock is formed that will prevent water from flowing from the surface to the aquifer). Then the bottom is covered with a thin layer of rubble.
From above, the pit is covered with a reinforced concrete slab with a hatch or just covered with thick boards. It is desirable that the cover of the pit is insulated, first of all - if it is not much deeper than the level of soil freezing.
Equipment and drilling process
In the simplest version, the set of equipment includes:
- Drill handle - the lever with which the drill string will be driven.
- Tip - what will be the actual development of the ground. The most commonly used conventional screws (externally similar to the grinder auger, but with a pointed cutting edge). On complex and stony soils, however, tips can be used in other forms.
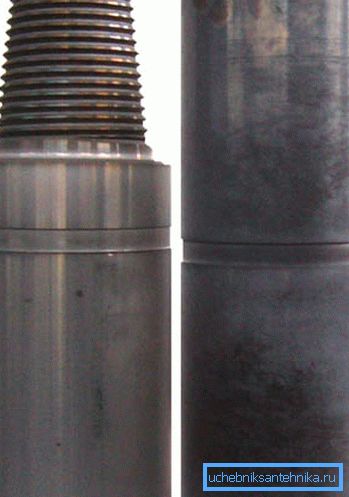
- Drill pipe - thick-walled steel pipes with locks that allow the drill bit to sink to a considerable depth.
In case a part of the ground between the surface and the aquifer has a high density, a tripod and a driving glass are used. With the help of the simplest lever, the glass with pointed edges rises and is dropped to the bottom of the well time after time; each time he rises, he is cleared of soil pushed into it.
Hint: a tripod with a lever will not be superfluous even with ordinary drilling, since the price of a simple construction of several steel pipes is more than not high. The lever will help remove the multi-meter drill string. A couple of tens of meters of pipe is heavy in itself; the picture is exacerbated by the mass of excavated soil and friction against the walls of the well.
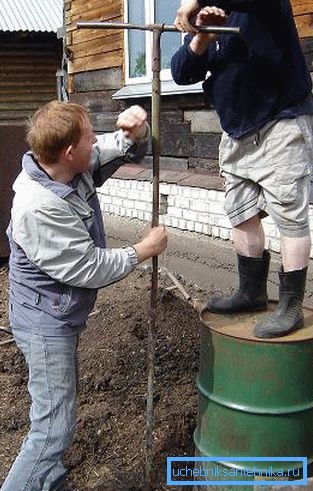
Actually, drilling without attracting heavy equipment is not only extremely tedious, but also very long. In one pass, the tip of the drill goes from 10 centimeters to half a meter; then the entire column is removed (in this case it is necessary to disassemble the locks), the tip is cleared of the excavated soil - and forward, to further accomplishments.
How to understand that you have reached the desired depth? Exclusively as excavated. When drilling into the sand, you need not just to get to the aquifer: the drill should go through it and sink into the clay impermeable to water at least one meter below.
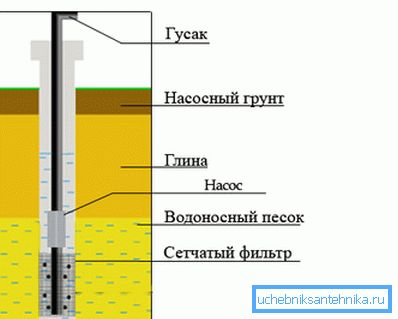
After the result is achieved, the next stage begins - the casing of the well.
Casing
She will have to keep the walls of the well from falling, create a permanent channel for lifting water and (if necessary) extracting the pump. In addition, the lower portion of the casing serves as a filter.
What does a well look like at the dacha when moving from the bottom up, from the bottom to the surface?
- Plot casing with deaf walls. It is located below the aquifer; 10-15 centimeters of rubble are often poured into it as drainage.
- Filtering area, equipped with a grid or small perforations. Usually it has a length of about a meter.
- Deaf pipe to the surface.
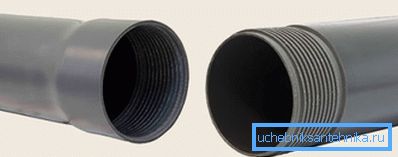
To give when drilling to sand, an inexpensive plastic pipe is usually used - plastic or PVC. It can be solid or assembled on threaded locks. The stiffness and thickness of the walls is welcome; pipe diameter at least a centimeter smaller than the diameter of the well.
After the casing is lowered, it is better to fix it in any way in the well. Lightweight plastic tends to be gradually squeezed out by the primer; it is clear that at the same time the bare walls of the well begin to quickly gush. The simplest option is to use a pair of mounting clamps and several struts between them and the walls of the pit.
Pump and input
In most cases, you can safely advise the purchase of not a submersible, but a surface pump.
There are several reasons:
- It is easily dismantled for winter; thus we will be protected from possible theft of equipment.
- The fall of the pump and the difficulties in removing it also do not threaten us.
- Finally, in this case it is possible to drill a well of smaller diameter. This will save us a lot of forces and means: the larger the diameter of the drill, the greater the resistance of the soil, the more expensive the drill string and casing.
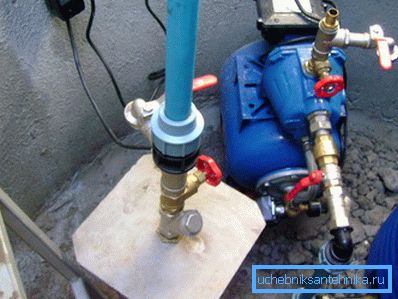
If the depth of the aquifer significantly exceeds 10 meters, the choice is small: a centrifugal-type submersible pump is used.
Input is a simple polyethylene pipe that is attached to the outlet of the pump using a compression fitting. He fits, as already said, below the level of freezing.
The important point: either the pump itself or the assembly between it and the water supply pipe is supplied with a check valve, which will prevent the water from flowing back after the impeller stops.
Water accumulation
As a rule, water extracted from a well accumulates.
This achieves several goals:
- The difference between well flow and peak consumption is covered.
- Increases the service life of the pump.
- Electricity is saved.
How to provide yourself with water when the pump is off?
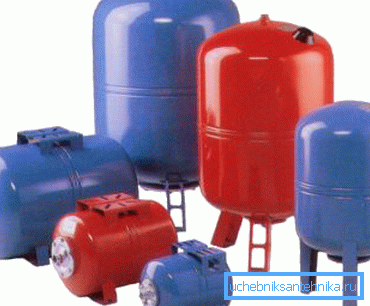
- Including in the strapping hydroaccumulator. An air bag in it will allow to create overpressure in the water supply even if the device is placed in the basement.
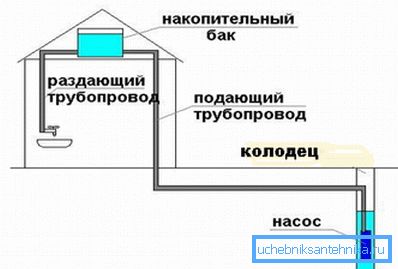
- Using cumulative capacity, raised to a considerable height. It will cost a little more, but it will allow you to accumulate up to several tons of water.
Conclusion
If the reader has any questions about how a well is being drilled or equipped to give it by hand, additional materials can be found in the video in this article. Successes!