Well water well: recommendations for drilling and equipment
Do-it-yourself water wells can be built anywhere on a shallow aquifer. In this case, of course, you will have to work hard, but in any case, the costs will be incomparable with those that you incur by contacting a specialized organization.
Below we describe the technology of self-drilling and the correct equipment of aquifers.
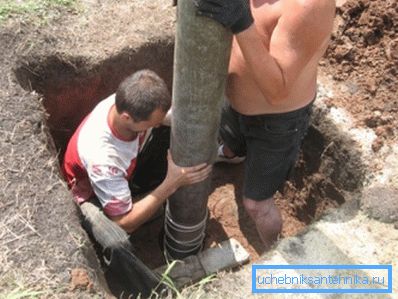
Training
Choosing a place to drill
Before you make a well for water with your own hands, you need to choose the most suitable place. The thing is that self-drilling capabilities are limited, and we need to know in advance if we can reach the aquifer.
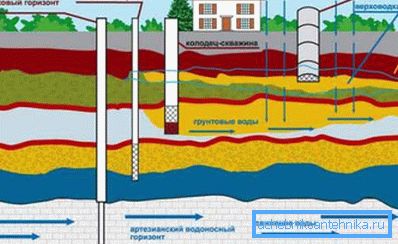
There are few ways to determine the water level:
- First of all, You can consult with your neighbors who own wells or wells. As a rule, in your area the reservoir with water will be approximately at the same depth as in the neighboring ones.
Tip! Naturally, it is necessary to make a correction for the elevation of the plot.
- Secondly, You can find water by indirect signs. These include periodically swamped depressions, ravines, thickets of reeds, etc. All this indicates that the reservoir of a water-proof came close to the surface.
- However, the most accurate data will be geological exploration. Of course, the price of such services is high, but you will get the maximum chance that there is water on the site. Well, or it is not, so that drilling is not worth starting.
Necessary equipment
So, we conducted a study and found that we need a layer of rock at a depth of about 10-20 meters (ideal).
Next we will need equipment:
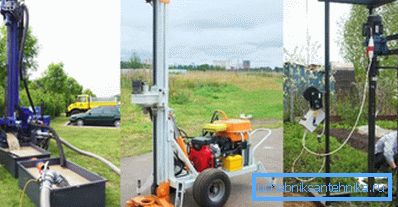
- Drilling machine. It can be both manual (the simplest auger on the basis of the old ice drill), and electric. Electric small-sized drills are quite expensive, so it is better to rent the device.
- Water pump. We will use it to flush the well while drilling.
- Water lifting pumps. It is advisable to purchase at least two: cheap - for pumping, and better quality - for permanent work.
- Casing. It is best to use pipes made of polyethylene, since they can be welded to form a monolithic column.
- Metal strainer.
- Ogolovok and caisson for tying the neck of the well.
- Regulatory automation.
This entire set must be available before starting work.
Well Construction
Drilling
When the equipment is purchased and rented, and consumables are delivered to the site, we start the drilling itself.
The instruction in this case describes the process as follows:
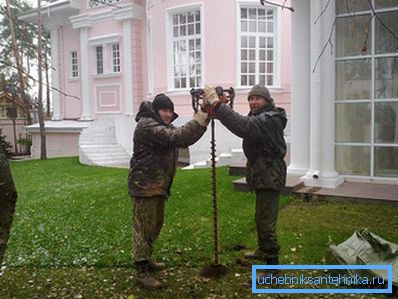
- First, dig a starting hole to a depth of half a meter. If you plan to install a caisson or install a pit, you can dig a hole in advance, making it easier for you to work.
- At the bottom of the hole set the drill and begin to penetrate into the ground. Every three or four turns, remove the auger and clean the blades of the adhering earth.
Tip! For manual drilling, you can modify the device by supplying it with half-meter iron scrap handles. So rotate the drilling part will be much easier.
- We deepen the drill to the length of the screw, remove it and insert the first casing into the hole. We continue drilling, ensuring that the underground part of the tool does not damage the casing material.
- Going deep into, gradually we put the handle of the drill with steel rods. The most convenient way to do this is to use threaded connections.
- Through each meter we take out the auger and clean it from the ground. So we will reduce the amount of rock that has fallen to the bottom of the well, which means we will facilitate our work in the future.
- In the same way we increase the casing. Pipes are connected either by thread or by welding.
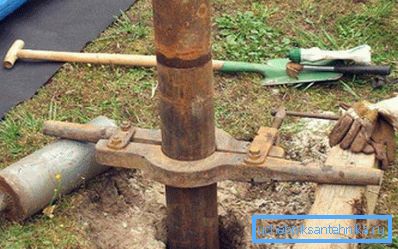
Tip! To connect the casing, it is best to use special soldering irons for polyethylene. They are relatively inexpensive and easy to operate.
We continue drilling until we pass through the aquifer and rest against the water stop. This will allow us to provide the well with maximum power.
When the required depth is reached, we install a strainer, level the casing and fill the gap between them and the sides of the well with fine gravel.
Binding
When a well is equipped for water with its own hands, it becomes necessary to design its upper edge, i.e. - harness.
We do it this way:
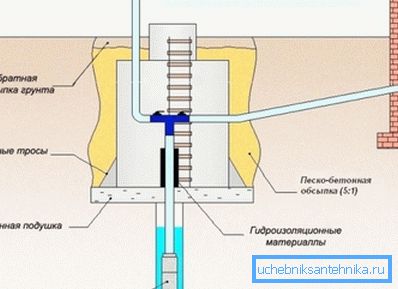
- The neck of the casing is closed to prevent construction debris from entering the cavity of the well.
- On the perimeter we dig a foundation pit to a depth of one and a half to two meters.
- The bottom of the pit is filled with sand and gravel, the backfill is thoroughly rammed.
- Fill the concrete screed with a thickness of at least 5 cm.
Next, we need to make the so-called caisson. It can be either concrete or steel or plastic.
Concrete do this:
- Along the walls of the pit we install wooden formwork.
- Inside the formwork lay reinforcement, then pour the concrete.
- Overlap the caisson with boards, which we cover with polyethylene and also pour concrete.
- In the ceiling we leave the hatch, which we cover with a steel lid on the hinges.
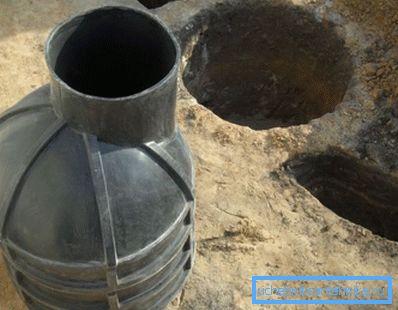
Metal and plastic caissons are simply installed in the pit on a leveled and concreted base. The casing pipe is passed inside the caisson through a special hole, which is then sealed.
Inside the caisson we mount the top of the well, install the hydroaccumulator and regulating equipment. From the caisson to the house we dig a trench in which we are laying a water pipe connected to a well pump.
Bleeding and operation
Before starting to use our well, it must be pumped, i.e. remove the silt particles that are contained in the water.
For this:
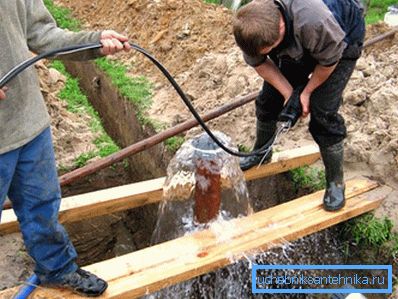
- In the well on the cable lower the inexpensive centrifugal pump connected to the water supply hose.
- Pump down as close as possible to the bottom, so that it captures the maximum amount of clay and sand granules.
- Turn on the system and start pumping water.
- Periodically stop work, take out the pump and clean it from the ground. This will extend its life and protect against damage.
Tip! To prevent water from being wasted, it can be passed through a sand catcher and used for irrigation and household needs.
Pumping a shallow well takes from several hours to several days. After its completion, we change the pump to a high-quality submersible model.
It is better to hang the submersible borehole pump not on a cable, but on a cord with not less than fivefold safety factor. For shallow wells, it is desirable to arrange a spring arrangement with rubber harnesses - it will dampen vibrations at depths of up to 10 meters.
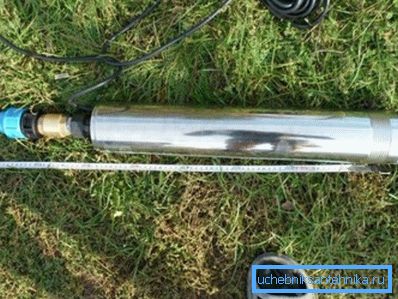
After all these operations are completed, it will be possible to use the well in normal mode.
Conclusion
A well under the water with its own hands can be equipped with minimal financial costs. But in order that the savings do not cause problems, it is worthwhile to study in advance all the nuances of the planned work, and carry out drilling and equipment in strict accordance with the rules.
The video in this article will be useful to those who are already planning to take on this difficult task.