What are the advantages of an embedded shower?
It would be convenient for the repair did not look open eyeliner to the plumber, and even more so to the soul, most of us prefer to hide it. Moreover, modern building materials and materials for pipes allow you to do this without much difficulty.
For example, a good solution would be to install false walls made of plasterboard or OSB slabs, of which only a mixer and a watering can be seen. The second way - you can just hollow out the grooves for pipes and places for sanitary equipment in a brick or cinder block.
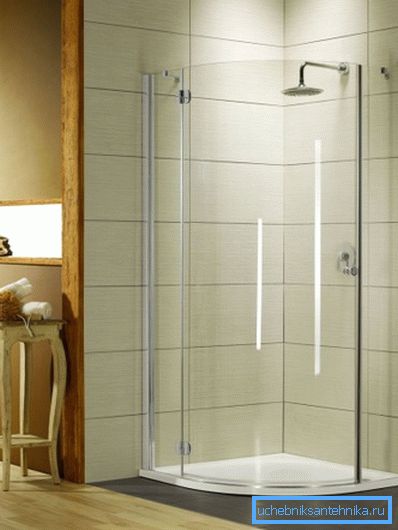
In the first case, you will need additional materials and time. It is necessary to install a metal or wooden frame on which the plates will be mounted.
In the second - only a perforator and a solution for sealing grooves. Today we will look at how to properly install the main element - the recessed faucet for flush-mounted shower.
Device advantages
Thanks to new developments, it became possible to place modern plumbing equipment even in small bathrooms. At the same time, neither their functionality, nor the space of the toilet room, nor its interior suffers.
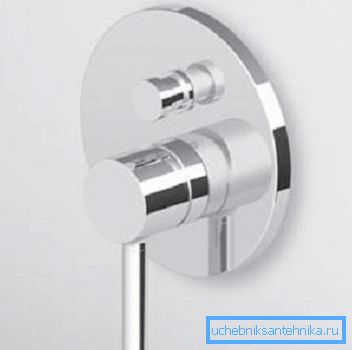
Designers have proposed products, water intake to which involves hidden accommodation. One of these devices is a built-in mixer, which is fully capable of performing its task, leaving its main part invisible. Embedded shower systems can be installed independently, following the technological scheme.
Consider the advantages of the device:
- there are no protruding elements on the surface;
- you will not see hanging shower hoses, which, alas, often fail;
- visually the space in the room becomes larger;
- there are no barriers to access to the bathroom.
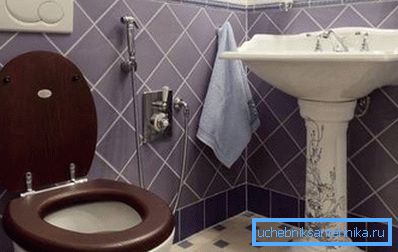
In front of you there will be only a small panel on which are placed the levers of water control and the spout of a small size. You can install it in any place that you find most convenient. At the same time, a shower watering can is usually installed in a hidden method on the ceiling.
What is the mixer
Most often, a built-in mixer for a shower cabin has two blocks - visible (panel with adjusting levers) and hidden (installed behind a false wall or mounted directly into a capital partition).
Tip: you can purchase these two blocks separately, which will allow you to choose the design of the decorative panel for the interior of the toilet.
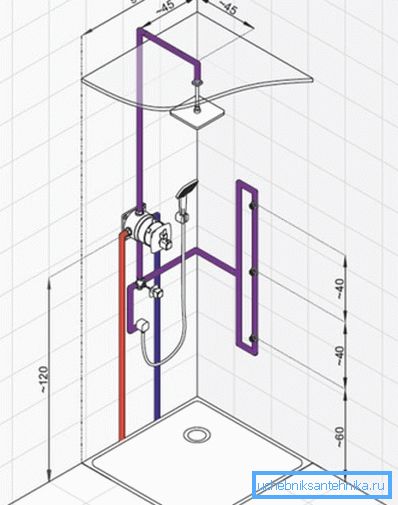
In addition to the mixer, the kit should include a faucet and a shower head. The price of the device in this case will be higher than the usual option, but if you do it right, the life of the product will be longer.
The main attention should be focused on the main unit of the mixer, as it allows you to control the water flow. It usually consists of a plastic cylinder and a brass head located in it.
The latter has four holes responsible for the flow:
- hot and cold water;
- mixed water to the spout mixer;
- fluid in the shower watering can.
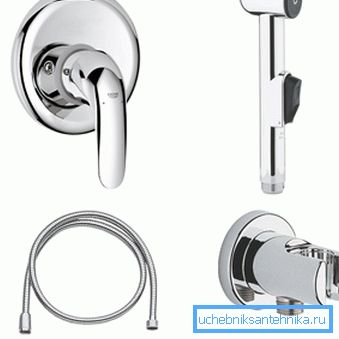
Note that the embedded unit must be made of high quality materials, so its cost may not be low. You must understand that after installing it into the wall, you can only get it for repair if you partially destroy it.
It will also entail additional expenses for restoration work. Although, the designers of the built-in mixer claim that they designed it in such a way as not to damage a large surface area during repairs.
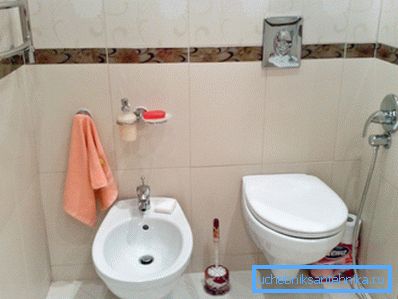
Installation and its features
When installing the built-in mixer, there are certain conditions:
- You must first make a recess in the thorough wall.
Its overall dimensions:
- O 120-150 mm;
- depth - 85-110 mm.
The easiest way to do this is to punch with a special nozzle for working with concrete bases.
- Make a drawing on the wall by drawing lines from the place for the faucet to the shower head.
Tip: Make sure that the water supply pipes and the shower pipes do not intersect.
- The pipeline connection (breaking through the gate) to the mixer should be started from the floor.
Tip: if you plan to use false walls of moisture-resistant gypsum board, the grooves are not needed.
- We recommend using polypropylene or copper pipes.. Then you should not worry about joints stuck in the wall. Installation of the first can be done by hand with a special soldering iron.
Installation of watering can and spout
This stage does not present any difficulties. You only need to install at the ends of the pipe angled threaded fittings, which are then securely fixed in the wall with cement mortar or dowels.
Tip: Make sure that the threaded adapters are installed as smoothly as possible, otherwise the installation of the spout and shower head will be difficult.
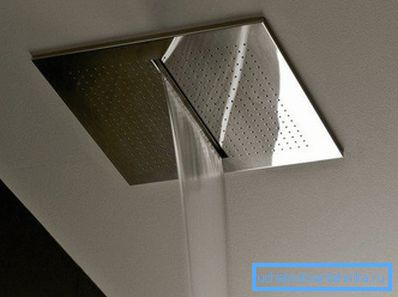
The installation should be started only after finishing the finishing in the bathroom, if it has been overhauled.
| Decorative overlay |
|
| Shower watering can | Use for mounting a special adapter, on the one side of which there should be a fitting with a rubber gasket. The watering can be put on the last one and fixed with the help of a decorative screw. |
Conclusion
Do not want to see in the interior of the bathroom extra hoses for the supply to the shower head and to the mixer, use a hidden pipe liner. As a result, you can save space and give it a modern look. When laying the supply pipe, use polypropylene.
The video in this article will provide an opportunity to find additional information on the above topic.