Why do you need, and how to build a decorative well for the
Every owner of a house on earth dreams to transform his own personal plot, turning it into a recreation area with a pleasant landscape. A true decoration of your backyard territory can be such an element of landscape design as a decorative well. Such an element can harmoniously look at the site, and even become its highlight.
It is not necessary that the well in your area be real, especially if it is connected to the central water supply system. A beautifully designed decorative well may simply be an attractive design element or, for example, hide a well with the equipment installed in it.
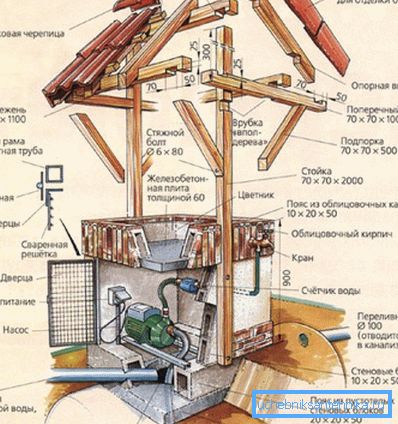
Each owner can make such a decorative element with his own hands, especially since it will take a little for the construction of such materials and their price is low. The main thing is to have free time and patience, and the result will certainly please you.
Create a decorative well yourself
In order to create a decorative element that you create, the most harmonious look in the space of your courtyard in the process of its creation can be used a variety of building materials.
Such materials may be:
- and profiled timber;
- and lining;
- round log;
- brick;
- a rock;
- tile;
- metal sheets;
- and even material like bamboo is fine.
But if on your country plot there is a wooden cottage, the tree will be an excellent material for making decorations to the garden.
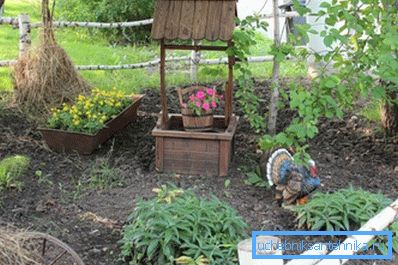
Instructions for creating such a decorative element consists of the following steps:
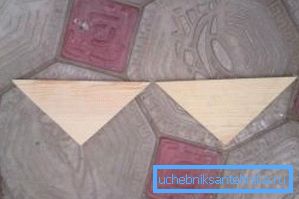
- To begin with, we cut out two triangles from the board, which will serve as side faces for the roof. All sizes are selected in accordance with the desired parameters, which you want to give a decorative garden well to be made. In our case, these are blanks with dimensions of 800 mm - length and 65 mm - height;
- Now we proceed to the construction of the most basic part of our decorative element. For this, with the help of a hand saw, we cut a bar of 150x150 mm into pieces of 800 mm and 1000 mm in length. The result should be 12 pieces with a size of 1000 mm and as many pieces of 800 mm;
- Next, we assemble the main part of the well, for which you need to stock up with a hammer and nails. Starting from the very bottom of the structure, we fold the prepared blocks in a square, as shown in the figure. Thus, 6 rows are added;
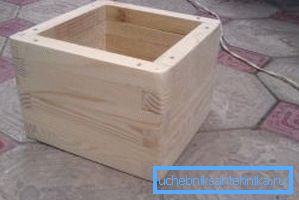
- Now you need to prepare for the well two wooden racks 150 cm long. The width of such racks can be any. As an example, a rack 150 mm wide was taken;
Note! What will be the rack, the more interesting the whole structure will look, but on the other hand, a wide rack will give the structure more reliability.
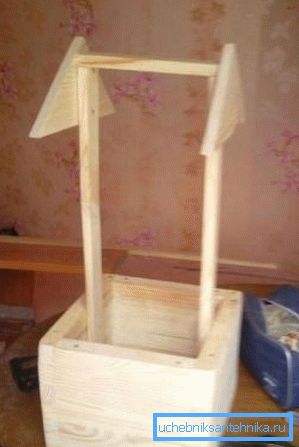
- Racks are installed inside the main part of the structure and are nailed to the very bottom of the product opposite each other;
- A plank of the same width is nailed on top of the racks, as are the racks themselves;
- Two wooden triangles, made at the very beginning of work, are fastened on the sides of the resulting structure;
- It's time to draw the boards of our well, for which a board 200 mm wide is taken and all its corners are smoothed with a plane. Next, the board is polished, cuts are made on the sides, which are necessary for the racks. Boards are fixed on the main part of the structure with nails as unnoticed as possible;
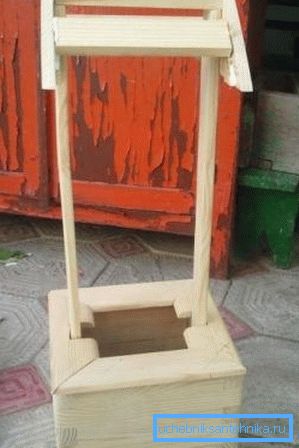
- For the construction of the lid, we take wide boards and make a plank of them for a future roof. The straps are attached to the side triangles in accordance with the image; (See also the article Decorative cover on the well: how to make yourself.)
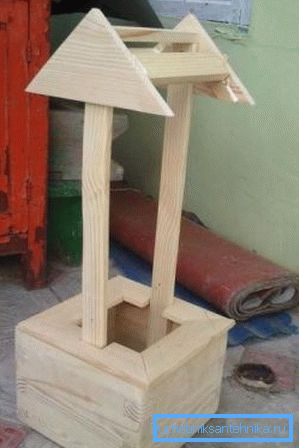
- The next stage is the manufacture of the roof, for which 8 boards are cut, 4 of which with dimensions 200/800 mm and 4 with dimensions 200/660 mm. Using a planer, round off one side of the edge on each board. After that, the boards must be carefully polished. These boards are nailed to the previously installed slats, creating a beautiful roof;
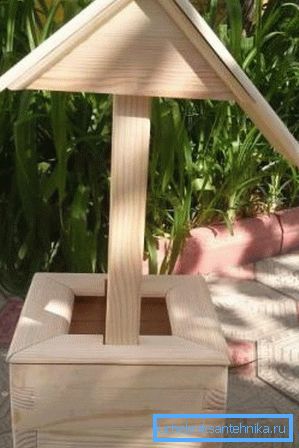
- Well, the last, final stage is the wheel and the shaft. In the role of the shaft there is a round log diameter, at the ends of which is reduced with a planer. To create a wheel, take a wide board and cut a circle out of it. The shaft and the wheel are nailed to the racks.

Council If you want to preserve for a long time the attractive appearance of the decorative element created by you, after making sure to treat all its surfaces with varnish, stain, antiseptic or paint.
Design options
The well at all times remained a very important construction in Russian villages. And, in spite of the fact that in the modern world there is no need to build a real well in its own courtyard, many owners acquire and manufacture decorative wells for the garden of various designs with their own hands.
Teremok
The traditional form for wells in the Russian villages, is teremok. This design involves the decoration of the structure with various carved elements, animal figures and skates, located on the roof.
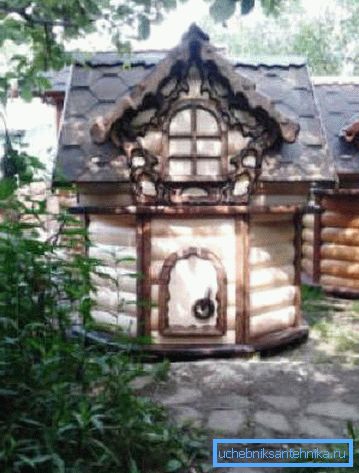
To decorate such a product can be flowers and plants of the climbing type. Not far from this masterpiece will look appropriate carved bench. And if you manage to find the old cartwheel, then you can build a wonderful composition in your yard.
Middle Ages
Medieval decorative well in the garden should be decorated in gray. At its base is a platform laid out with stone. Such a gray old well will look great surrounded by bright colors.
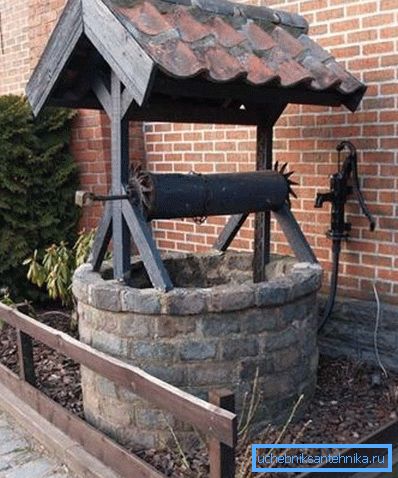
The decorative well on your personal plot will certainly decorate it and give it greater beauty and sophistication. And if you make this well with your own hands, it will not only please the eye, but also warm your heart when you go out in the evening to admire your own garden. (See also the article Plastic well cover: how to install yourself.)
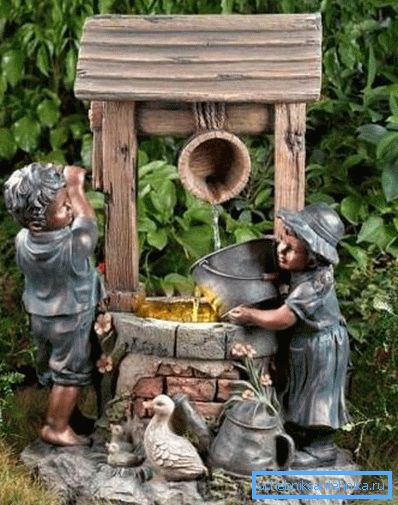
And the video in this article will help you learn more about all the intricacies of making such decorative items.