Wooden shower and features of its construction
Wooden showers have become classics for country sites and cottages. This is due to the relative simplicity of their construction, as well as the availability of materials and a special rural flavor, perfectly in harmony with the overall landscape. We want to tell how to build a wooden shower with your own hands.
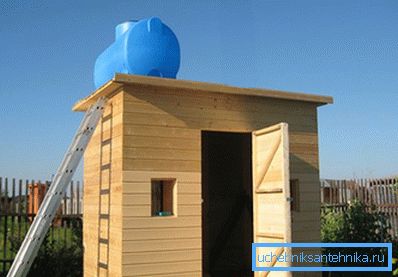
Wooden shower construction
Preparation and construction of the base
At a preparatory stage it is necessary to attend to the following questions:
- Choose the most appropriate place. It is desirable to place the shower room at some distance from the house and the barbecue area, and you should not place it near the road and on the border with your neighbors. However, the place must be sunny and located on a hill;
- Make a working drawing and construction plan. You can use standard projects that are freely available on our website;
- Purchase materials and bring them to the site. It is also necessary to acquire all the necessary tools, especially - a screwdriver, a grinder, a jigsaw, a building level, a hacksaw, a hammer, a shovel;
- It is advisable to find one or two assistants.
Note! Imported wood and cement must be stored indoors or under a secure shed to prevent dampening.
Then, according to the plan, you should mark the working area and mark the boundaries of the future construction. Top fertile soil layer must be removed and removed.
For a shower stall, it is enough to build a light columnar foundation, but it is undesirable to dig in wooden poles, as this is not a completely reliable method. It is better to proceed according to the following instructions:
| Stages of work | Description and Comments |
| Excavation pits for the pillars | In the corners of the marking we dig out four holes with a depth of 1.2 m and a diameter of 150 - 200 mm, ram the bottom and sprinkle with sand and gravel, put a layer of polyethylene or roofing material on the bedding |
| Pipe cutting and installation | We cut four pieces of chrysotile cement pipe 130 mm long and 100 mm in diameter and set in the wells strictly vertically, fix by filling with earth. The pipes should rise 15 to 20 cm above the ground level, and their upper ends should be in the same horizontal plane. |
| Concrete preparation | Prepare 50 liters of concrete mix of cement brand M 400, sand and gravel in the ratio of 1: 3: 5 |
| Concrete pillars | Fill the concrete mix inside the pipes and seal it by vibration or by splicing a reinforcement segment |
| Mounting anchors | We insert threaded pins with a diameter of 10 mm inside the pillars. The ends of the anchors should protrude 100 mm. |
Note! Pipes can not be covered with waterproofing, as chrysotile cement perfectly tolerates contact with moisture and even gains additional strength in a wet environment.
Cabin construction
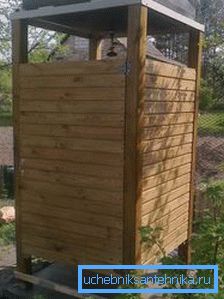
Now that the pillars of the base are ready, you can build a cabin with your own hands.
- First we make the bottom trim, for this we take four beams with a section of 100x100 mm, make cut-outs for cutting in half-wood at their ends and drill holes for anchors. The upper part of the covering bar countersink in the place of the anchor exit.
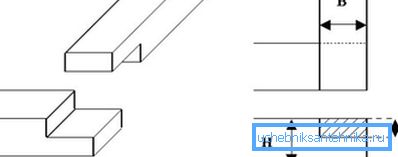
- We lay the strapping bars, first putting a double layer of roofing material on the pillars, and pull them to the posts with nuts. The nuts must fully enter the re-cracked holes, and the protruding ends of the anchors must be cut flush.
- Cut four pieces of timber 100x100 mm and install them on the corners of the bottom trim. We expose them by level and fix them with metal corners.
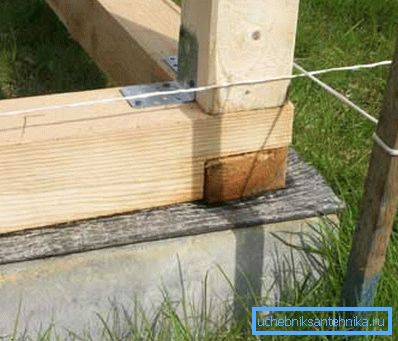
- By analogy with the bottom do the top trim. For it, you can use a timber section of 100x50 mm. Fastened with two nails on top.

- As a roof, you can build a wooden flooring for the shower, but it is better to use a flat plastic tank with the appropriate dimensions, which can easily become on the upper trim bars.
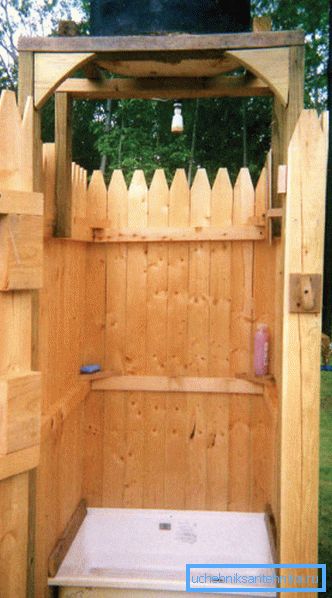
- Then you can make a shower tray made of wood or buy an acrylic, steel or ceramic bowl.. To install the pallet, it is necessary to nail the timber pieces to the posts at a height of about 10 cm from the bottom trim. The thickness of the bars should correspond to the width of the sides of the pallet.

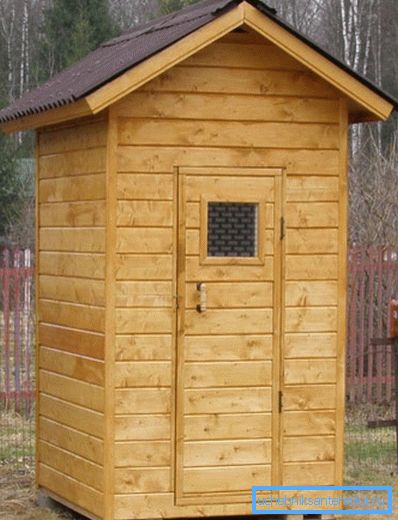
- In the end we sheathe the walls of the booth with a cut board or clapboard. We coat the boards with varnish or oil-wax; we install platbands on the corners. On the front we install the door, which we knock down from the same board and hang it on the hinges.
Note! As a water tank, we advise you to buy a plastic flat tank with an installed watering can and a faucet. Its price ranges from 3 to 5 thousand rubles.
Drainage
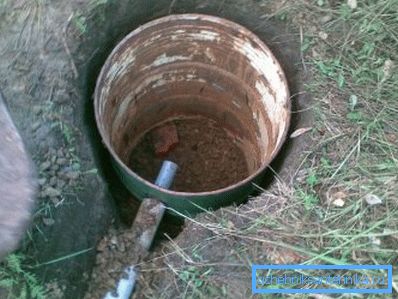
At a distance of 3 - 4 meters from the booth we dig a hole 1.5 meters deep and place a metal or plastic barrel with holes in the bottom. We pour 20 cm of sand into the barrel, 20 cm of crushed stone, and fill the rest with coarse gravel.
From the siphon of the shower bowl, we take the pipe with a slope of 2 cm per meter and start its end into the barrel, which we cover with a lid.
Conclusion
A wooden shower-toilet for the dacha can be built independently without significant financial investments. For work, you will need one assistant and detailed instructions on the order of operations; For acquaintance with the subtleties of the process, the video in this article is useful.