Wooden shower for cottage: self-construction
A wooden shower is an indispensable attribute of a country site, devoid of centralized engineering communications. You can always wash yourself or just refresh yourself in the summer heat, and your vacation will be much more comfortable. We will tell you how to build a wooden shower to give your own hands.
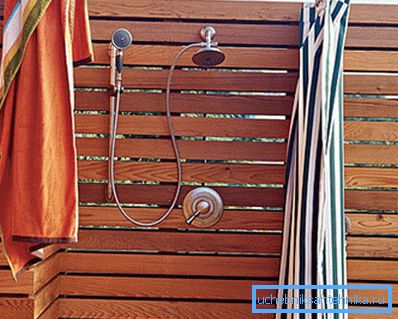
Construction of a country dacha from a tree
Training
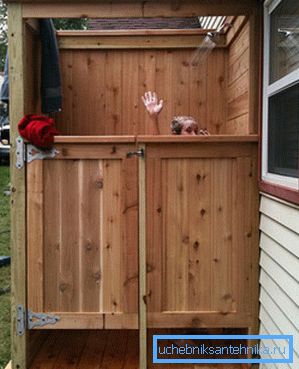
In any case, proper preparation is very important.
We will need to identify several points at once:
- Choose a suitable material. It is better to build a dacha shower made of coniferous wood - pine or larch;
- Choose a suitable place. As a rule, the shower is placed in a place open to the sun, but closed to prying eyes. It is also necessary to observe some distance from the house and barbecue area;
- Decide on the size and type of construction. The minimum size is 100x100 cm, the optimum size is 200x150 cm (this will be a wooden dacha shower with a dressing room);
- Think over the water supply and drainage system. Most often, a metal barrel or a plastic tank for the shower is placed on top, and the waste liquid goes to the ground. But you can complicate;
- Make drawings of a wooden shower to give your own hands, calculate the amount of necessary materials, purchase them and bring them to the site;
- Take care of the availability of the necessary tools. If you do not have a suitable set, it is not necessary to buy an expensive set - you can rent it in a building supermarket.
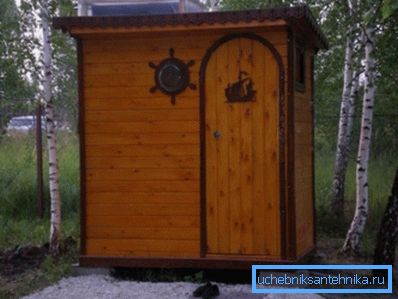
Note! If you do not feel in your design talent, you can use ready-made typical solutions with all the drawings that can be found on our website.
For work you will need: shovel, hacksaw or parquet saw, screwdriver, hammer, grinder, pliers, adjustable wrench, sandpaper, planer, a set of chisels.
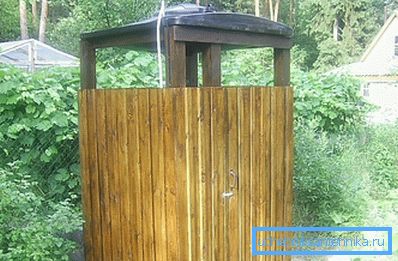
Note! We recommend building a lightweight construction with a tank on the roof. So you will have a wooden heated shower for the summer season, because in the winter you will not be able to use the outdoor bathroom anyway.
We build the base
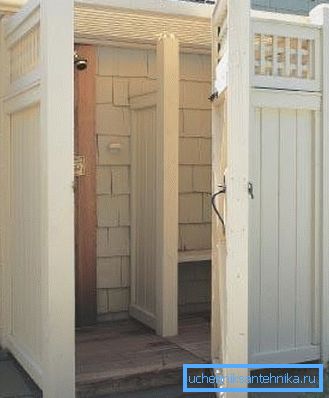
One of the most important stages is the construction of a solid foundation. Of course, you can just dig in and cement the wooden poles, but such a decision can be called solid only with a very big stretch.
Much more reliable will be the construction of stone foundation pillars, which will then be tied with a wooden beam.
To facilitate your choice of construction method, we have compiled a step-by-step instruction:
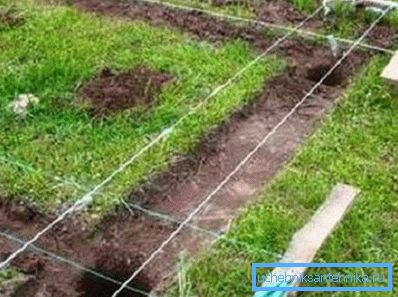
- Mark up the site for work. We mark the corners of the future construction and dig holes in them 70 cm deep with a horizontal section of 40x40 cm. We ram the bottom and pour in a sand-gravel mixture;
- We lay out the pillars of ceramic bricks. To do this, we put two bricks, joining them with a long side. The next row is deployed perpendicularly to the ligation of the seams, we insert the reinforcement or threaded anchor pin inside;
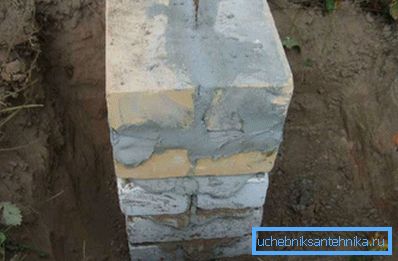
- We are completing the construction of the pillars; they should rise 20 to 25 cm above the ground level. Be sure to perform waterproofing with bitumen mastic in two layers with a preliminary primer with a bitumen primer;
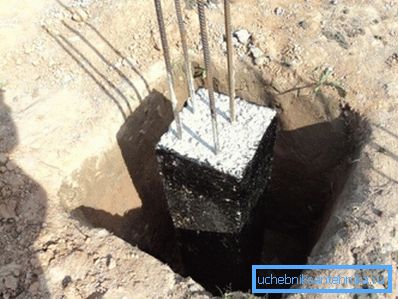
- We cover the pits with clay to create a waterproof castle.
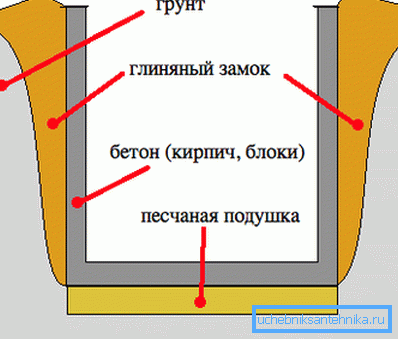
Note! Since the pillars will stand in the shower, it is necessary to carefully waterproof them. Because of this, your design will stand for more than a dozen years.
Construction of the frame and walls
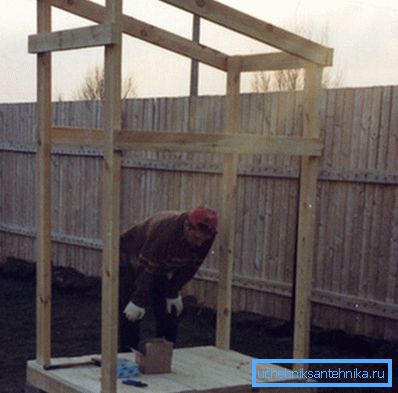
So, we have already prepared the foundation for our construction. Now you can proceed to the construction of the frame and walls.
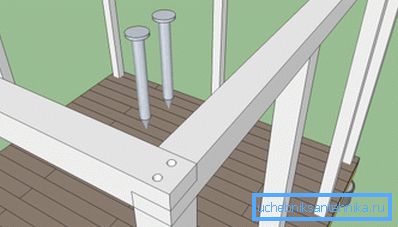
We start with the bottom pillar trim. As you remember, reinforcement or an anchor sticks out from each post. We take a timber of 150x150 mm and we put it around the perimeter of the pillars, putting it on the pins and joining them in half-wood, while ensuring that the harness lies in one strictly horizontal plane.
From above, the hole in the timber should be countersunk so that the nut enters the hole and does not stick out. For mounting the nuts it is necessary to cut the threads (it is better to use threaded anchors initially). Between the pillars and the strapping bar, you need to lay a double layer of roofing material to cut off the capillary suction of moisture.
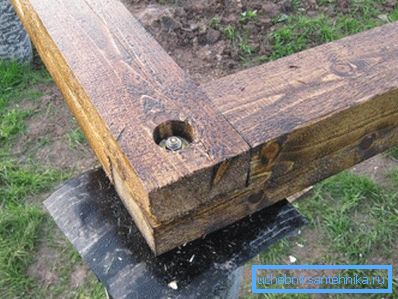
Next, trim the pins grinder flush with the surface of the beam and begin to install the vertical pillars of our frame. Since there will be a rather massive tank on the roof, it is better to use a 150x150 mm beam. We put one pole in each corner and fasten them with a steel angle from two sides; for temporary fixation, use obliquely hammered boards.
Note! We control the vertical position of the pillars of the frame with a level or plumb.
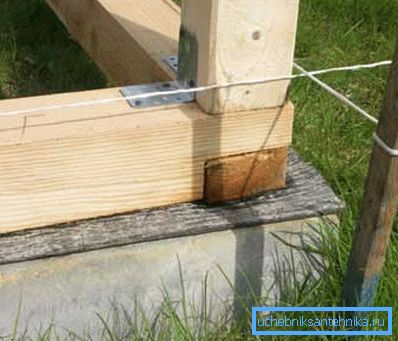
When the pillars are installed, we perform the top strapping by analogy with the bottom. Here you can use a bar of smaller section, for example, 150x50 mm. If an inclined deaf roof is planned, then the rear pillars must be made 30-40 cm lower than the front ones, but the minimum height must not be less than 250 cm.
In front of the frame, we install two bars 150x50 mm for the doorway. Opening width - not less than 100 cm.
Inside the frame, we dig a hole over the entire area 40–50 cm deep. Place a 15 cm layer of sand on the bottom, tamp it down, and then pour a layer of gravel to the ground level. This will be a drain to drain the water.
On the bottom trim lay the floorboards at intervals so that the water can freely go under the floor. Boards should be treated with antiseptic and moisture-proof impregnation.
The walls of the finished frame sheathe clapboard or edged board. You can do this: on one side, sheathe the wall with a board at intervals, and on the other, perform a similar trim, but shift the gaps so that they are covered by the board on the reverse side.
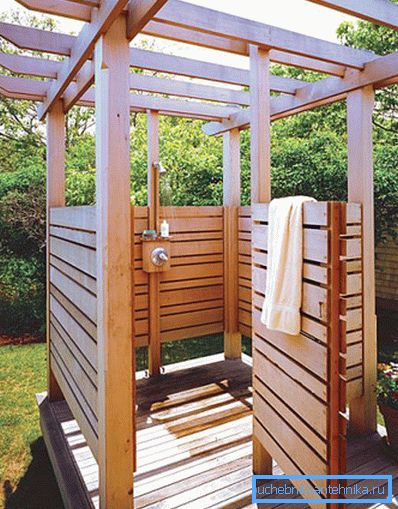
At the end we knock down the door and hang it on the previously installed hinges. The height of the door should close the person in the room from the middle of the shin to the level of the eyes or should coincide with the height of the wall covering.

On the top trim bar set the water tank. It is better to purchase a special flat tank for the shower of plastic or metal, which performs the function of the roof and painted black to heat from the sun.
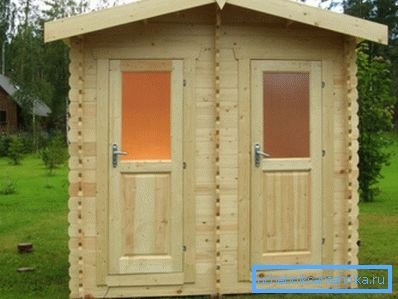
By the tank we install a shower watering can with a faucet, it is possible to separate a pipe with a tap for washing hands and feet. Inside should hang shelves and towel racks, you can hang a mirror with a table for accessories.
In the end, it is advisable to coat the woodwork with varnish or oil-wax. This will additionally protect the material from moisture and give it an attractive look.
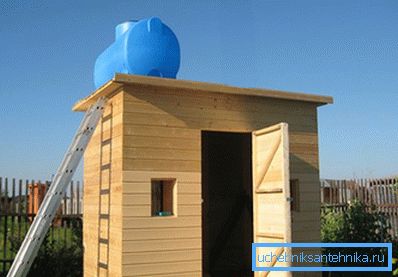
Note! All wooden parts should be treated with antiseptic (antifungal composition).
Conclusion
To build a good solid shower, you have to work hard, but the result will delight over the years. The video in this article will help you better understand the nuances of the process.